Wash basin for giving the hands
In this article we will explain how to make a wash basin for giving with your own hands, consider various options, and also show photos and videos of instructions for creating a street wash basin.
The wash basin must be:
- simple;
- multifunctional (so that you can not only wash your hands);
- comfortable.
If there is no washbasin at your dacha then please read this article carefully. In fact, the methods of manufacturing a homemade washstand is more than enough.
From plastic bottle
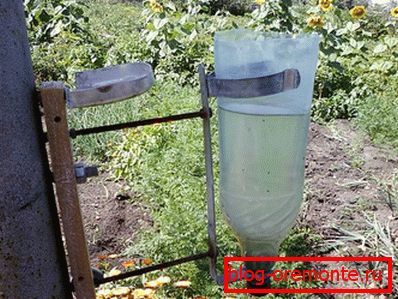
The easiest, budget option. This can be a 1.5-liter bottle or a 5-liter eggplant. First you need to cut the bottom. Then, using a clamp or aluminum wire, fasten on some vertical plane. The role of the dispenser in this case will be played by the cap itself. We collect some water into the container, and it will flow in a thin stream when we slightly open the lid. It turned out the easiest - and nowhere is easier - mounted washbasin. That's all the wisdom of this washstand.
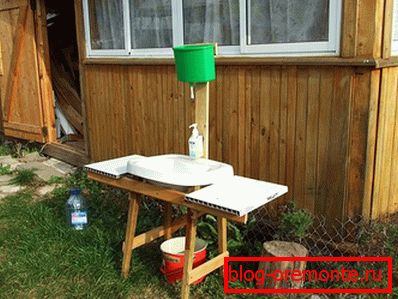
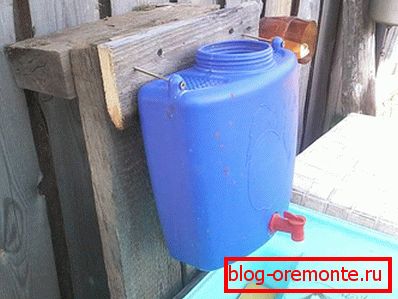
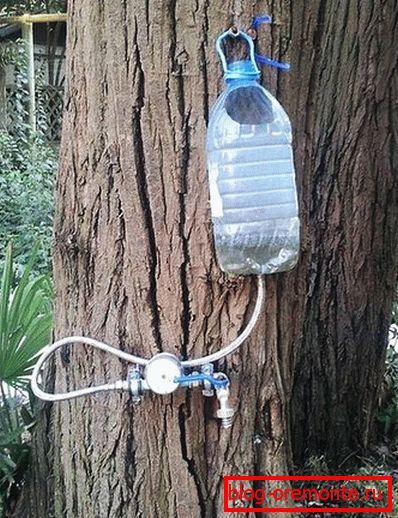
With tap
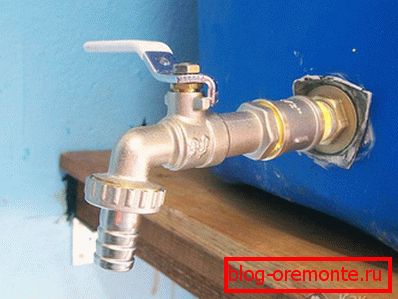
This stationary design is more complex, so for its manufacture you will need to have at least basic knowledge of plumbing. It will be good if in your household you happen to be a small 6-liter plastic (made of soft plastic) can with a wide neck or any other suitable container. This time it is necessary to spend money on the purchase of accessories for the future washstand. It will take:
- carrot;
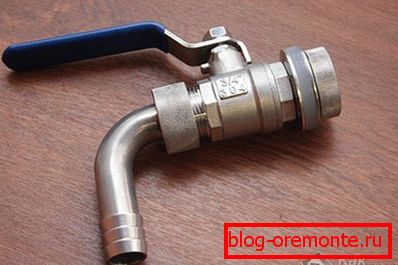
- water supply tap;
- two rubber gaskets;
- two nuts;
- two pucks.
Performance of work will not require professional skills. It's simple: a hole is drilled in the bottom of the can under the sgon diameter (the lower the better). We insert the thread into the hole by the side where there are more threads, we put the washers on both sides, and then the gaskets and clamp them with nuts on both sides too. After that we wind up the tap, preliminarily winding the linen underwrap, which is smeared with a special impregnation, clockwise and everything is ready, the wash basin is ready.
It will only be necessary to choose for it a suitable cabinet or a rack pre-fastened from four wooden bars. Fixing the can on such a structure, pour water. And now you have a more civilized version for a larger volume of liquid in the dacha washbasin and, moreover, with a faucet for water supply.
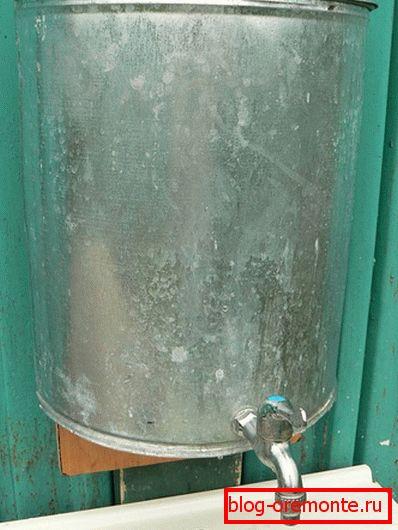
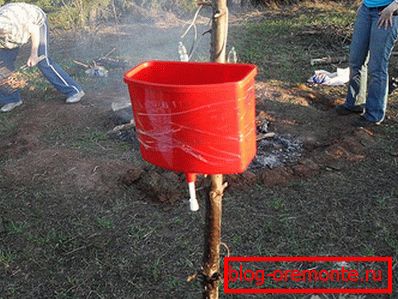
In this simple version of the washstand, you can do without sgon. For example, take a 10-liter galvanized bucket. We will need:
- two rubber gaskets;
- nut;
- tap brass taps;
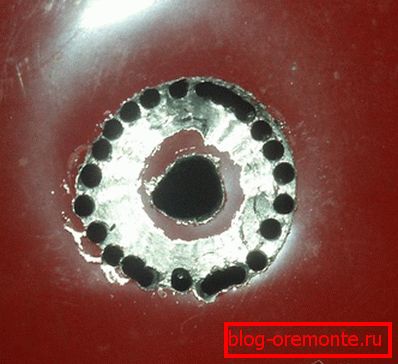
- nozzle on the drill.
The work is simple: at the bottom of the bucket with the nozzle we drill through the diameter under the brass tap. We put a gasket on it and insert it into the finished hole. On the other hand, we also insert the gasket and clamp it with a nut. The top of the sink is ready.
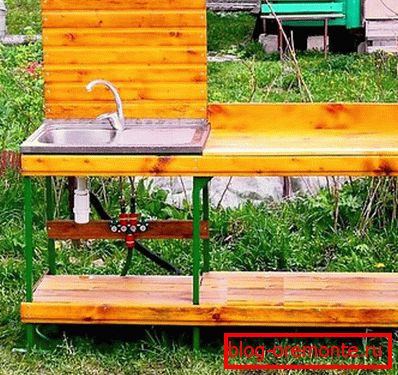
It would be useful to say that the street washbasin should be equipped with a drain. This may be a conventional container, where the used water is collected or the finished sink, with a corrugated tube inserted in the drain (from three meters). With the help of such a tube, water can simply be drained into the garden and absorbed into the ground. Some people do not equip drains at all, and water flows directly to the ground. And so that under the feet did not form dirty slurry, (two buckets are enough). As they say, cheap and cheerful.
For room
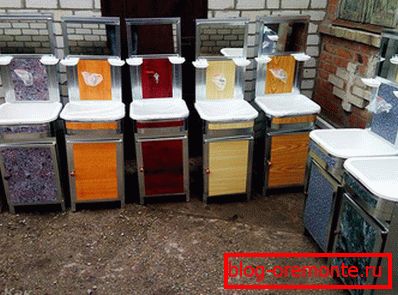
If we are talking about homemade washstands on the street, then you should definitely mention the washbasins in the room. The internal washstand is much more complex in design than its street counterparts. It is clear that here you need to take care not only of its functionality, but also of beauty. In other words, it should harmoniously fit into the general surroundings of the dacha's simple life. Most likely, this will be the most common type of internal sinks - “moidodyr”. How to make this washstand of wood? We will need boards of 25? 150 mm.
In vertical blanks, it is necessary to pre-cut grooves (depth 20 mm, width 8 mm). This can be done using a manual router. In horizontal blanks with a conventional hacksaw, thorns are cut out accordingly.
The hacksaw should be sharp enough and with fine teeth. Cloth length: 25–30 cm.
The size of the future washbasin is largely determined by the dimensions of the water tank, which we plan to use for it. It is also important for us to know for sure and the size of the shell, which we will mount on the cabinet. After everything is cut to size and the technological grooves are cut along with the spikes, the wash basin is assembled like a designer. However, it will be better to fasten the junction points with wood screws.
The upper (or side) part of the structure has a niche where we should insert the finished water tank.
For such a sink better fit 20-liter galvanized tank (width: 490 mm, height: 360 mm, thickness: 140 mm)

We fix the bottom of the washstand with reiki (20 × 45 mm) at the same distance from each other. The back wall of the upper part of the “moidodyr” is covered with plywood - from 3 mm and fastened with screws. Of course, it is better for such a thing to use moisture-proof plywood in case the water tank leaks, but if there is none, it is not scary.
As for the cabinet door, everything is simple: we glue a square of 3 mm plywood with the help of PVA glue to the frame of four interconnected small wooden planks on the back of it. It remains to embed the lock with a curly handle. All wooden frame "moydodyra" assembled. Now the final touch is polishing, painting the product, and then installing the sink. It will turn out very nice.

Washbasins options are many and they are all good in themselves. The question is what kind of design you prefer. Much, of course, depends on the functions that you assign to it. Anyway, washstand / washbasin - it is convenient in all respects. And if it is in the country, so much the more. Therefore, we hope that this article was useful for you.
Video
This video is about creating an exclusive washbasin to give:
See how you can make a homemade washstand from a five-liter plastic bottle:
A photo