Ventilated facade do it yourself
There are many options for finishing the facade of the house, and the modern construction market provides the widest range of materials for the implementation of ideas. In addition, we must not forget that the same material can be mounted on several technologies. For example, it is increasingly possible to observe how people make a ventilated facade with their own hands. This technology of facing the house allows you to solve many problems at once and is relatively simple implementation. About what the main features of this process are enclosed in and will be discussed below.
Technology description

In order to fully understand the essence of the upcoming works, it is first necessary to say a few words about the features of the technology of ventilated facade.
If this technology is followed between the finishing coating and the wall, a thermal insulation layer is installed, as well as a small gap that allows air to circulate freely inside the skin, which prevents the walls from dampening.
As for how to make a ventilated facade, here it is necessary to immediately say that this is in principle a simple matter.
Training

Training к работе играет важную роль и на этом этапе будет необходимо:
- to level the surface on which the work is planned.
- prepare all the necessary materials (insulation, vapor barrier, finishing coating), as well as tools.
- conduct additional theoretical training. Refresh in your memory certain nuances of the proposed work is often more important than the presence of a tool.
As a heater, without which the installation of a ventilated facade is impossible, several materials can be used. However, the most appropriate in most cases will be foam. Mineral wool is also a good insulation, but when exposed to moisture can lose its performance properties, the foam is deprived of this disadvantage.
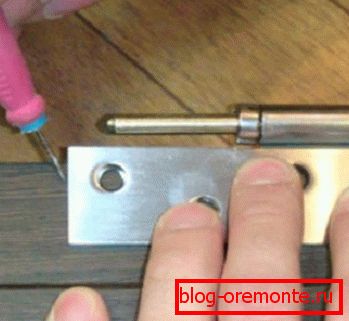
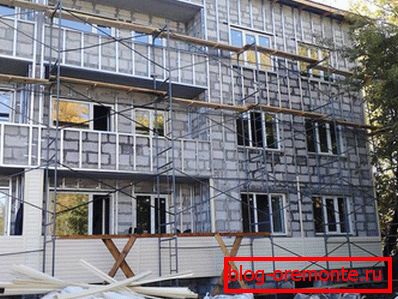
Fitting darts
If all the preparatory stages of the work are completed, then you can proceed to the installation of the batten. For these purposes, it is most convenient to use metal profile rails and U-shaped fasteners.
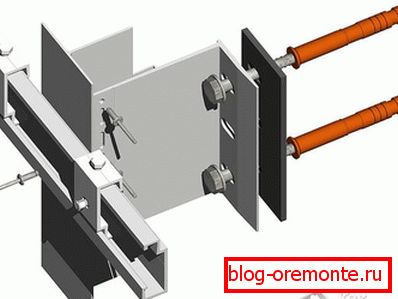
- The walls are laid out first. It is necessary to make a series of vertical lines along their entire area, along which fasteners and slats will be installed. To do this, you can use a simple plummet and chop cord.
- On the marked lines at a distance of 1 m from each other you need to install the U-shaped fasteners.
- Fasteners are installed on fasteners. It is important to remember here that the arches of windows and doors require the “bypass” of their perimeter with additional rails.
Laying insulation
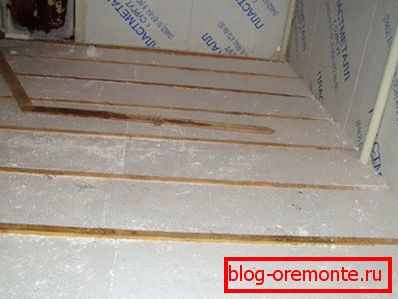
When the crate is made, you can proceed to laying and fixing insulation. Everything is simple here - the foam is cut to the required size, an adhesive is applied to it, and then it is inserted inside the space between the slats. Insulation must additionally be fixed, for example, "parachutes." A vapor barrier film is laid over the foam. In this case, the formation of gaps between the sheets should not be allowed. You can fix the material with a stapler.
Installation of the finish coating
The final stage of the work is the installation of the finishing coating. The main point here will be that there is some distance between the coating material and the vapor barrier. In most cases, 5–7 mm is enough. As a material suitable for the indicated purposes, can be used, for example, siding or simple metal profiles.

At this description of the main stages of installation of a ventilated facade can be considered complete. As can be seen from the above text, to cope with the task is quite possible without the involvement of hired professionals.

Video
Installation of ventilated facade "Kraspan":