Two-level suspended ceiling do it yourself
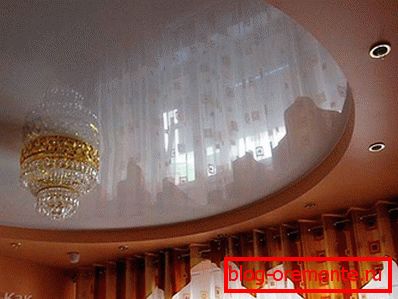
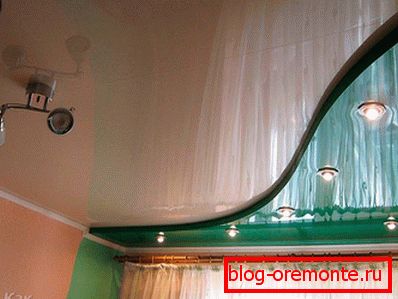
Modern stretch ceiling structures are characterized by excellent performance data, attractiveness and relative ease of installation. It should also be noted that they look especially good in large and high rooms. In order to make a two-level stretch ceiling with your own hands, first of all you will need to familiarize yourself with the techniques for working with the material used in its arrangement.
An example of such a material is a special vinyl film or similar elastic materials, of which combined mounted structures are most often constructed. When preparing them, special attention should be paid to the quality of the surface to be built, taking into account the use of a wide variety of design solutions, distinguished by the following features:
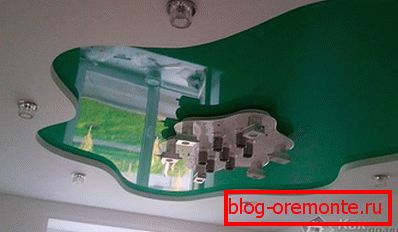
- use of special built-in elements (combined design);
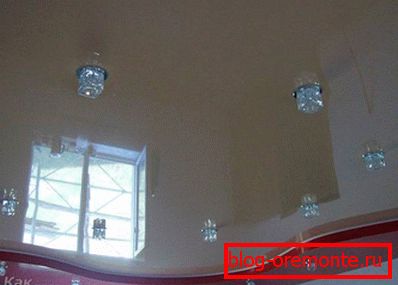
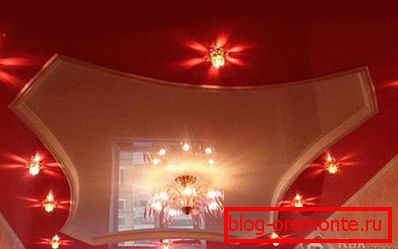
- a variety of surface textures (matte, glossy or so-called satin);
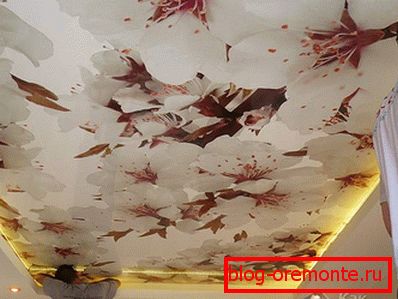
- large selection of colors.

The stretch ceilings obtained on the basis of these decisions are distinguished by their practicality (under them wiring and other household communications are easily hidden), beauty and ease of use. They can serve a potential user for many years without distracting his attention to special services.
Features of tension type structures
Before making a two-level stretch ceiling, it will be useful to become more familiar with such remarkable properties as:
- the ability to create a perfectly flat surface;
- protection of the room from water flooding;
- design appeal.
Under the elements of tension structures it is very easy to hide all the irregularities of the draft ceiling with the guarantee of obtaining a perfectly smooth outer coating.

In that case, if the stretch ceiling is installed correctly - do not worry about the safety of the interior of the apartment (furniture - in particular) in the event of its flooding. The fact is that such a construction does not let in liquid, but accumulates it in its volume. To eliminate the effects of flooding, it will be enough to drain the accumulated water, temporarily dismantling the edge of the stretch fabric.

In addition, a wide choice of colors and textures of used canvases makes it easy to choose the material that best suits your environment. Nevertheless, like any ceiling coverings, such constructions are not without a number of drawbacks, which include:
- the exposure of coatings to accidental damage with sharp objects;
- poor tolerance to low temperatures;
- the high cost of the tension material and the specificity of its installation.
Preparation for work

It is necessary to prepare the base of the ceiling by compulsory cleaning it from the remnants of the old, crumbling plaster with the subsequent wiring of electrical wiring in the locations of spot lighting devices.
Before starting work on self-construction of the ceiling, special attention is always paid to preparatory activities carried out in compliance with the following requirements:
- literacy marking of the ceiling surface, which guarantees the receipt of a perfectly even hinged coating;
- special care when cutting the canvas, eliminating the possibility of damage to the material;
- possession of safe methods of work (including - with a gas heat gun used to stretch the canvas).
Regardless of the design of the suspended ceiling, the following tools and consumables may be required for its preparation:
- classic screwdriver;
- perforator, required for mounting mounting profiles;
- level;
- special heat gun equipped with a gas cylinder;
- frame profiles;
- ceiling stretch canvas;
- the usual step-ladder, and also the special spatulas used for convenience of a tension and fixing of a cloth in profiles.
The surface of the base must be treated with a special antiseptic primer, eliminating the possibility of the formation of mold and fungus on it. With the order of assembly of the frame of the two-level ceiling, you can see the corresponding video on the work with mounted structures.
Installation of two-tier structures
Before buying a canvas, it is advisable to prepare a small sketch with the intended design of the future ceiling, including the smallest details of the surface. In addition, the sketch must be marked zones of interlevel transitions, as well as the point of placement of spotlights. And only after that you will be able to proceed to placing an order for the canvas in the company engaged in the manufacture of suspended structures.
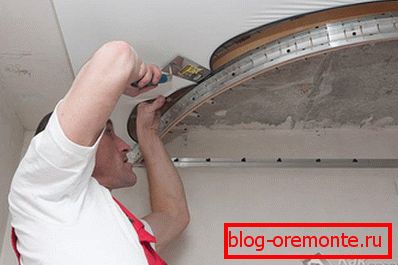
Self-assembly should begin with the arrangement of the frame of the profiles with a set of baguettes used to secure the tensioned fabric. In the case of manufacturing a combined structure, plasterboard inserts are installed in the right places of the framework, which are then puttied and painted in the desired color, after which spotlights are mounted in them.
At the next stage of work, it will be possible to move on to stretching the fabric itself, which must first be heated with a heat gun to a temperature of about 70 ° C. After warming up, the straightened film is fixed with special spatulas in previously installed profiles (it is fixed on the housings of the lamps by means of special latches).
In the event that you are not completely confident in your abilities - entrust the installation of suspended ceilings to professionals.
In conclusion, we note once again that due to the high cost of decorative paintings, it is necessary to work with them very carefully so as not to damage them during installation.
Video
This video shows how to independently make a complex stretch ceiling with two levels with LED backlighting:
A photo