Slag stone bath with his own hands
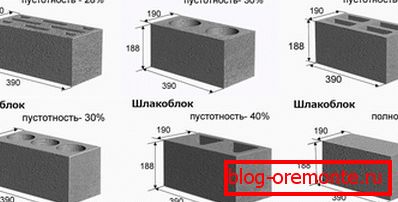
Wall blocks, made of concrete, are a popular material for the construction of buildings. Due to the considerable size of the cinder block, less time is spent on the construction. The material is fireproof, resistant to temperature fluctuations, resistant to fungus, available at a price. Slag stone is produced solid and hollow, the latter has low weight and low thermal conductivity. The quality of the material depends on the filler and adherence to manufacturing technology. To buy cinder block should be from sellers with a good reputation. Let's look at how a bath is made of cinder block with your own hands.
Choosing this material to build a bath, you should know how to build a cinder block bath correctly, because the building must be insulated and finished to give an aesthetic look. The bath will be inexpensive and durable, and the work will take a little time.
Drafting
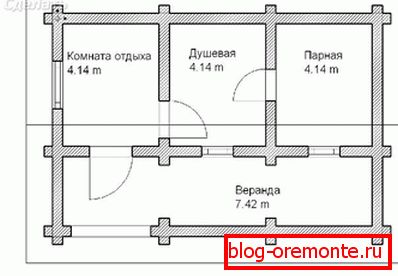
The cinderbath bath with its own hands begins to be built by drawing up a plan for the future construction. It will help determine the amount of material needed for the construction of the bath. The drawing marks the windows and doors, the size of the rooms, all this allows you to accurately calculate the amount of cinder block, insulation and finishing materials. There are many ready-made projects on the Internet that can be converted to individual bath sizes.
Foundation laying
The type of foundation for the bath is selected after the study of soil on the site. When constructing the foundation for construction on clay or peat soil, a columnar or strip foundation and good waterproofing will be needed. The dense rocky area does not need a foundation for a light construction of cinder block.
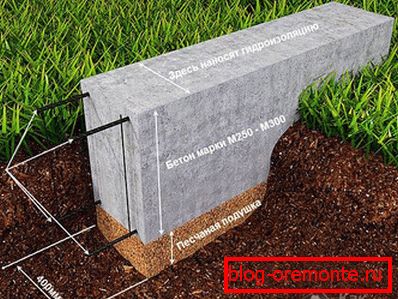
The first stage of laying the foundation is marking the selected area and preparing for its work. When constructing the strip foundation, a shallow trench is dug along the entire perimeter of the walls of the building. The depth of the pit 50 cm, width - 40 cm. Then there is a formwork, the manufacture of which can be read here.
The depth of laying the strip foundation depends on the region in which the bath will be built. Even before filling the foundation, you need to take care of laying the water supply system and drainage pipe.
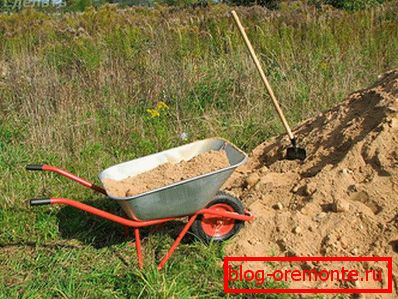
Sand and gravel are poured at the bottom of the trench and are carefully rammed to create a cushion. Stones or broken bricks are laid on it. From above the timbering from boards is exposed. Due to the high hygroscopicity of the cinder block, it is necessary to raise the foundation to 50 cm above the ground level. Concrete is poured into the removable formwork and covered with a film for a few days against moisture loss.
Frozen concrete is treated from above with bitumen mastic in 2–3 layers to create a reliable waterproofing of the foundation or is covered with two layers of roofing material.
Arranging the foundation of the building, at the same time laying the foundation for the furnace. It is performed by analogy with the general foundation, but does not come into contact with it.
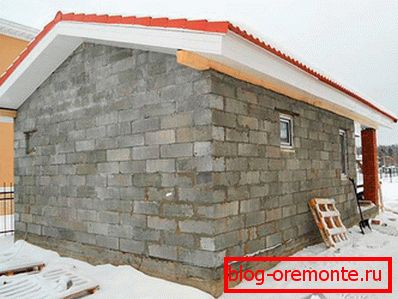
Cinder block walls

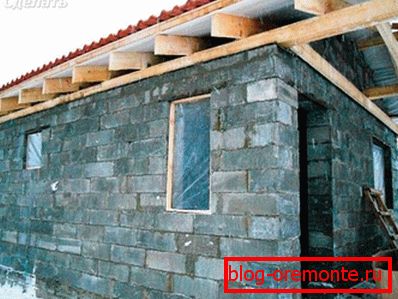
Before you build a bath of cinder block, you need to set the corners and fix the rows, between which they stretch the cord for orientation when laying cinder blocks. The laying of the walls is made in the same way as a brick; a cement-sand mortar is used for the joint. In order for the stone to lie flat on the mortar, it must be tapped on the back of the trowel. To give the walls strength in two rows, a reinforcing mesh is laid. The solution is applied to the blocks with a trowel, the excess is removed. A seam of 1 cm remains between adjacent stones; it is filled with mortar.
The tensioned cord will help when laying the most complex first row. Each next row is executed with an offset.
Starting from the third row, the horizontal and vertical level of the wall being erected should be checked frequently. You need to start from the corner and move to the opposite. When building walls in the designated places leave openings for windows and doors.
Roof for a bath
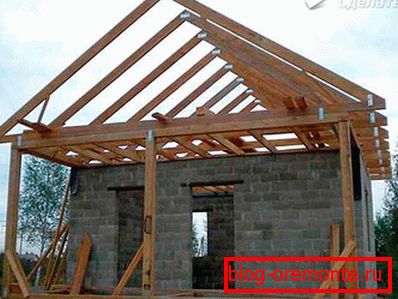
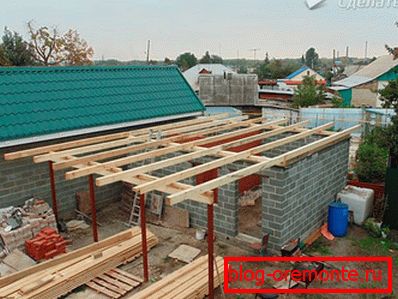
After finishing the laying of the walls proceed to the construction of the roof. You will need a bar or logs of at least 10 cm in diameter. For its secure fixation left openings in the walls. Ceiling beams will be the foundation of the roof. A shed roof is a simpler and cheaper option, but it requires clearing of snow and does not give free space under the roof, therefore the gable shape is more often used. Places of installation of logs require waterproofing with roofing material or protective mastic.

The rafter system is assembled on the ground according to the planned project, and then rises to the roof and is attached to the beams. The angle of inclination is chosen in accordance with the amount of precipitation in the region; the greater the angle, the sharper the roof. For rafters, a timber of 60? 60 cm is taken; blanks are made in the shape of a triangle. Vertical installation is checked by level. The crate is fastened to the rafters, the distance between the slats depends on the type of roof:
- for a soft roof - 1 cm;
- slate - 15-20 cm;
- sheeting - 30–40 cm.
Interior decoration and insulation
The floor of the bath is made concrete, and under it is laid a sewer pipe for water discharge (and, if necessary, then water pipes). The floor can be finished with ceramic tiles and then covered with wooden flooring.
Before final finishing all communications are carried out: electricity, plumbing.
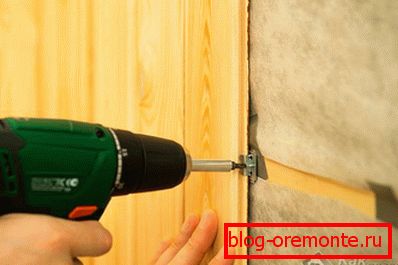
The room needs waterproofing. A timber of 50 × 50 mm is fastened to the walls, and a heater is laid between the crate and covered with foil film. Choosing how to insulate the bath, stop at the mineral wool. This is an inexpensive and reliable material.
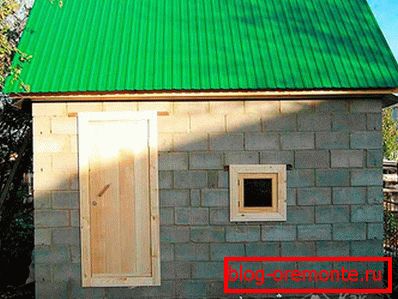
The most common material for interior decoration is wooden lining. The slats are pre-treated with an antiseptic. For their fastening, a new crate is made of 50 × 30 mm rails.
The crate is packed in the opposite direction in which the clapboard will be trimmed. That is, if the wall paneling is fixed horizontally, then the crate must be filled vertically.
Exterior finish
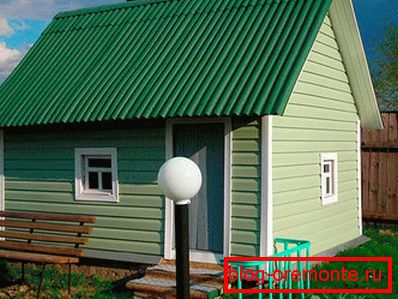
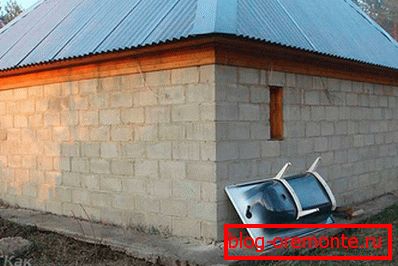
It is necessary to coat a cinder block bath not only for beauty, but also in order to protect the material from destruction. The walls are plastered in two layers, and then sheathed with vinyl siding or veneered with decorative brick.
To select a suitable project of the bath, you can view numerous photos, and the process of work will become clearer after watching a video about the technology of construction of the building.
Video
This video demonstrates the laying of the walls of the cinder block bath:
Learn about the cinder block, what are its pros and cons:
A photo