Shelves for flowers do it yourself
What housewife would not like to change the appearance of her room with the help of bright colors of blooming violets, begonias or geraniums? It is aesthetically pleasing, a little refreshing, and generally beautiful. But inevitably it is necessary to decide where to place these flowers in pots? Not on the floor. Looking for shelves. You can not always find what you need in the store, and you want to save money. There is only one way out - to make oneself so that all this color aesthetics, as they say, is broken down.
In this article we will explain how to make flower shelves with your own hands from wood and chipboard, consider the options for wall and floor shelves, and also show photos and video instructions.
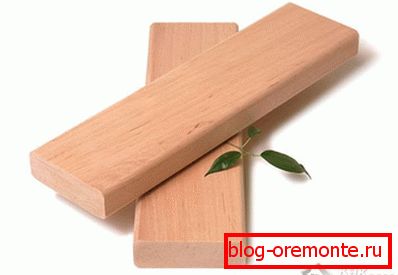
What material can the shelves be made of? It can be plywood, chipboard, wood, metal, glass, drywall, etc. If you had wooden planks lying around on your farm, and you haven’t found proper use of them yet, make a shelf for flowers made of wood.
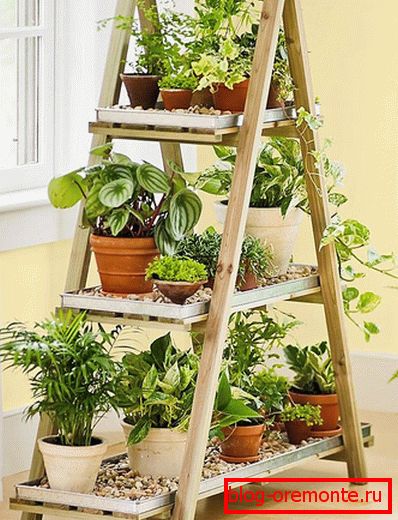
Getting down to assembling a wooden structure
It will be very good if you have about 6 pieces of these wooden planks, and not less than two meters high and the size at the end of 35? 5 mm. You will also need two bars of 20 × 20 mm, also 2 meters high.
Arm yourself with a pencil, screwdriver (cross-shaped) or a screwdriver, tape measure, saw and jigsaw, as well as 25 and 40 mm self-tapping screws. Also, you can not do without an assistant who will simply support the design when mounting shelves to the racks. Now you can start making.
- Wooden slats under the shelves are cut to 60 cm (12 pcs.) And 64 cm (6 pcs.) And, in general, we get 18 small slats - these are future shelves.
- Bars are cut to 70 cm and it turns out 4 pieces - it will be the side racks.
- From the remnants of the bars, we cut out six more small bars: four 23 cm each and two 19 cm each. This is the future shelf holder.
- On the bars, which will serve as racks, we use a pencil for marking the two lower shelves. The marking is done with the calculation of the height of the flowers themselves in the pots that we plan to place on them.
- With the help of four bars (23 cm) we make two shelves. At both ends of the slats, screws with 25 mm across fasten bars, which in turn connect the slats to each other.
- Self-tapping 70 mm screws fasten the shelves to the vertical racks.
- Using the same screws, to the upper parts of the rack between each pair of vertical posts we fix internal bars of 19 cm in size.
- The third shelf is manufactured locally by attaching each strip to the top of the product with 25 mm self-tapping screws.
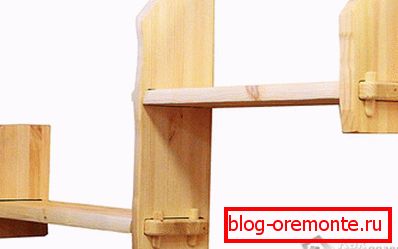
Here such small floor shelf or a rack for flowers turned out.
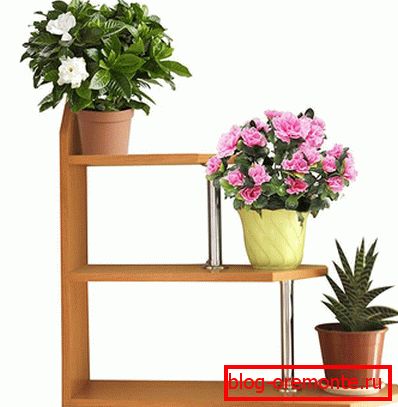
From chipboard

If you prefer the regiment of chipboard, then surely you have experience with this material. There will have to tinker not so much with the manufacture of the design itself, as with the preparatory work before assembly. You will need:
- Chipboard: billet size 140? 200 mm (the best - waste pieces from one sheet, although it does not matter)
- Fasteners (confirmats, screws - 2 pieces for 45 mm and 6 pieces for 16 mm).
- Drill for confirmatories and ordinary drill.
- Hinged slats or roofs.
- Edge.
- Chopi made of wood (dowels).
- PVA glue.
From the tools:
- Iron.
- Hammer.
- Device for pasting edge (ordinary bar with a groove slightly more than 16 mm).
- Wooden block wrapped in sandpaper.
- Structin.
As you can see, the list is considerable, and all this is necessary to prepare for the assembly.
First of all, we determine which ends of the parts will be visible, after which we begin to glue them over. We use for this the usual household iron and shoemaker knife for trimming the excess edge. Using a special device, smoothly smooth the glued melamine edge and grind the end corners with an emery board. Those places that will dock with each other, do not need to paste over.

Elements of the back base for future shelves, which we have not pasted over with paper edge, are being prepared for joining with each other. We drill two shallow holes and pour glue into them. We hammer chopies (shkanty) into the holes, and in the joined part of the neighboring element we also drill two holes and fill them with glue.
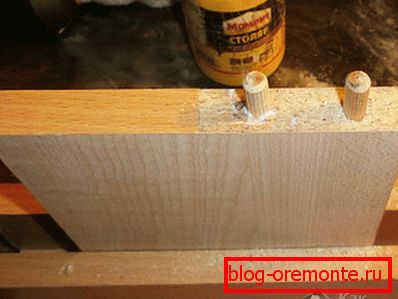
To chopik coincided with the holes of the neighboring element, use special "jigs" or furniture taps for dowels. "Conductors" are worn on the dowels and pressed against the mating part, sharp taps will inevitably leave small grooves. Drill there.

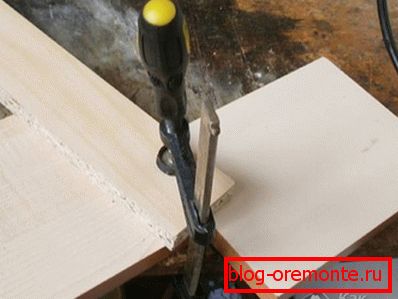
We connect the parts together and firmly press. For this, the clamp is an indispensable tool for us. Tightly clamp the clamp parts and leave to dry completely.
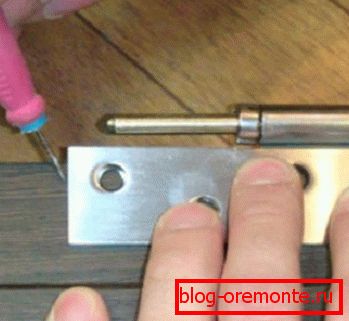
The back of the shelves is made. Now our task is to secure the shelves. To do this, we first make markup for confirmats.
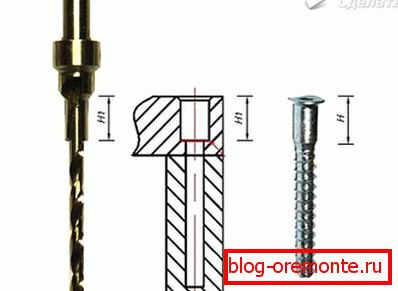
Using a special confirming drill, we drill holes, then proceed to the mounting of the shelves, alternating between them right and left.
It is best to mount the hanging strips on top and bottom so that the shelf hangs on the wall strictly vertically, even if someone accidentally touches it.
It remains to arrange the flowers beautifully and you can enjoy the work of your hands.
You can dream up and make the shelves colorful. Or another option: round the free corners of the shelves and upholster them with a T-shaped plastic edge. It will be much more beautiful.
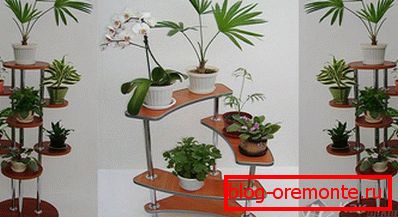
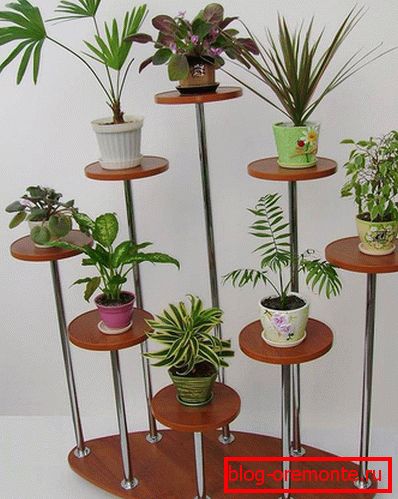
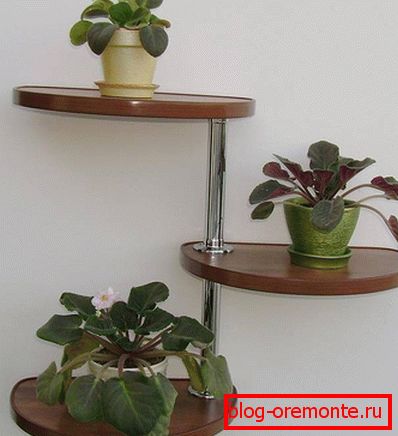
Corner
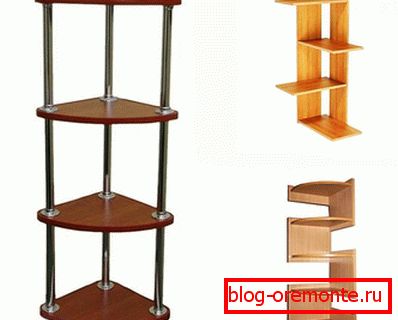
Now it's time to talk about the corner shelves for flowers.
Sometimes the place for flowers is only in the corner, therefore, we need a corner shelf. This can be either a bookcase or a wall shelf. Everything is simple, as mentioned above, the main thing is to prepare everything correctly. For example, if we want to make an angular stack of chipboard with elements of chrome-plated pipes, then we will need:
- 4 squares chipboard required size.
- T-shaped edge (can be the color of the product, although it is not so important).
- Chrome-plated pipe O 25 mm (usually three meters on sale, so it will be better and cheaper to get some residues somewhere), 18 flanges for tubes.
- Three plastic, chrome legs.
- Melamine edge.
From the tool:
- Drill with a nozzle.
- Iron.
- Shoe knife
- Device for pasting edge.
- Sander.
- Jigsaw.
- Frezer with frezoy.
- Truborez.
- Rubber hammer.
- Screws for wood (4? 16) up to 70 pieces.
- Screwdriver.
Pre-prepare the shelves, making them radial. We can do this with an electric jigsaw and a grinding machine. Jigsaw cut off the excess, and place the cut process with a grinder. It is worth noting that such a tool as jigsaw, mercilessly cleaves laminate when cutting. After grinding, these chips are practically removed. The next stage is to glue even ends of the shelves with a melamine edge. Then we will deal with the radius of the future shelves. We will need a milling cutter and a milling machine, which in the end of a chipboard sheet cuts through a small groove, where we subsequently need to hammer in the T-shaped profile with a rubber hammer. Next, we make a basting marker and drill 3 holes in the chipboard under the 25th pipe.
Holes are not drilled at all in the upper and lower shelves.
Using a special pipe cutter, we cut to size the parts of the chrome pipe that we need. To the bottom of the bookcase pre-fasten the legs. Then we wind the flanges on the openings of the two shelves (it is better to do this before installing the shelves in the product) and thread the tubes. We fix them with special screws on the flanges and, one can say, the whatnot is ready. This corner piece with flowers will be a wonderful decoration for your corner.
Suspended
Now it's worth talking about light-loving plants that need to be installed closer to the window or even to the window. Naturally, we will not talk about flowers, but about window shelves for flowers. Of course, your desire to arrange flowers on the window can be caused not only by the light-loving nature of the plant, but also by the structure of the growth of its shoots. They can be, for example, drop down or curly. In this case, it would be better to think about how to arrange these flowers higher. How to make a shelf for flowers in this case? For this you can use different materials.
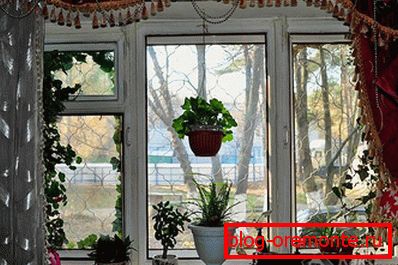
You can also make the window hang potted plants. For this we need only a few anchor anchors with a hook of 8? 60.
- In the upper part of the window we drill a hole with a perforator.
- Insert the anchor hook and screw it in clockwise until it stops.
- We tie ropes to pots. It is better if it is an ordinary fishing line. It is not so visible and durable enough. However, there is no limit for fantasy.
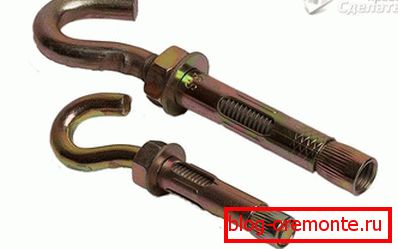
The anchor mechanism is arranged in such a way that when screwed in, the spacer part of it expands and, thus, sits quite firmly in concrete.
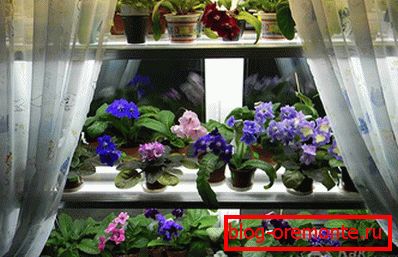
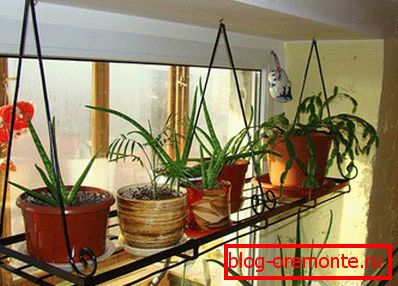
Glass shelf on the window
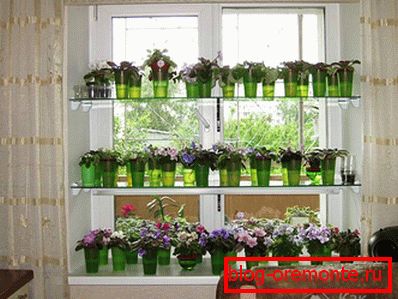
And if we talk about literal window shelves, then the next option is especially acceptable for those who want to do everything, firstly, quickly, secondly, reliably and, thirdly, beautifully. It is clear that we are not talking about placing flower pots on the windowsill. It is cumbersome, inconvenient, and in some cases not very beautiful.
These shelves can be mounted if the window itself is wooden.
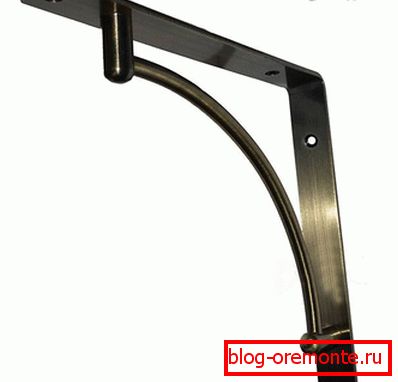 In any furniture store where accessories are sold, you buy a chrome shelf bracket (it is called an arched, concave bracket). On the economic market, you can buy a 1.5-meter-high rack about 3.5 cm wide and about 1.5 cm thick. As a rule, there is a glass shop next to the market and if you know the exact dimensions of your future shelf, order 3 glass thickness along the way. mm with grinding in a circle. For beauty, you can choose any tint, and if you have children, it will be important that the glass is necessarily tempered. Such glasses, when dropped on the ground, scatter into small pieces with sharp edges, and your child will not get hurt about them.
Next, measure the depth of the shelf holder and cut small planochas by these dimensions. Bottom on small screws fasten these strips to the brackets. The tree in this case will serve us as the lining material between the glass and the iron. Just be sure to ensure that the screws do not come out on the other side. Therefore, you must be fasteners appropriate sizes. It remains the case for small: attach brackets to the window frame. After that, you can put shelves on top and make sure that we did everything correctly and the plane is strictly horizontal (use the building level for this). Shelves are not attached to brackets, but will be pressed against flower pots. Convenience is that all this glass construction can be easily dismantled in the case of general cleaning, when you need to wash the windows.
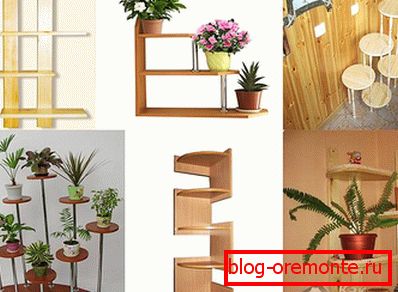
As you noticed, there are quite a few variations on the theme of the shelf for flowers. Which one you prefer depends on your taste and your abilities. The main thing is different: beautiful flowers will decorate your house, and beautiful original shelves made with your own hands will tell a lot about the owner and owner of this house. Therefore, let there be many flowers in your house.
Video
This video is about making flower shelves for chipboard windowsill and pipes:
Learn how to make a multi-level wooden shelf-stand for flowers:
A photo