Self-leveling ceiling
When repairing an apartment or office, all major work is often done after finishing the ceiling. The main task of this process is to level the surface. This is also the most difficult part of the work. Alignment is necessary in any case, regardless of the method of covering the ceiling, whether it be wallpaper, paint or drywall (in this case, you need to seal the seams).
Instruments
In order for the preparatory work to be carried out qualitatively and successfully, it is important to pick up all the necessary tools and follow the sequence of instructions provided by experienced professionals. This will require:
- metal spatulas, preferably several types and sizes;
- capacity for mixing the solution with high and straight sides;
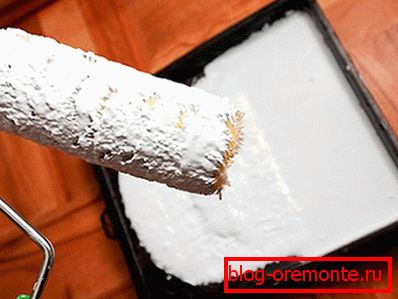
- brush and roller for applying a primer mixture;
- skins for final grinding the surface of the ceiling.
Training

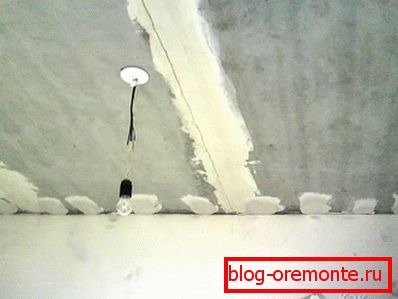
The preparatory work begins with the fact that the ceiling is completely cleaned from the previous layers of decoration, from old paint or plaster. This work should be done with the utmost care, since the durability of all subsequent alignment and ceiling coating processes depends on this. Old layers are usually cleaned with special spatulas or scrapers. Sometimes it can be removed from a dry surface, if the old coating moves well. But professionals advise to pre-well wet the surface to be cleaned with water and thoroughly ventilate the room. This will contribute to a better separation of the old coating, as air bubbles will appear beneath it. After the surface is completely cleaned, it should be thoroughly cleaned.
The next step will be applying a primer. But before this it is important to determine how the ceiling will be leveling with your own hands, since the choice of primer mix depends on it. There are several types of it:
- for water-based paint,
- for plaster and putty,
- universal primer.
Ceiling plastering

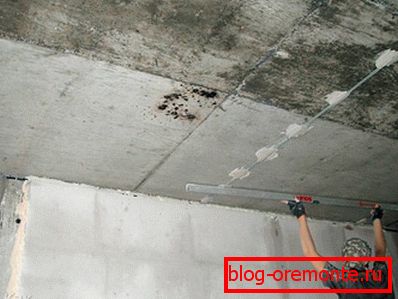
This finishing method is used for leveling ceilings with very strong curvature of the surface. In this way, it is possible to level both concrete and steel, and wooden ceilings. Thanks to its functionality, this technique is the most popular. The layer of plaster should not exceed 5 cm, therefore the installed special beacons, respectively, can be no more than an acceptable size. After carrying out leveling works with plaster, irregularities or splashes after complete drying can be cut off or sanded with a special construction float. Then a finishing topcoat is applied, which is carefully leveled.
If the irregularities do not exceed 5 cm, then dry plaster mixtures can be used. They are best used in small areas to perform local work, for example, repairing cracks and dents, since this material is quite expensive.
Ceiling putty

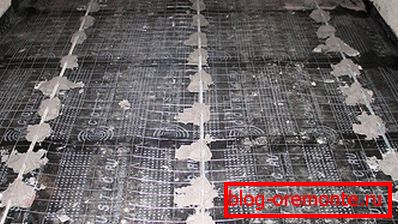
Ideally smooth surface can be created with putty. This effect is achieved due to the fact that it is applied in a thin layer, and its structure is smaller than that of plaster. Before applying the putty surface thoroughly cleaned and skins. After that, a special mesh is attached to the glue. Today, there are many types of such nets, including the possibility of acquiring self-adhesive material.
Once the surfaces are fully prepared for the application of putty, you can mix the solution. To do this, it is diluted with water and thoroughly mixed using a construction mixer or a drill with a special nozzle.
As a result, the mixture should be similar in consistency with thick sour cream.
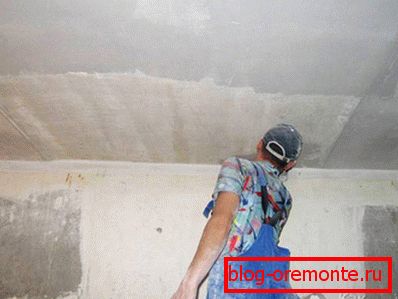
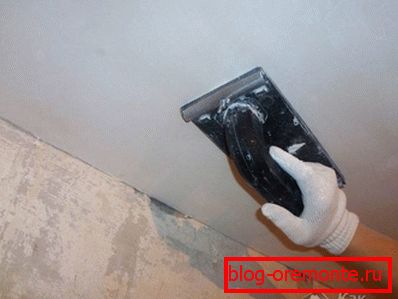
When the solution is ready, it should be quickly but gently applied to the prepared surface of the ceiling, as it soon begins to thicken. To do this, use a wide spatula, which with a small portion of the mixture is recruited. Apply a large spatula to the ceiling, apply a layer of putty. If at the same time stains remain on the plane, do not worry and spend time aligning them, because after complete drying the ceiling is sanded with sandpaper, and all minor irregularities are completely eliminated. If all the used building material is from the same manufacturer, both the technical and aesthetic indicators of the work done will significantly improve.
So put the finish putty:
Stages of implementation

Since the application of putty is the main final stage of the alignment of the ceiling, it is important to follow all the instructions of manufacturers and specialists. To summarize, the work is divided into several stages:
- preparation - cleaning the ceiling,
- coating with a deep-penetrating primer mixture for better adhesion of materials,
- painting grid mounting
- the first starting layer of putty is no thicker than 1 cm,
- finishing coat and sanding after the ceiling dries.
It is important to remember that before further painting the plane it is necessary to once again treat the finished surface with a primer.
A photo