Oven & laquo; dutch & raquo; do it yourself
To heat a country house or cottage, they often use a “Dutch” - a furnace built of solid ceramic bricks. Its advantages are obvious:
- ease of assembly;
- takes up little space;
- heats well both large and small rooms;
- after the fuel burns out, the furnace remains warm for a long time and maintains a sufficiently comfortable temperature in the room.
The Dutchman can be erected with a newcomer with its own hands, but it must be carefully prepared for its erection. The furnace design includes:
- ball;
- chimney system;
- adjustment of smoke output.

In the fuel chamber - the firebox - the combustion of the fuel takes place, and the flue gases, rising and falling along the elongated system of chimneys, give up their heat more fully. The speed of the smoke can be adjusted using a special metal flap.
In the classical design of the “Dutch” only the door for fuel is provided, however modern stoves of this kind are still equipped with a door for the fan. In addition, the grate has been added to facilitate the removal of ash and the laying of new fuel.
The simple design of the stove allows you to fold it even without any experience installing the stove.
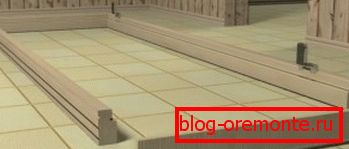
Foundation organization
- For the construction of the Dutch woman, it is necessary to prepare the foundation initially - at least a week before the start of installation. To do this, determine the size of the stove. The size of its base should be somewhat larger.
- At the installation site of the stove, it is necessary to disassemble the floor and prepare a foundation pit at least 50 cm deep. If the foundation for the “Dutchwoman” practically rests on the foundation of the house, a sand layer must be laid between them.
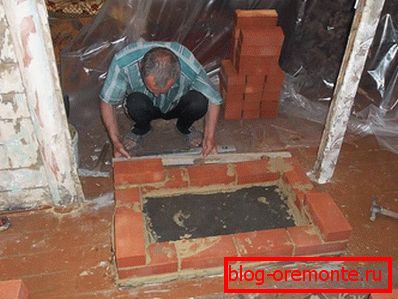
- Having made a cement mortar (cement, water and sand in a ratio of 1: 3: 4), it is placed in a small layer in a prepared excavation pit. Then they put a reinforcing grid of metal rods that are not less than 1 cm thick. Finally, pour the remaining cement mortar flush with the floor. From above, after the completion of work on the arrangement of the Dutch basement, the laid solution is sprinkled with sifted cement powder.
- During the week, the foundation should harden.
The procedure for laying bricks

- The thickness of the walls of the "Dutch" is one brick.
- Having laid the waterproofing material on a frozen foundation, you need to pour a thin layer of sand on top of it, and lay out the first row of bricks soaked in water flatly, keeping a small distance between them. When laying the kiln itself, a clay-based mortar is used: a mortar is applied on top of the lined bricks, which is gradually lowered into the space left between the bricks. All the following rows are bound with the solution as usual.
 Immediately after laying the first row, it is necessary to stretch the ropes vertically from the corners and the middle of each of the 4 walls so as to keep the dimensions of the “Dutchwoman” and lay it out straight.
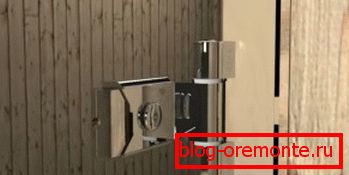
- The second row is required to lay out entirely, with a shift to the floor of the brick relative to the bricks laid out along the perimeter of the first row. In the third row is required to equip the door blew. Since the ready-made metal door is used, it is necessary to leave a place both in the horizontal row and in the vertical one for mounting the door. Between the fourth and fifth rows, it is necessary to lay the grate with the possibility of its subsequent replacement, and starting from the 6th row it is required to begin to lay out the fuel chamber, including its door.
- The walls of the fuel chamber must continue to lay out up to 13 rows inclusive.
- In the 14th and 15th rows, it is necessary to arrange the overlap of the firebox, laying bricks on the edge. Further, with the help of bricks placed on the fins, an elongated chimney is formed, along which smoke will rise as wood or coal burns in the fuel chamber.
- If you need to build a compact "Dutch", then its chimneys with the help of a special technology calculations as if rolled into a ring. When installing a large stove, a long chimney is located without collapsing, and thus, the classic “Dutchwoman” takes up quite a lot of space.
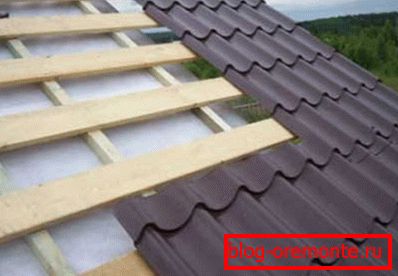
- Finally, a long chimney comes down to the chimney, going out through the roof. In the area of the roof, it is necessary to lay the bricks flat again, thus reaching a greater thickness. In addition, insulating materials should be used to prevent overheating of the floors.
- Operation of the "Dutch" is possible after only 2-3 weeks after her calculations.
Video
Surely you have questions regarding the preparation of clay solution. Detailed instructions, see here:
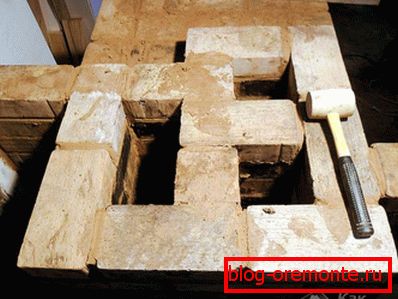
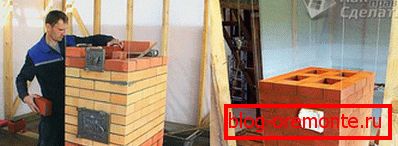
This is a finished Dutch oven, the photos of the construction stages of which are located below:
A photo
Step-by-step photos of the process of laying the oven: