How to sheathe the balcony with your own hands
The desire to transform their living space and make it as comfortable as possible makes the owners of city apartments think about the efficient use of each centimeter of space. Balconies and loggias fell under the transformation, but these additional meters to the apartment have only a floor and a low fence. To make it cozy and comfortable here, it is necessary to put a lot of effort into it. Before you sheathe the balcony with your own hands, we recommend reading our instructions.
For finishing a balcony or a loggia from the inside, materials differing in texture, appearance and characteristics are used. We will talk about some types of plating that can be done independently, without the involvement of a team of professionals.
Choosing materials
For the interior decoration of loggias and balconies, they mainly use all types of wooden wall paneling, plastic panels of various textures or MDF panels. When applied as a finishing decorative coating of stone, various types of plaster or tile, you need to choose good sheets of plasterboard for the base.
The balconies decorated from the inside with decorative plaster of different structure, block by house, cork panels or artificial stone that is so similar to natural material, look unusually beautiful. These materials are extremely beautiful and of high quality, but their price level is not available to everyone.
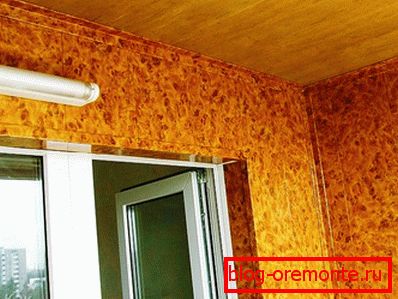
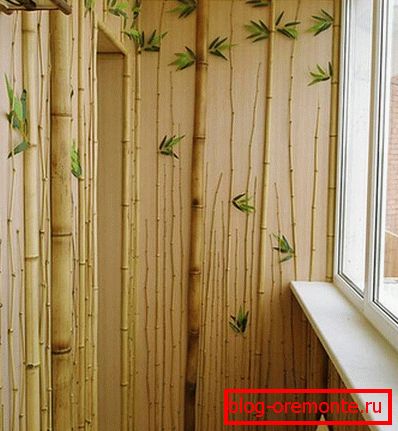
We work with plastic

The advantages of using plastic panels:
- Large selection of textures and colors.
- The material is safe for human health - completely non-toxic.
- The plastic-lined walls will delight you with their ideal look for a long time.
- Accuracy and accuracy of work - the guarantor of excellent quality plating.
To install plastic panels, prepare a set of tools:
- Hacksaw.
- Drill and drill set.
- Level.
- Electric jigsaw.
- Stapler and hammer.
Step-by-step instruction
Step # 1. Mounting crates from wooden bars.
Install the crate on the wall to the same plane. To check the quality of attachment, use a level.
Step 2. Warming the balcony. Between the bars for thermal insulation it is necessary to lay mineral wool or foam plates.
Step 3. Proceed to trim the wall on which there are no openings. Begin work with installation of a U-shaped box with sidewalls of different sizes. The wide side must be attached to the crate.
The box layout is vertical. The top box is attached to the ceiling base, and the bottom - to the floor covering.
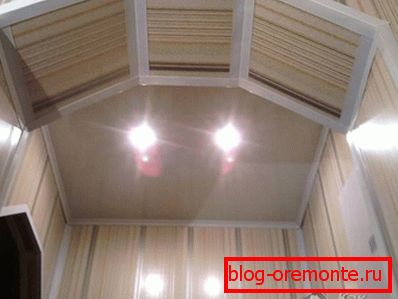
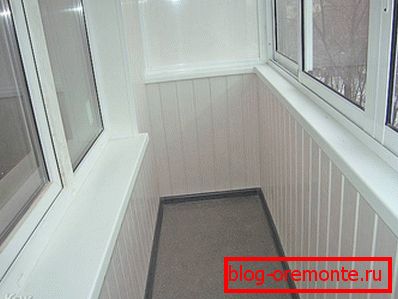
It's time to do the installation of panels. The first part of the trim a little bend and insert into the box. Without haste, slide the trim to the starting box. With effort, push the trim element into the box. When you hear a click, the panel locks into place. Attach the stapler to the installed crate. If desired, mounting can be done with mounting clips.
Install all panels, completely covering the wall. The last panel fix the finishing profile, characterized by a larger depth.
Step number 4. Sheathing door and window openings. Work at this stage is slightly different from the previous step. Install the panels from the opening into the corner. After that install both U-shaped profiles. Continue to work until complete.
Sometimes in the corners you can still notice small cracks. Eliminate this disadvantage by using mounting glue and a neat decorative plinth. Being engaged in the interior cladding of the room with the use of PVC panels, do not be afraid to experiment, using at the same time different details of the covering
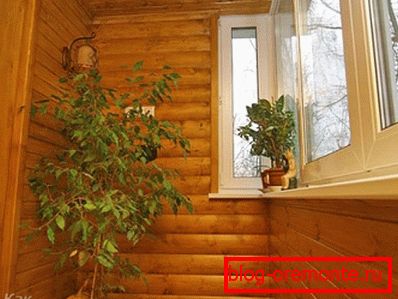
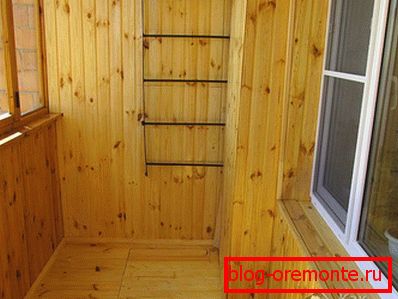
We work with eurolining
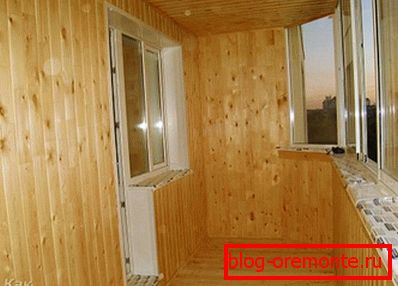
The special sheer coziness and warmth are distinguished by the spaces sheathed in wood. There are three types of wood profiles:
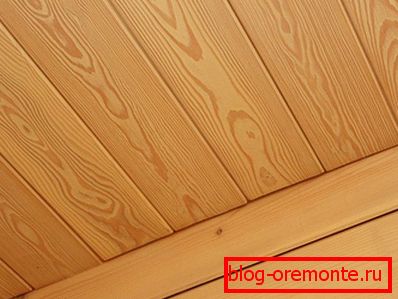
- The original block house.
- Excellent quality lining.
- Molded standard form.
The unusual shape of the block house is used much less frequently than other species. Especially in demand for interior work is a material that meets European standards, made from softwood, oak, ash, linden or alder.
By price level and the best quality products are made of cedar and oak. More available pine, linden and spruce materials.
The use of pine material is advisable only when the balcony windows are located on the north side. Under the influence of the rays of the sun on the walls of the pine clapboard, resin evaporation begins to stand out.
To work with Euro-lining you need a set of tools:
- Small tooth saw for wood.
- Drill bit set and drill.
- Stuslo.
- Level.
- Hammer.
- Electric jigsaw.
Step-by-step instruction
Step # 1. Start by installing the crates. Be sure to check the correct location of the bars.
Important! Bars for lathing are positioned vertically for works with horizontal or diagonal plating and horizontally for vertical installation of plating.
Step number 2. Do not forget to put heat-insulating material between the elements of the batten, and on it a layer of film for vapor barrier.
Step 3. It is time to start the finishing of the room with eurolining. Sheathing lining balcony is not as complicated as it may seem at first. The main thing - the desire to achieve a good result and a little patience.
Choose one corner of the balcony and get to work. The comb of the first part you are installing should be pointing towards the corner. To check the correct location of the skin element, use a level. The location of the material is vertical. Using small nails, attach the part to the crate through the lower part of the groove.
Continue the installation until you completely close the wall. Most likely, the last part you have to trim to the desired width. Start the cut sheet at an angle to the previous one and push it down firmly. Sheet necessarily fit into place.
Narrow the slits in the corners, close the neat simple baseboard or rail.
Prevent the fungus from covering the balcony. All wooden parts must be treated with polyvinyl acetate putty, completely harmless to human health and perfectly protecting the tree from fungus.
We work with gypsum plasterboard

The amazing ability of drywall - to align any surface, made it one of the most popular materials for interior decoration. To apply decorative finishing material to the plasterboard surface, no additional preparation is needed. Topcoat can be wallpaper of different quality, artificial stone or any type of plaster,
To use plasterboard for cladding, a loggia or balcony must be glazed and insulated. To work on finishing the balcony with plasterboard do it yourself you need a set of tools:
- Planer and construction level.
- Special knife.
- Puncher and screwdriver.
- Scissors for cutting metal.
To fix the sheets, you first need to make the frame of the acquired metal profile. The distance between the bars of the frame should not exceed 60 cm.
To continue working with sheets of drywall, you will need the help of another person. The material is heavy and working alone with them will be difficult. Attach sheets to the frame with self-tapping screws every 20–25 cm. Head-ups as far as possible so that they do not interfere with the application of the finishing layer. Installation of the first sheet, check the level. Subsequent sheets are set close to the first.
Glue all the joints with serpyanka and apply a layer of putty.
Finishing options for plasterboard
Simply installed sheets of drywall with embedded seams do not look very attractive. The walls have become smooth, but they are still far from beauty. It is necessary to apply a finishing layer.
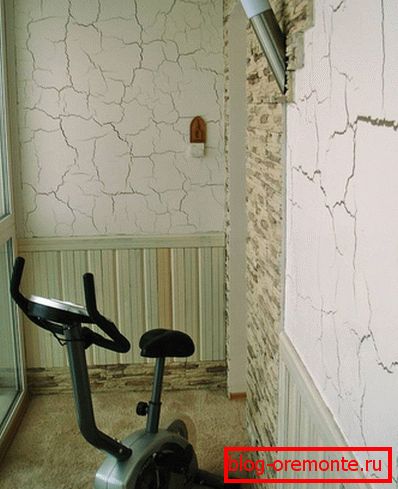
Decorative plaster
For work you will need:
- Bucket.
- Plaster "corolla".
- Mixer for mixing mixture.
- Plastic grater.
- Metal spatula.
Drywall before applying plaster be sure to prime a good quality primer. Stir the desired amount of plaster and begin to put it on the walls with a spatula.
The layer of plaster must be smooth and not too thick, so that you can wipe it to the desired texture.
30 minutes after applying the plaster, proceed to wiping it with a plastic grater. Because as you move the grater, the final result and the pattern on the wall depend. If you started to rub with rotating movements, then continue to do so until the end. The treated surface should be smooth, with a beautiful smooth pattern.
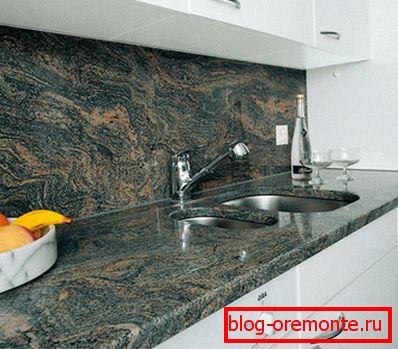
Artificial stone is beautiful
If you want to use an artificial stone as a topcoat, first make a draft of your new balcony. Drawn sketches will help you achieve the desired result and properly plan the work with the material. What will your balcony look like? It all depends on your imagination and effort.
First drywall the walls with a primer. To glue the stone, use a good quality special glue. Apply glue to the back side of the decorative material using a notched trowel.
The artificial stone is perfectly combined with other decorative materials. The result is always pleased with its singularity and originality. Experiment.
We talked about different ways of covering the closed-type balconies, but not always apartment owners want to completely close this small area. In this case, it makes sense to say a few words about the finishing of an open balcony.
Open balcony - decoration and design
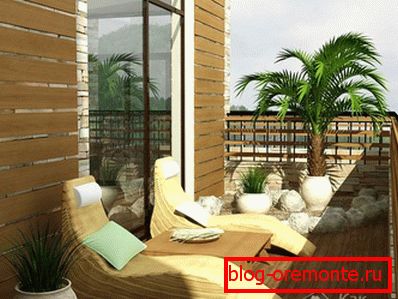
The main difference is the choice of decorative material. The open surface is exposed to the external environment: precipitation, temperature changes and the burning rays of the sun.
The material chosen for finishing should have a high moisture resistance index. Such characteristics have a tile and stone. A good option would be the choice of plastic panels. Most apartment owners prefer wood paneling.
Using natural wood as a covering will require additional costs from you. You have to definitely make a good defense. In addition to protection, the tree will need more thorough and painstaking care.
Open balconies are mostly sheathed in stone. Having spent once a decent amount of money, you get a wonderful corner of rest for decades.
We told you about the different materials and methods of covering balconies. If you have something to add to the information obtained from the article, leave your comments. It is very important for us to know your opinion.
Video
From the video below you will learn how to sheathe the balcony yourself beautifully and quickly.
Photos of balconies covered with various materials