How to sheathe a window siding
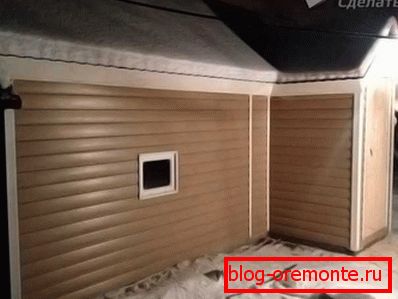
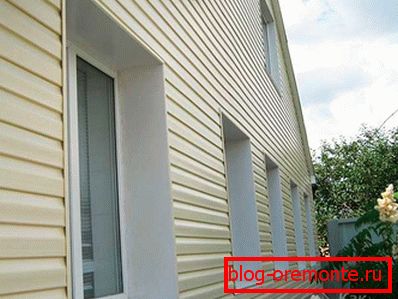
Finishing the building with siding gives it a neat and attractive look. This process is quite simple and can be performed without the involvement of builders. Facing such elements of the house as window openings should be carried out according to existing technology. This small area will require careful measurements and precise material trimming. Let's sort how to sheathe a window with a siding.
Steel and vinyl siding are offered for building their own hands. The metal finish is heavier and more expensive, which is why plastic material is used more often. It is resistant to all weather collisions - precipitation, wind, high and low temperatures, serves for a long time and is easy to clean when contaminated.
Regardless of the choice of material, installation of siding on the slopes of the windows is the same pattern.
Training
Before you sheathe the window, you need to purchase all the accessories and components:
- profile elements;
- tide;
- corner for finishing joints;
- faasa;
- priokny and finishing level.

Fasteners and siding should be from the same manufacturer. Only original fasteners are used, otherwise the lining will not be of high quality. The purchase of the required amount of material and fittings to produce at a time, since the trimmed siding is often different in shade from the main one. Calculate the desired amount can be drawn up on the drawing. For counting, the perimeter of the window is measured and 10% is added for trimming. Fastener siding made screws.
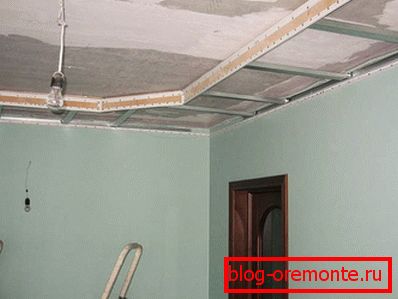
Before the beginning of the cladding, the surface of the slopes is prepared; if necessary, plaster is applied. The surface is primed to protect the slopes from microorganisms. To work on the lining start after drying.
Instruments

- Metal shears for cutting siding.
- Square for marking.
- Hammer for mounting crates.
- Level.
- Two hacksaws: for metalworking and woodworking.
- Knife for cutting the fold of the siding panel.
- Cord and chalk to beat levels.
Protection of window openings
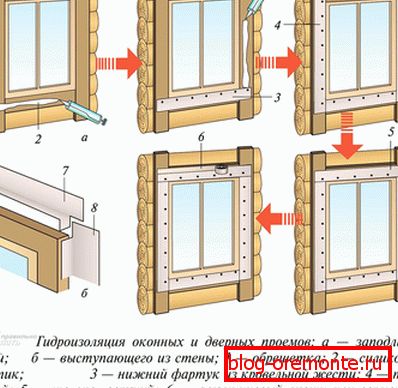
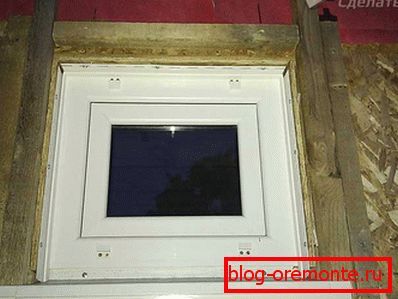
Initially, it is necessary to protect windows from precipitation. To do this, an apron made of aluminum foil or thin iron is installed around the perimeter. The strips are superimposed on each other, coated with a sealant and nailed. The edge is protected by aluminum tape. Manufactured apron is not attached to the window frame.
Next, select the method of facing the window:
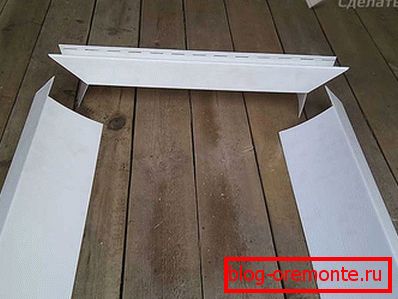
- "At the corner." Four J-profiles are selected for the height and width of the window. The ends of the upper bar and the lower part of the side profile are cut at an angle of 45 degrees. Only the front part is cut, the inner corner is not affected. Across the width of the upper profile, an incision is made for the water flow and is bent into the side profile, which is inserted under the top one. The connection of all parts of the frame is made with a gap of up to 5 mm for thermal expansion. Water outflow is attached to the mounting foam and additionally fixed with screws.
- Overlap. Take the top, bottom and two side J-profiles. The upper element is cut to the width and bent inward to drain water. The bent edge is inserted into the side profile. A gap of 3–5 mm between the elements is observed, giving space for expansion. The bottom profile is inserted with a gap of 2-3 mm.
If the deepening of the window opening is less than 19 cm, you can use a specially made window strip. Its edges are covered with a finishing profile or a j-profile with a chamfer.
Windows with slopes exceeding a width of 20 cm
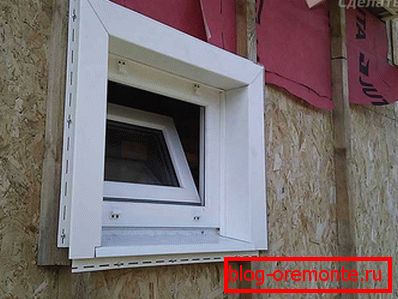
Work begins with the installation of low tide. It runs 2 cm wider than the slopes. In the manufacture of metal casting on the size of the window, the side parts are not completely cut off, the remaining strips unbend vertically and fasten with screws to the walls. Before fixing the reflux, liquid nails are applied to the area adjacent to the wall.
In the case when the window is deepened by more than 20 cm, the crate is installed. The right angle is determined and the starting profile is screwed on it. The slopes are covered with siding, and the joints around the perimeter are closed with an external corner.
In the places of attachment to the siding profiles do not need to leave gaps, fixing should be tight.
When facing a semicircular window, a flexible J-profile is used. In the absence of an elastic element, you can take the usual and cut along the bar. When fastening a profile, a step of 15 cm is observed.
Rules that cannot be ignored
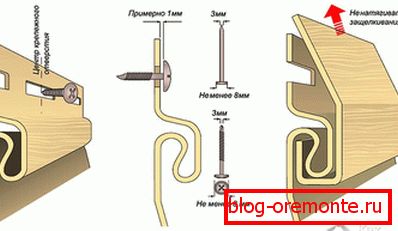
- Acquire only galvanized screws, as they do not rust from moisture.
- Twist fasteners at right angles, any distortions reduce the strength of the structure.
- The holes for the screws are oblong, providing the mobility of fasteners during expansion. Twist the screw completely, leave a gap of 1 mm.
- The gaps between the profiles allow the structure to expand without problems when heated.
Installation of siding near the window openings - a complex area of facing, to know how to properly perform the finish, you can familiarize yourself with the video lesson.
Video
This video describes how to do it yourself with a siding window:
A photo