How to remove the yellow spot on the ceiling
Removal of yellow spots from the ceiling, usually formed near rusting sewer or water pipes (as well as in the case of flooding by neighbors from the upper floors), is not an easy task, requiring certain skills and abilities. To call for a specialist to perform the work in some cases the only right decision. But often, having made some efforts and having spent a little time, it is possible to liquidate a spot independently. The way to remove the yellow spot on the ceiling after a leakage depends on the arrangement of the ceilings themselves, which are stretch, plaster, plasterboard and tiled. These are the most popular types of ceilings, which are repaired in various ways. Consider each of the options in more detail.
Repair plaster surface
Most often, after flooding, only a certain part of the coating comes into disrepair. Usually these are joints of the bases, places of electrical wiring and other weak points.
Plaster ceilings are of two types:
- wooden support beam, upholstered with shingles (narrow wooden plank) on which a layer of plaster is then applied;
- concrete floors, leveled with putty and painted with paint.

First consider the repair of the concrete ceiling, for which you will need the following tools:
- spatulas;
- emery cloths and paper;
- respirators;
- rollers and brushes;
- industrial dryer;
- spotlights.
It is necessary to prepare in advance the materials by which the yellow spot will be embedded:
- putty;
- primer;
- paint.
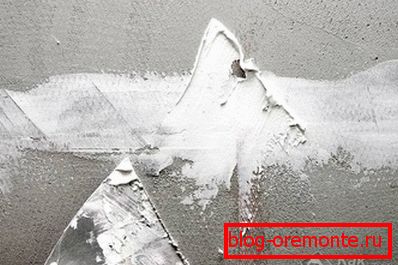
- The repair of the ceiling begins, as a rule, with the removal of a water-damaged area. But before removing the soaked layer, it must be dried. To do this, remove the wet paint and putty with a spatula by cleaning the area to the concrete base. Then blow-dry the leak.
- If water has leaked at the point of electrical wiring, then the room must be de-energized before starting work. In this case, the base is dried naturally or with a building dryer connected to another branch of the electrical grid.
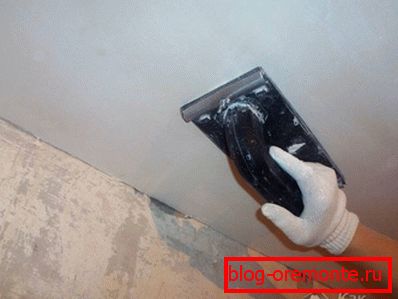
 When the surface to be repaired is dried, you need to do a scrub, which is done with an emery cloth. It is best to do this work in a respirator (or a mask purchased in a pharmacy). Cleaning should be done very carefully, so that no traces of old paint and putty remain. The edges of the layer remaining on the ceiling should preferably be smoothed, so that the joints are not sharp.
- Then, using a vacuum cleaner and a brush, the construction dust is removed and you can proceed to the restoration of the damaged layer.
- The surface before applying the putty primed. This will relieve it of the remaining dust and improve the adhesion of the layer of plaster with concrete. The primer is applied twice, while it is desirable that it does not fall on areas that are not damaged by water.
 After the primer is dry, a putty is applied to the prepared area. The material must fit the surface to be repaired. On the package are usually listed all the characteristics of the mixture. But the trial layer is still necessary to do. To do this, dilute some dry mixture with water until a homogeneous mass is obtained, which is applied to the place where the intact layer meets the cleaned surface (approximately 5–5 cm). If the layer dries out smoothly, without the formation of bubbles and cracks, then you can continue to work.
- After the applied solution dries, you should level the surface with emery paper, canvas and a spotlight, which will help bring the layer to a perfectly smooth state.
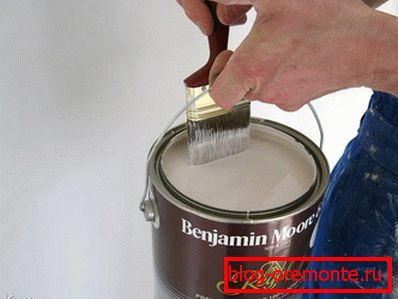
Before you paint the ceiling, you need to choose the right coloring composition. For example, some paint is not allowed to overlap. Repainting will have the entire ceiling, not just the damaged area. Because the new layer will be different from the old one anyway. The procedure is performed with a roller and brush.
We repair the plasterboard ceiling
Water is one of the most dangerous enemies of drywall. It suffers from moisture more seriously than other types of surfaces. Water instantly destroys the structure of drywall, it soaks and turns yellow for a short time, so the sooner the measures are taken to repair the ceiling the better.

- It is necessary to expand the leakage site to remove water from the interior. This can be done with a screwdriver, knife or other suitable tool, after substituting any container for collecting water.
- The damaged place will have to be cut out completely, because from the bottom it is impossible to determine the scale of the problem - how badly the material has suffered from the inside. After the hole expands so that it can be looked into, with the help of a mirror and a flashlight it is necessary to examine the entire sheet, having determined the size of the damage. You can tap a sheet from below: a dull sound will report a drywall damage.
- Most often suffer the joints and seams. Sometimes it is easiest to replace the entire sheet of material.
- In place of the deleted sheet, a new one is installed. All further work is performed in strict sequence: stripping, priming, puttying, leveling the layer, painting.
Leak on stretch ceilings
How badly the stretch ceiling will suffer from leakage depends on the coverage. For example, water can cause serious damage to a fabric surface, and the ceiling will have to be completely replaced. But there are such types of finishes, which the water does not cause much damage. The ceiling just dries out and takes on the original appearance. Sometimes it may require cosmetic staining.
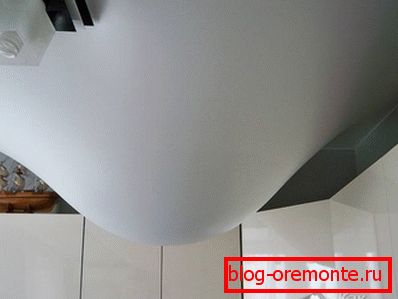
Leaking vinyl ceiling
It is not dangerous leaks for vinyl ceilings, but they are able to collect a large amount of water, not letting it down. The maximum that you have to do is remove the accumulated water. Installers can do this job best. But if the case does not tolerate delay, then you can try to drain the water yourself.
On vinyl ceilings there are decorative inserts having a connecting seam. Usually they are installed in the corners. After the seam is found, the insert can be pulled out. Is the room before the procedure necessary to warm up to 40? C. After the water has been drained into the container, it is necessary to dry the interior of the ceiling, and only then insert the decorative insert in place.
The easiest thing to do is to “fix” the ceilings made of PVC panels after a leak, which the water does not cause much harm, and you can temporarily remove it from one of the slats.
Considered options, how to repair the ceiling after flooding, remove yellow spots or prevent their appearance, will help to cope with the problem of leakage yourself. But do not forget that sometimes still not do without the intervention of specialists.
Video
You can use special equipment: