How to make a shelf for shoes with their own hands
Every person’s wardrobe is undoubtedly great. Among all things, shoes occupy an important place. It is placed separately from all other items of clothing. In most cases, shoes, for convenience, are stored in the hallway or corridor. In order for it to serve for a long time, it is necessary to handle it carefully and to store it properly. For the latter, a separate shelf is best suited. You can buy it in the store or do it yourself. In this article you will learn how to make a shelf for shoes with their own hands.
Modern shelf

Today, in furniture stores there are a huge number of shelves of different shapes and designs. To choose the model itself is sometimes difficult. First, the dimensions of the structure are calculated:
- height;
- length;
- width.
It is also worth considering the number of shelves or cells and their height. To do this, you need to revise all shoes for its size. In addition, the design can be supplemented with a cabinet, stool or other decorative trim. The shelf can have an angular, round, rectangular shape, be rotating.
A simple, but at the same time durable shelf can be made of scrap materials, such as wood or sheet of fiberboard.
Selection of base material
The durability and practicality of the shelf under the shoes will depend on the material from which it is made. So today there are practically no restrictions on the choice. Among the most common materials are:
- plywood
- tree;
- DSP;
- laminate;
- reiki;
- profile;
- box;
- pipes;
- metal.
The most common is the tree. You also need to buy a varnish or paint. Thanks to this, the shelf will repel moisture and dirt. This also applies to chipboard. Experts advise for wet shoes to provide a lower shelf, which will serve for drying. Metal products also need additional protection, since corrosion can form as a result of exposure to moisture. To create a protective layer, you can use the remnants of paint. Made shelf can be installed in the hallway.
Due to the protective layer, the tree will not be subject to swelling and as a result, deformation. This will increase the service life of the product by several years.
Tools and materials

To make the shelf at home does not need much time and effort. In most cases, it all depends on the design, so specifying a standard set will be somewhat problematic. When selecting tools, be sure to include in the list:
- electric drill;
- screwdriver;
- hacksaw (for metal or wood);
- ruler;
- pencil;
- glue;
- fasteners;
- stamesku;
- grinding machine or sandpaper.
When planning to make a shelf of wood and metal, carefully select paintwork materials. It is desirable that the finished shelf combined with the interior of the room.
Step-by-step instructions for making wood
The most relevant and simple option is a shelf for shoes made of wood. For its installation is enough to take a few boards, which remained after the repair and finishing works. As already mentioned, the first step is to determine the dimensions, functionality and design of the product. After selecting all the tools and fasteners, you can proceed to the assembly:
- From the prepared lumber it is necessary to cut out all the elements in a given quantity: support bars, cross bars, side racks.
- To prevent injury, all prepared parts are processed with fine sandpaper.
- With the help of screws and a screwdriver, the frame is fastened and shelves are mounted.
- The finished product is varnished or painted.
An old cabinet or shelf can serve as the basis for the manufacture of a shelf for shoes. In this case, the whole procedure is greatly simplified.
Installation of wood and metal strips
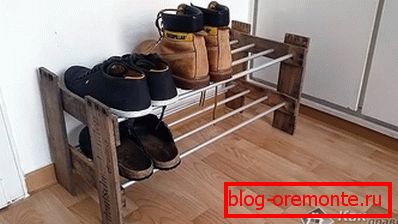
An equally simple option that can be done independently is the combination of wood and metal slats. You can use both regular boards and sheets of hardboard, but the thickness should not exceed 1.5 cm. Planks should have a cylindrical shape with a diameter of 2 cm. The ideal option would be stainless steel, which is not afraid of moisture. Do not forget about fasteners.
For convenience, it is better to draw a sketch of the future product on paper. This will help to avoid mistakes or the formation of defects. Side and back walls are cut out of wood. All edges should be smooth. For convenience, use a sanding machine or sandpaper. Before stitching all the prepared elements it is necessary to apply the markup. In the role of fasteners can serve as nails, screws.
It is best to place such a shelf on the floor. In order for a large mass structure to be held on the wall in the corridor, it must be securely fastened.
So, creating a shelf for storing shoes yourself is quite simple. You must have the desire, as well as to allocate some time. Showing imagination, you can get not only the necessary thing, but also the original element of the decor, which can harmoniously fit into the interior of the hallway.
You may be interested in such materials:
- Furniture for bath
- How to make a rack
- Manufacturing wardrobe
- How to make a shelf in the garage
- How to make a bath shelf
Video
From the videos provided, you will learn about two simple methods for producing a shoe rack for shoes:
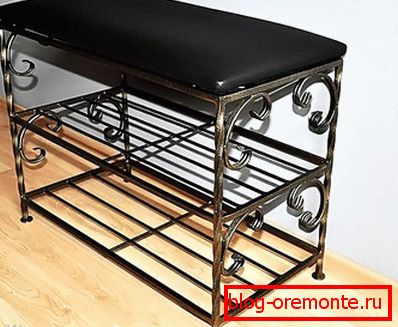
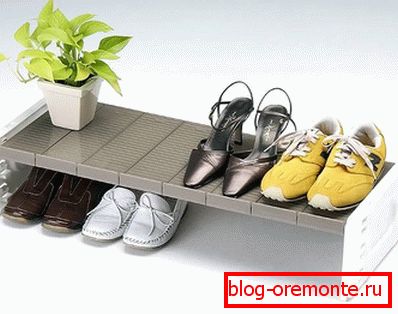
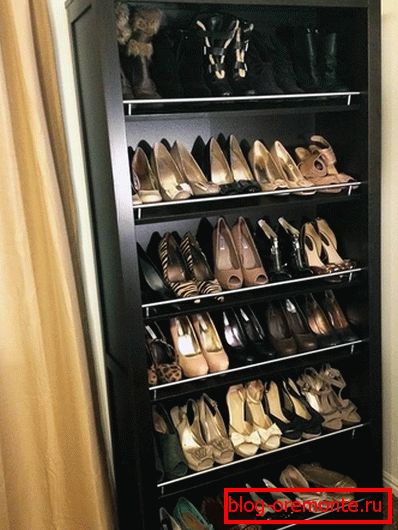
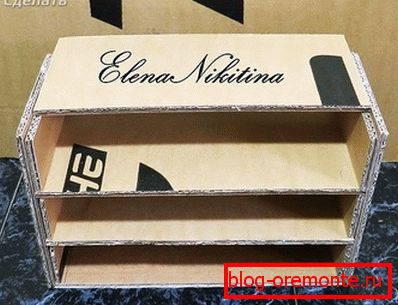
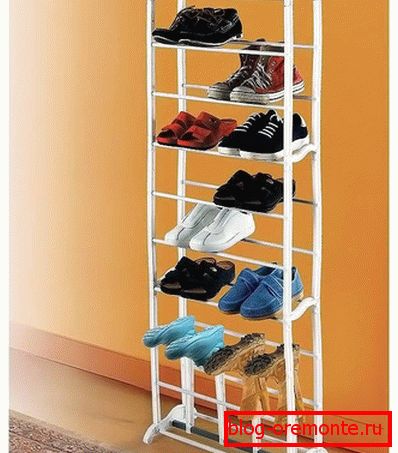
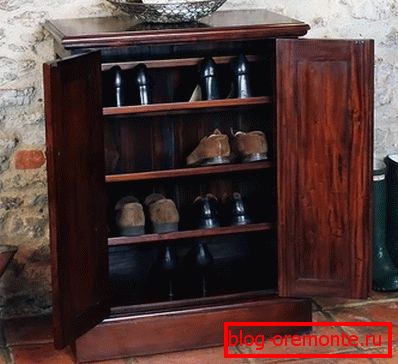
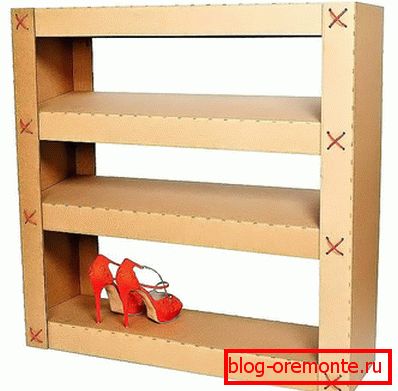
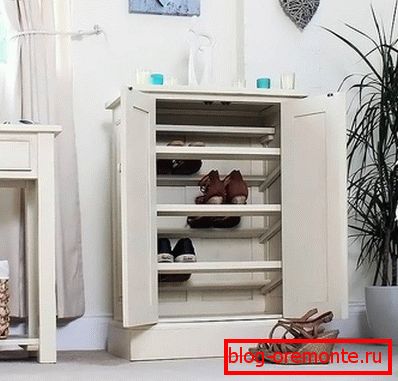
A photo
Below are some nice photos with different ideas for making your own shoe shelves: