How to make a pipe box in the bathroom
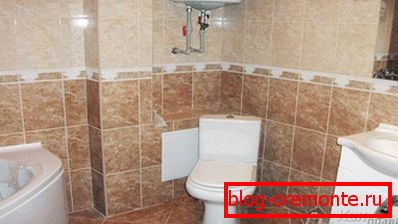
Planned to make repairs in the bathroom - bought building materials, plumbing, start working. And, of course, we will have to resolve the issue with pipes laid in the bathroom. Therefore, during repair, a completely normal question may arise - what to do, how to close them and what? It is better, of course, if there is an opportunity to broach a niche in the wall and hide them inside. But if it is extremely difficult or impossible at all, then you should think about how to make a pipe box in the bathroom.
To do this, there are several ways - use drywall or plastic products. This article will describe the worthy sides of each of these options.
Instruments
For the manufacture of boxes will need some tools, namely:
- roulette,
- polyurethane foam
- good glue
- plasterboard,
- metallic profile,
- metal screws and for them a screwdriver or a good screwdriver,
- ceramic tile.
Check the condition of the pipes
Before you make the box, it would be nice to check the status of plumbing fixtures. Agree, it will be very unpleasant, if after making the box it turns out that the pipes are leaking somewhere? Therefore, it is better to pay special attention to this moment before installing the box and fix all the flaws at once, without waiting for problems.
Making a box of drywall
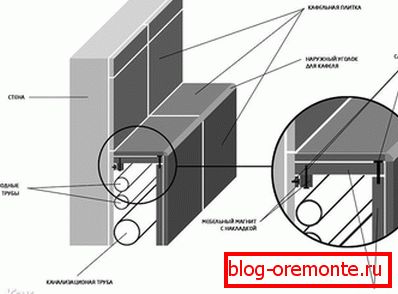
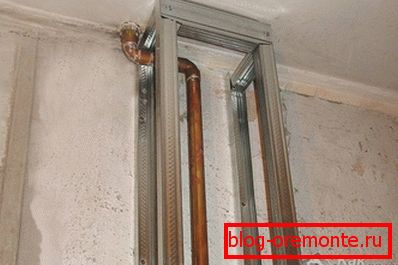
- To begin with, we take the roulette in our hands and measure all the directions we need. What and how we measure? If the pipes in the bathroom run vertically, then the profile is also measured in height. In this case, install it vertically, fastening it to the walls with dowels parallel to the pipes.
- Then measure the transverse pieces of the profile width and set them across as struts. We connect, as mentioned above, with metal screws.
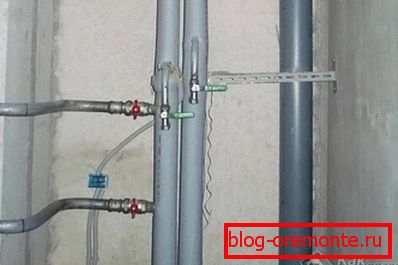
 We install the box as close as possible to the pipes in order to win more useful territory in the bathroom, but do not forget that there should still be a short distance between them.
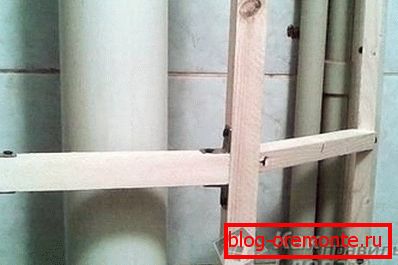
- By analogy, in the case of laying pipes horizontally, the profile is laid parallel to the pipes, but already fastened to the floor (also with dowels). Further jumpers are also placed, but already vertical. Jumpers are best not set very often.
So, the profile frame is made.
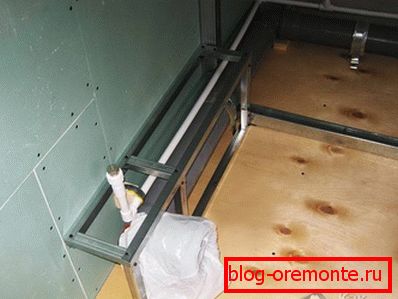
- Now we measure with the tape measure the length and width of the drywall we need.
- Having measured, cut the necessary pieces from the main sheet and fasten them to the frame. In order not to confuse anything, it is better to write down the dimensions in a notebook with indication of attachment points.
- If somewhere drywall stands a little beyond the edges, you can trim it with a special knife for this purpose or use emery cloth.
In the place where there are taps or counters, should not pass the profile. Therefore, it is better to leave around the same counter "window", which can be closed with a special neat hatch, cover or louver. In general, how it will be closed, decide for yourself.
Plasterboard finish
После того как надежно закрепили plasterboard, можно приступить к его наружной отделке. Для этого вначале необходимо укрепить швы армирующей сеткой для гипсокартона. Далее подбираем на свой вкус плитку, которой будем отделывать стены в ванной. Чтобы короб не выделялся, его можно облицевать плиткой с такими же размерами и таким же цветом. Ну и на этом можно сказать, что короб из гипсокартона для ванной комнаты готов.
Or as an option - plastic panels
What is good plastic box? It is easy to manage it in the course of cleaning. It is perfectly washed off from almost any dirt stains, is not afraid of temperature drops. Yes, and another plus is the relatively faster installation of this design compared with the first option. Installation actually takes very little time. Making such a box, you can forget about the aspect that is often present in the houses of Soviet construction - curved walls, since you will not need to align them, at least in the place where the box will stand.
К плюсам можно отнести также и неплохую по сравнению с плиткой устойчивость к деформациям. Такой короб легко отремонтировать. Если в первом случае треснет плитка, то заменить её будет не очень легко – нужно будет снять её, не повредив как сам plasterboard, так и соседние плитки. В случае же с пластиком ремонт производится проще. Так как этот короб состоит из наборных панелей с принципом набора как у ламината, то заменить в случае чего такую панель – дело нескольких минут. И налицо явная экономия средств – для плитки нужен клей, затирка для швов, уголки. Для пластикового короба ничего этого не нужно.
When making a box of plastic panels, you need to seal the joints with silicone sealant to prevent water from getting inside.
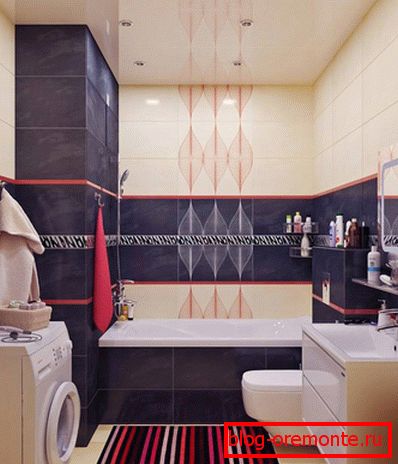
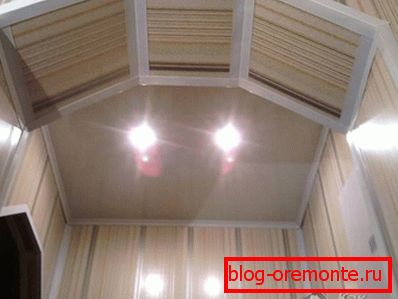
In any case, whichever one of the embodiments of the box is not determined with his own hands, his goal is important - to close the pipes that look in the bathroom is not very beautiful, and also leave quick and convenient access to them. The box should have a great design, combined in all other elements of the bathroom.
We advise you to read:
- how to solder polypropylene pipes with your own hands;
- restoration of the bath with your own hands with liquid acrylic;
- what to do if the toilet is littered with paper.
Video
Step by step instructions for the construction of pipe boxes:
A photo