How to make a canopy of polycarbonate
When refining a country house, it is worth considering every detail so that as a result you have a good place to rest. For example, when organizing a recreation area is to build a shed. For this purpose you can use polycarbonate. This material has sufficient strength, so it is worth finding out some details of the construction of the building from it. In this article, you can familiarize yourself with step by step instructions on how to make a polycarbonate shed. You can also view several drawings, which offer options for arranging this design. Therefore, even if you are new to construction, this article will help you get a general idea of the work, as well as try your hand.
Virtues

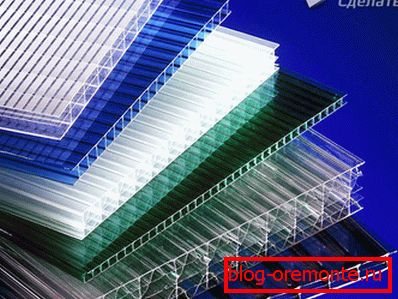
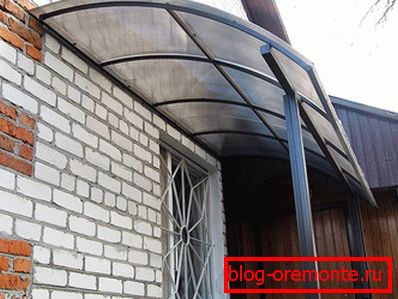
For the manufacture of transparent roofs, polycarbonate has proven itself on the positive side. Unlike glass and plastic, this material is easy to use. The edges of the product are equipped with stiffeners, so that sheets can be bent without bad consequences. Therefore, it is possible to construct canopies of any planes, even semicircular. Another advantage of the material in a variety of colors. Plus, the transparency of the material enhances the lighting of the area to be closed.
Sheets with a particular shade muffle the sun's rays. So even in the hottest weather, it will be safe to stay under a polycarbonate shed.
Project development

First of all, it is worth considering the design of the future shed over a porch or other place. For the manufacture of the project will need to think about the following parameters:
- Site measurement and frame calculation.
- Determining the type of material for the frame. It can be metal or wood.
- The definition of the type of polycarbonate - monolithic or cellular.
- Drawing up drawings.
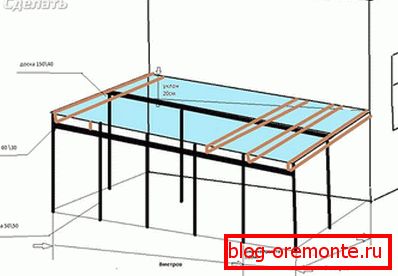
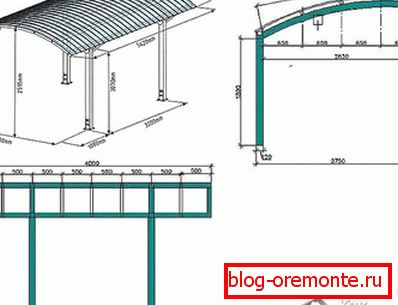
As for the drawings, at the end of the article, you can see some of the options. For example, some can be taken as a basis and add something of your own.
Tool and preparatory work
To work with such material, you should have at hand the following set of tools and material:
- frame material - wood or metal;
- galvanized screws;
- polycarbonate;
- docking end profile;
- press washers;
- necessary fasteners;
- sand and cement for mounting frame supports;
- crushed stone;
- paint, respectively, on wood or metal;
- hacksaw;
- screwdriver;
- drill;
- level;
- roulette;
- Welding machine in case of metal frame assembly.
If the entire material / tool is assembled, you can proceed to the first preparatory stage. To install the supports it is necessary to dig a hole up to 600 mm deep. This is in case the canopy is planned to build a large one. The pillars of the support should be located at a distance of 1–1.5 m. Having done this work, the further frame can be fixed to the supports.
If the canopy is made small and planned to be installed above the porch, then perhaps the support will not be required. It will be enough a few anchor fasteners to the wall.
Features of the manufacture of the frame
As mentioned above, the frame can be made both from wood and from a metal profile. The choice depends on the required strength of the final product. For example, if the canopy is made for picnic and rest, then you can build a frame from a bar. If you need a shelter for the car, it is preferable to make a reliable frame made of metal. In the latter case, the skills of the welder can not do. If you do not have those, you will need the help of a qualified welder.

In order to save, you can purchase a finished frame, which is assembled by bolts. This design, of course, will not be as strong as the welded frame, but in some cases the only right decision.
So, for the manufacture of such a framework, you will need a metal profile with a section of 60 × 60 mm or 100 × 100 mm. The choice of profile depends on the load. For example, for a run, you can select a profile with a smaller section — 40 × 40 or 60 × 60 mm. For the batten and less, you can use 20 × 20 mm.
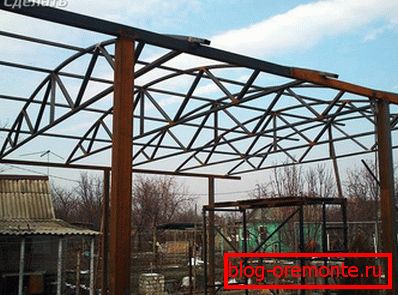
Previously concreted racks must first be tied up at the top. This will provide greater rigidity to the structure. Additionally, the harness can be made from the bottom and in the middle. If the canopy is above the porch, then part of the supports will be on the wall, and the other part will be on the supporting pillars (in case the size is large enough).
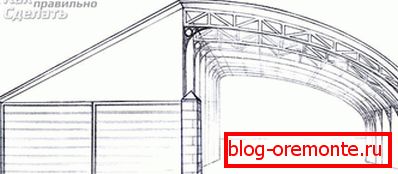
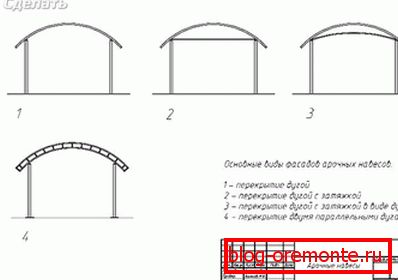
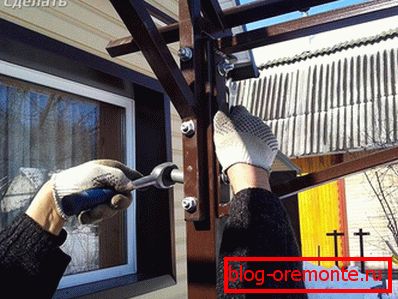
An arch is constructed for the upper part of the structure. To make the bent elements, you need a pipe bender. So, it will be possible to make an arch from a metal profile. Already finished frame is covered with anti-corrosion composition, and then covered with the desired paint color.
Features of the installation of polycarbonate

It is worth noting some features of the attachment of polycarbonate to the frame. For the arch should purchase sheets with a thickness of 8 mm. The more you should bend the sheet, the smaller should be its thickness. If the roof of the shed is straight, then the coating sheets may be 10 mm thick.
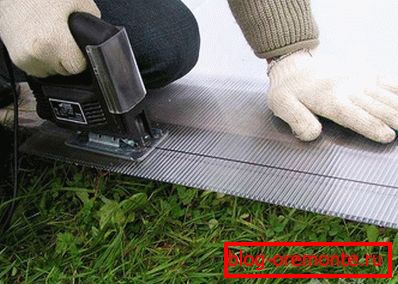
Separate blanks must be cut with a hacksaw or circular saw. But keep in mind when cutting, the length of the sheets should be such that they look out at the edges of the structure by 100–150 mm. In the process of cutting can not be allowed to vibrate the product. This may cause cracks in the material.
Some experts cut the polycarbonate directly in a protective film. Due to this, there is less risk of damage to the sheet during its preparation.
Moreover, when laying the sheet, do not confuse the side. The side that has a protective film should be directed upwards, since it has UV protection.
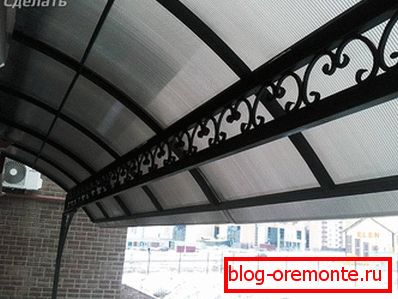
To connect the sheets used docking profile. Before you twist the screw, pre-drill holes in the polycarbonate. They should be slightly larger than the diameter of the screw. Tighten the screws through special washers that have a rubber gasket. It is also important to organize a small gap in the joints of the sheets. It is enough to leave 3 mm to expand the material when heated. As for the end part of the sheet, it closes with an end profile.
Step-by-step instruction
We present you a brief step-by-step instructions for making a polycarbonate shed above the porch and with supporting posts based on a wooden frame:
- First, supports are concreted into the ground.
- All wooden blanks must be treated with an anti-corrosion compound. Especially those that will be concreted.
- Mount brackets on the wall of the house, which will support two 120 × 60 mm transverse beams. For greater reliability, to the wall can be fixed horizontally.
- Now you need to install the transverse beams on racks and on supports fixed to the wall.
- In the place where the crossbeam connects with the rack, use metal corners.
- Next, you need to build a crate.
- When the frame is ready, you need to fasten the polycarbonate screws with thermal washers.
This simple instruction confirms the words spoken at the beginning of this article. Even without any construction skills, you can if you want to do all the work on making a canopy yourself. If you have personal experience in such construction, then leave your comments at the end of this article.
Video
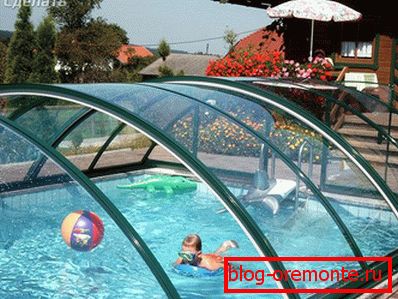
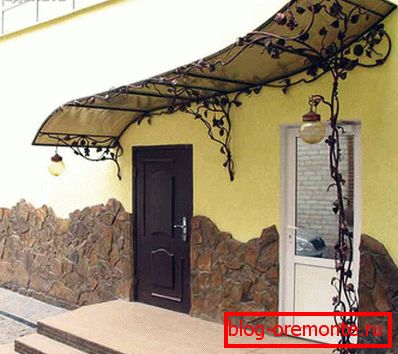
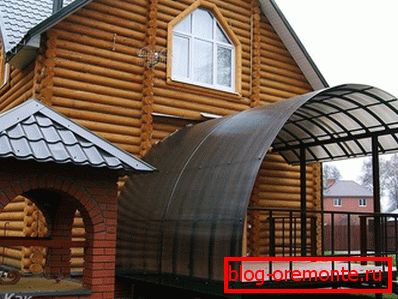
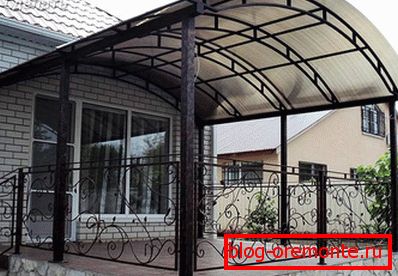
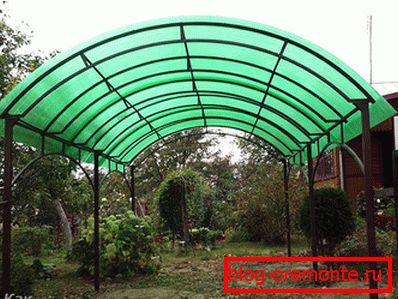
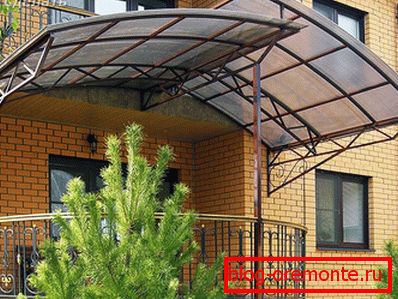
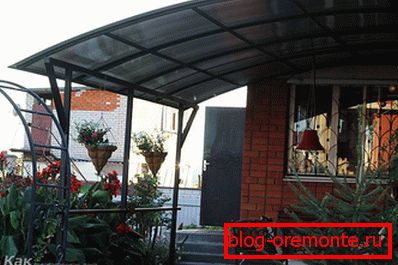
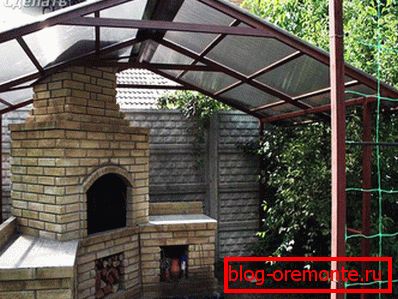
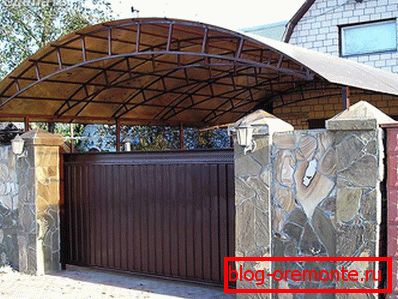
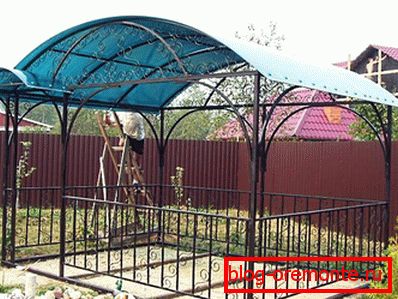
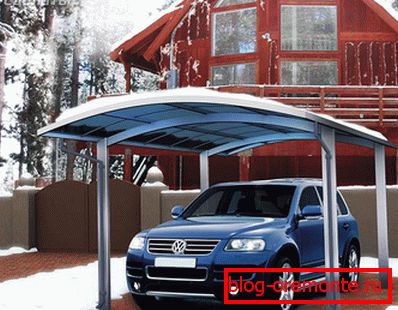
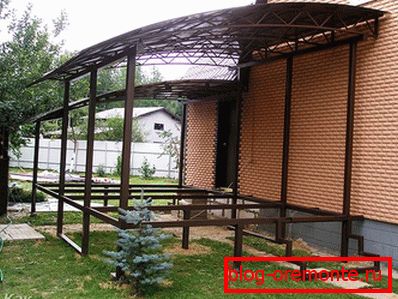
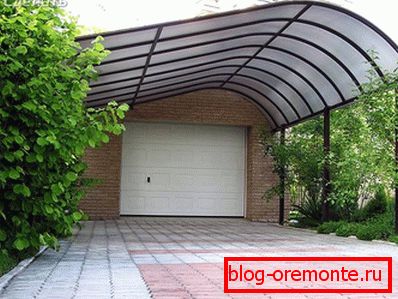
A photo
Several variations of polycarbonate sheds:

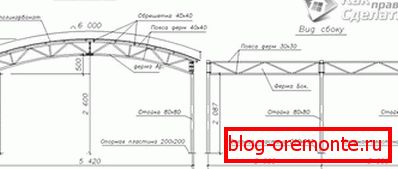
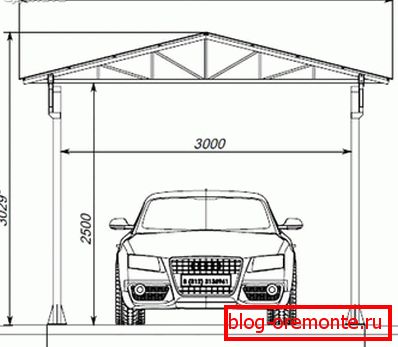
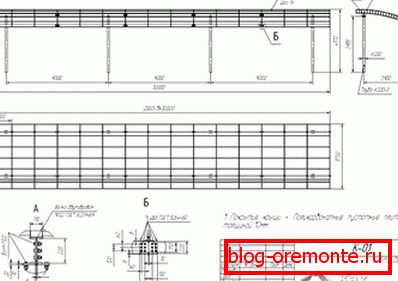
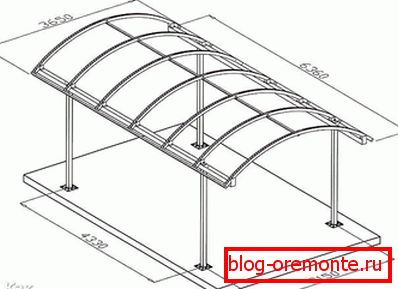
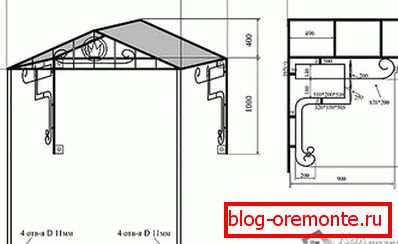
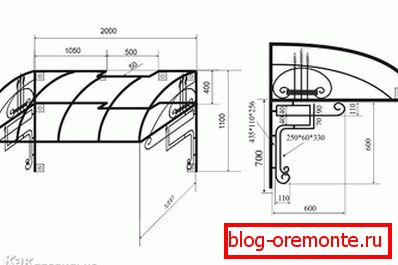
Scheme
The provided schemes will help you to choose the appropriate project variant in your case: