How to lay the apron of the tiles in the kitchen
The modern kitchen is distinguished by both a high level of comfort, and a large number of necessary devices, a well-thought-out design. One of its strokes is an apron, for the manufacture of which various materials are used, but tile is most in demand. How to lay the apron of the tiles in the kitchen? Is it possible to do this work with your own hands, without asking anyone for help? You will receive answers to these questions by reading the article.

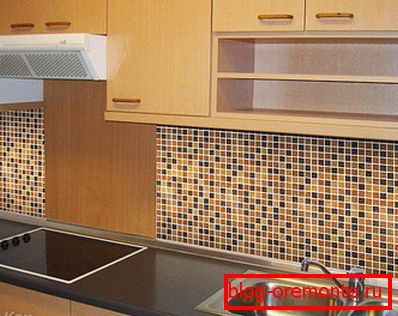
An apron is a working wall enclosed with decorative materials, located between the table top and the cabinets.
What is the advantage of tile
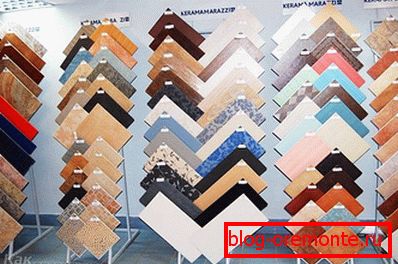
Despite the fact that there are a lot of materials on the market now, many of which are designed specifically for this purpose, many people prefer to use tiles. This is due to its excellent qualities, including:
- Excellent appearance.
- Resistant to high temperatures.
- It is a good protection of walls from dirt and splashes.
- There is an opportunity to choose the right size material for non-standard sizes.
- The apron in the kitchen can be made in the home.
Need to know about tile
It is necessary to approach such finishing works responsibly, realizing that if you do something wrong, the apron laid out of the tile will not work attractive.
Colors

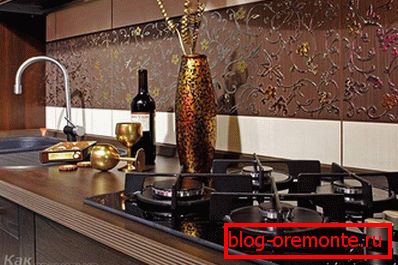
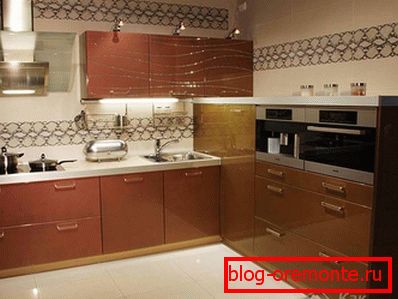
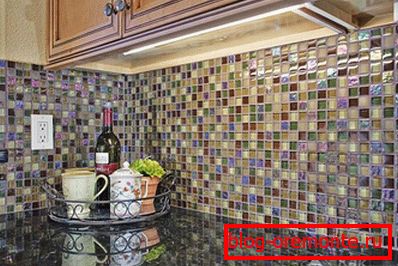
It is clear that I want to make not only the finish that protects the wall from fat. It must be something original. In pursuit of this goal, some people acquire very bright or unusually contrasting tiles. Here, as they say, “there is no comrade in taste and color,” and we will not insist on our proposals. I just want to note that such a choice, subsequently, does not bring satisfaction and joy. It is better to give preference to low-key, soft tones.
If you want to make a contrast apron, then it must be in harmony with the style of the kitchen.
The size
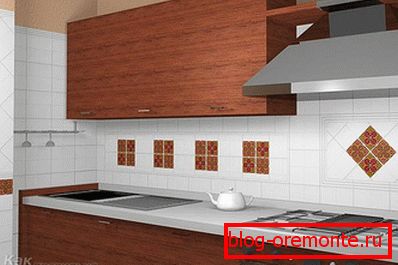
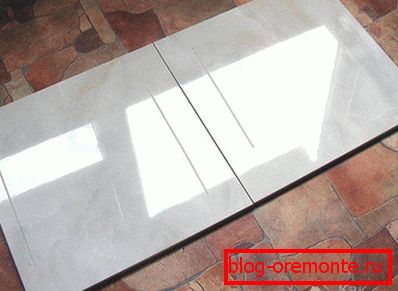
Large size acquired tile does not play, but it is easier to work with large-sized products. If something unusual is not planned, such as a mosaic or a pattern, then it is most practical to purchase a facing material having dimensions of 20 × 30 cm. Also, take into account the height of the apron. If it is, for example, a height of 45 cm, then it is better to purchase a tile of 15 × 15 cm (or 15 × 20 cm).
Regardless of the size chosen, it is important to ensure that it is all the same size, symmetrical and not skewed.
Surface
For the manufacture of the apron is best to use tiles with a smooth surface, as to maintain the original appearance of the coating it must be regularly washed. Products with a raised surface will be much more difficult to clean.
How many tiles do you need
It is important to consider the working area between the stove and the hood. Most often the tile has to be cut, and some can crack. In order not to be distracted from work, you need to have a small margin - about 10% of the total amount of material.
Tools and consumables

To work you need a tool:
- ridge;
- ordinary spatula;
- rubber spatula (for grouting);
- building level;
- water level;
- roulette;
- tile cutter (or grinder with a special disc);
- mixer (electric drill or perforator with a nozzle);
- SD profile (along the length of the apron).
In addition to the tile, you still need to purchase:
- distance crosses (the most running 2–3 mm);
- grout for joints (waterproof);
- tile adhesive (6–7 kg per 1 m2);
- primer for walls and for grouting.
Surface preparation
In order for the tile to be laid smoothly and not to fall away, it is necessary to prepare the base for its laying - a wall.
- Any lining should be removed. In this case, it would be nice if the work can be done with ease.
- You need to check how the wall is flat, and, if necessary, align.
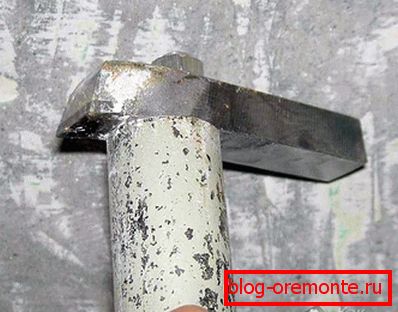
- With a reliable coating, a lot of notches (with an ax or chisel) are applied, the presence of which will ensure good adhesion to the tiles.
- If the plaster is peeling off, then you need to remove it to a solid base and re-plaster it. Now there is a lot of impregnations on sale, with the help of which one can strengthen the existing coating without removing it. The situation needs to be assessed on the spot.
- In the event that the sockets are located on the working wall, you need to prewire the wiring in the prepared gate and install floorboards, taking into account that the tile will be laid. The wiring must be fixed in the strobe by alabaster and brought into one level with the wall.
- Measure the height of the tabletop and mark 2 cm below.
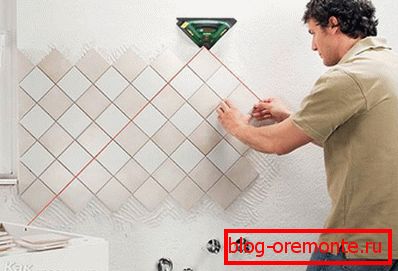
- Checking the level of horizontal, draw a line along the length of the apron. A more accurate result is obtained when using laser technology.
- Under the line, fasten the profile to the wall and check its horizontal position.
- Mark the wall, considering the position of the plate and the hood.
- In the place where the apron will be organized, the wall should be opened with a primer and in a couple of hours you can start laying.
Laying tiles
There is quite a reasonable question - how to lay tiles so that it turned out beautifully? This will be discussed further.
It is more correct to start laying with a visible angle, but if this causes a substantial displacement of the apron relative to the hood, you can start from this part, moving towards the corner. In this case, something will have to sacrifice.
If there is no experience in laying, it is necessary to dissolve a certain amount of glue in a small amount of water. The mixture is prepared by adding the dry mass to water with constant mixing with a mixer. It should turn out not very thick, but non-flowing mass, which should be allowed to stand for at least 10 minutes.
Many craftsmen put glue on the wall, stretching it with a notched trowel, and then applying tile on top and leveling it. This method is not very good, as it turns out a very small area of contact, and the tile may fall off. If, first, to patch the tile and wall with glue composition, and then apply the same composition with a notched trowel, then it will be possible to tear off the decorative coating only with the plaster.
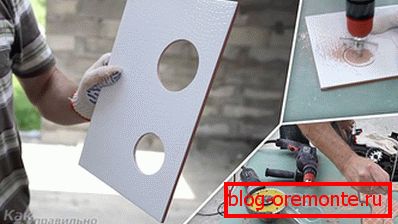
If sockets are installed in the area of the apron, then holes should be made in advance in the tile with a diamond crown.
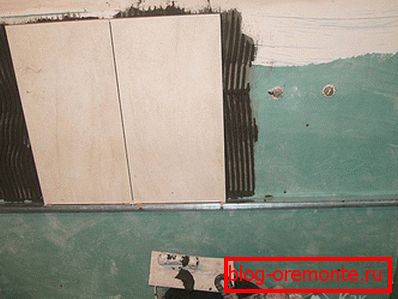
Now you can proceed to laying, checking the level, how smoothly it is laid. The bottom row is installed on the profile, but the gaps must be observed by inserting the remote crosses. From the bottom, they are simply inserted one side between the tiles, and on top, as expected. Since these additional elements will need to be removed after the glue has set, it is better to leave them closer to the outer edge.
After the masonry is finished, the tiles need to be wiped off from the glue, without exerting much effort, as it can move. After an hour, the crosses can be removed and the seams are cleaned from the glue, while it is still fresh and easily removed.
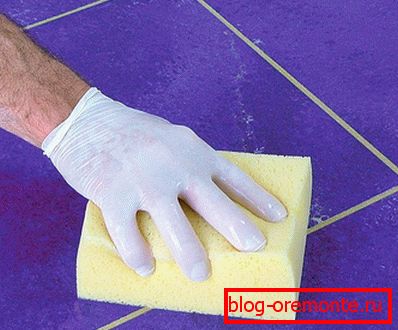
The next day, you can wipe the joints with a rubber trowel with a rubber trowel. At first glance, this work seems simple and it is. The difficulty in the other - to make the seams smooth and beautiful. This will help wet sponge (water should not flow from it). Light movements, like an artist with a brush, you need to stretch the grout beautifully along the seam.
With a strong pressure on the sponge will remove a large layer of grout and it will again have to be applied.
Since the apron is not flush with the wall, its edges can be puttied.
To tile glistened, it must be rubbed with dry flannel. Now you can install furniture, hang closets and enjoy not only food, but also a pleasant atmosphere.
Video
After watching this video, you will understand even better how to lay out the apron from the tile in the kitchen in a smooth and beautiful way:
A photo