How to install an acrylic bath
Sooner or later, but nevertheless, the time comes when the house needs a major overhaul. It is no secret that one of the most visited rooms is a bathroom. In this room there are a lot of plumbing items that we use daily, and they gradually become useless. Many people still have old cast-iron baths in the apartments - they have a rather impressive weight, and at least two people were required for their installation. Such plumbing fixtures, of course, need replacing.
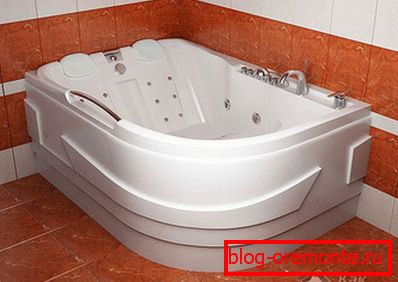
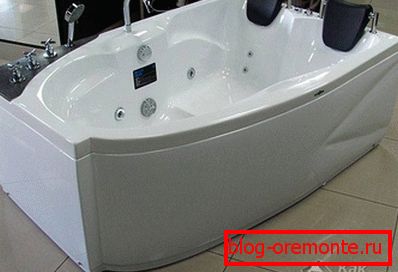
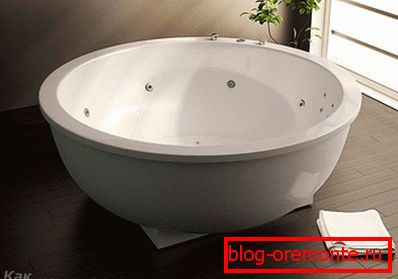
In place of the old cast-iron baths came acrylic. The variety of design of acrylic baths pleases the human eye at first sight, but such a product has its own design features, so in this article we will discuss how to install an acrylic bath with your own hands, as well as show videos and photo instructions.
Acrylic Bath Features
Consider the material from which the bath is made. Acrylic is a plastic made from organic acids extracted from natural gas. It consists of fibers and can be solid, soft or liquid. Acrylic is excellent for casting products and is durable, resistant to light and thermoplasticity.
Installing an acrylic bath with your own hands is not easy and requires certain skills. Improper installation will result in reduced product life. But do not be afraid and give up - now we consider the installation process and all its subtleties.
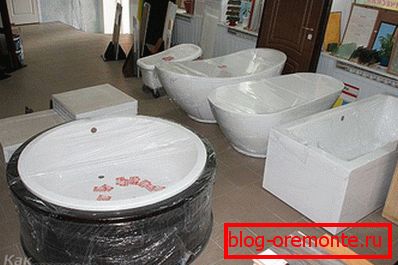
Choosing a bath in the store, do not buy a cheap product - its quality will affect at the beginning of installation. There should not be a sharp, unpleasant smell of plastic, which confirms the poor quality. Inside the glossy surface should be covered with a film that protects against scratches and dirt. Do not remove the protective film until it is completely installed.
Here are some helpful tips that should not be neglected:
- Before buying, you need to make all the measurements in the room so that the acquired bathtub will fit in size to the prepared place.
- If a hydromassage is provided in the bath, it is necessary to install electrical wiring to connect the pump and be sure to ground.
- It is necessary to install water and sewage systems, taking into account that the pipes will not interfere with the fixing of the bath.
- Installing a corner bath, you should align the corner of the room strictly in 90 degrees for a snug fit to the walls.
Installation procedure
Using the attached instructions, we perform the assembly of the frame, which, as a rule, comes complete with a bathroom.
- We turn the bath on a soft surface upside down and fasten the assembled frame with legs to the bottom. Although the bottom of the bath is made with a thickening, but it is better to put a stop on the drill so as not to drill a through hole.
- Now we set the assembled bath on the legs and, adjusting the height, we set it strictly according to the level. It is not necessary to tilt in the direction of the drain, since it is already provided for in the product design.
- When the bath is fully installed on the frame, the place of contact with the wall is marked with markings.
- Having set the bath aside, strictly by marking we fasten a profile frame or hooks depending on the model of the product.
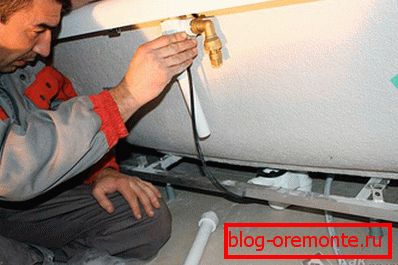
- The next stage of the work involves binding the bath to the sewer. Since the distance between the bottom of the bath and the floor is rather small, it will be inconvenient to do this work. Therefore, we first mount the siphon to the sewer. The rubber sleeve is lubricated with silicone and inserted into the socket of the sewer pipe. Then insert the siphon nozzle into the middle of the coupling, also previously lubricated with silicone sealant.
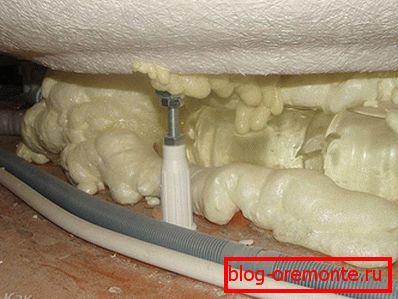
- Before installing the bath, it can be warmed with foam. The walls of the acrylic bath are thin and if you are going to bathe in it for a long time, then this procedure is required to maintain the temperature of the water.
- Now you can fix the bath to the already installed siphon in the sewer. For this procedure, it is better to invite an assistant. Between the bottom of the bath and the siphon we install a gasket smeared with silicone to avoid leakage. Fasten the neck to the siphon pipe and drain is ready.
- Further action is the installation of overflow. On the hose, supplied to the neck of the overflow, wind the nut with the gasket and tighten it. The second edge of the hose is attached to the siphon.
- When everything is ready, install the bath in its place and fasten it to a profile frame or hooks on the wall.
- Check the tightness of the system with water. We collect and drain the water, while checking all the connections.
- If the frame is not included, it is necessary to make a substrate of bricks for the stability of the bathroom, and fill the void with foam. Only first you need to take a full bath of water to increase the weight, otherwise the foam, expanding, will lift it.
- The next day we drain the water, install a decorative screen under the bath and fill the joints of the mounting of the sides of the bath with the wall. From above we stick the tape to the color of the product. The screen is attached with clips installed under the bathroom and on the floor. After installing all the latches, fasten the front panel by clicking on them.
After the silicone connecting the bath to the wall dries, you can safely begin to use the sanitary device. As you can see, everything can be done independently, with a little effort, patience and knowledge. For a better understanding of the video presented with step-by-step installation instructions. So do not be afraid and feel free to get down to work.
A photo


Video
This video shows how to properly install the acrylic bath frame to the wall:
What is the reliability of acrylic baths? Thanks to this video you will learn the secrets of choice: