How to fix the wall paneling to the ceiling 2
For interior decoration using different materials. But, despite all modern developments, popularity of lining does not decrease. This material has many advantages. This is the ease of installation, and the beauty of natural wood, and low cost.
By means of lining it is possible to issue different surfaces. In this article we will talk about how to fix the wall paneling to the ceiling, what are the nuances and difficulties.
Preparatory work
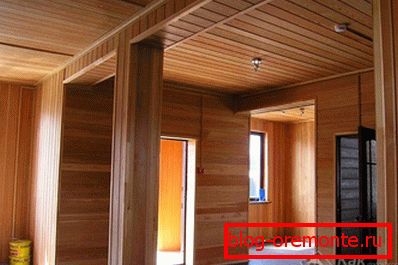
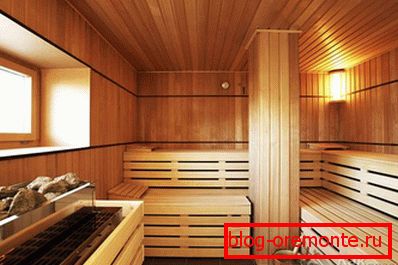
It is worth talking about some preparatory work. The first thing you need to decide on the direction of finishing. The paneling can be laid along or across a long wall. From this will depend on the appearance of your ceiling. Here the choice depends entirely on your taste. To decide, you can see the photo at the end of the article ..
The next step is to prepare the wall panel itself. This material is made of wood, therefore, it must be protected from moisture penetration, the appearance of fungi and various insects. For this, various impregnations are used. Each rail must be covered with this tool from all sides and allowed to dry.
The ceiling itself must also be prepared:
- Remove all decorative elements (chandelier, lighting, etc.).
- Inspect the condition of the ceiling. If you find fragile areas of plaster or whitewash, you need to get rid of them.
- It is advisable to treat the entire surface with a mold prevention agent.
If you decide to make the ceiling of the wall paneling with your own hands, then you need to prepare the necessary tools and materials. You will need:
- perforator for fastening the batten to the ceiling;
- screwdriver, it will greatly facilitate and speed up the work;
- various measuring devices: construction level, tape measure, etc .;
- knife and knife;
- screws, dowels and nails;
- slats for crates.
You also need to stock up on a stepladder or table, so that you can comfortably reach the ceiling.
We make installation
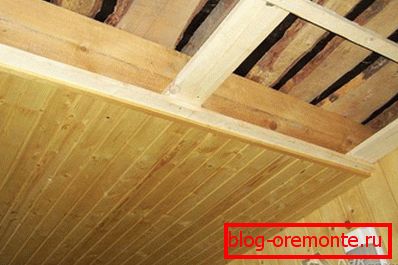
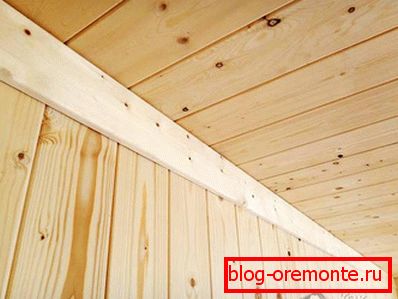
The first thing to talk about before you make the ceiling of the wall paneling is the installation of the batten. Without such a design you can hardly manage. The crate is a frame of rails or profiles, mounted on the ceiling. It is to her that you will mount the wall paneling.
The first step is the markup. It is necessary to take into account the orientation of laying the wall panel itself, the slats or sheathing profiles should lie across. Do not forget to use the level. The crate should be as even as possible. Otherwise, the lining can skew.
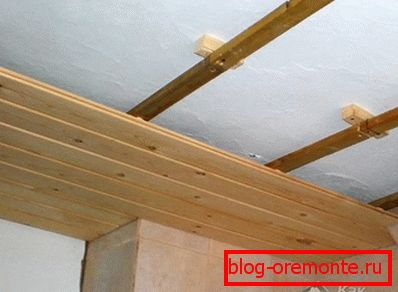
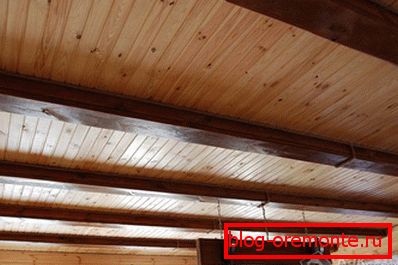
The distance between the slats will depend on the features of the ceiling itself and some other factors. For example, if you need to make any communications, then in this place you need to leave more space. You can also put a layer of insulation (if you want to insulate the ceiling), in this case the distance between the profiles should be at least 45 cm.
To create crates you can use both wooden slats and profile. The latter type of material is preferred. The profile is not rot-prone and does not deform over time. But its price is higher than that of wooden slats, so the choice will depend on your financial capabilities.
After the crate is installed, you should think about future communications. If they are planned, they should be put on their seats before the installation of the wall paneling.
Before installing the wall paneling, check the performance of the laid communications, the reliability of their mounting and the strength of the insulation.
Lay the insulation layer, if any. After that, you can proceed to the installation of finishing materials.

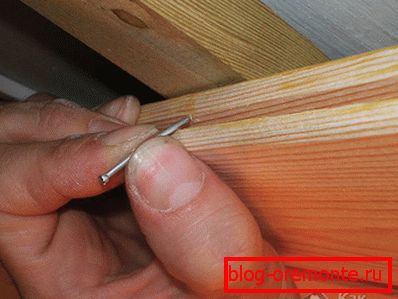
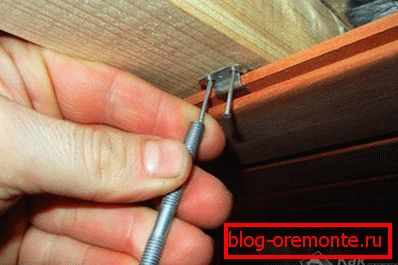
Installation of the wall paneling on the ceiling is the same as to the vertical plane. To do this, use a screwdriver and screws (you can also use furniture nails with a small hat).
You will definitely need an assistant. Keeping the rail in the right place by yourself will be very problematic.
The very first panel is mounted flush with the wall in the corner farthest from the door. Then from her fit the remaining rails.
It is necessary to ensure that no gaps are formed during the installation, so the appearance can suffer greatly.
In places where the ceiling lamp will be installed, it is necessary to make a hole in the rail for the output of electrical wiring. If the chandelier will weigh decently, then it is desirable in this place to attach additional wooden bars to the draft ceiling.
As can be seen from the article, the installation of the wall paneling on the ceiling is not very different from the wall decoration. If an assistant helps you, then the work will be done qualitatively and in a short time, and the resulting ceiling will delight your eye with the beauty of wood texture and color for many decades.
We recommend to read:
- installation of drywall on the ceiling with your own hands;
- how to glue a ceiling plinth to a stretch ceiling;
- how to hang a chandelier.
Video
See how the wall paneling is mounted on the walls and ceiling:
A photo


Read also:
How to varnish coat the wall paneling