How to assemble a ceiling of drywall
Carrying out repairs in his apartment, capital or cosmetic, sooner or later there is a question about the ceiling. In the article we will tell how to make a ceiling of drywall, give step by step instructions, and also show photos and videos.
Kinds
The most economical option is plastering. All that is required is to coat the ceiling with a primer, putty it and apply finishing layers of the finishing material with a roller. However, such a finish can not protect from cracks or the appearance of dirty spots. Therefore, using paint or finishing plaster, you need to prepare for the fact that every few years will have to carry out repairs to update the ceiling.
Stretch ceiling has many advantages, allows you to make not only single-level, but also a multi-level ceiling. It will last a long time, without requiring any additional maintenance. However, its installation is very difficult to make with your own hands - requires special equipment and certain knowledge.
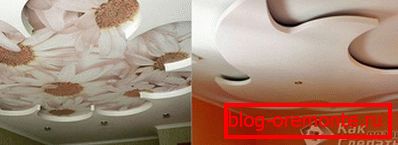
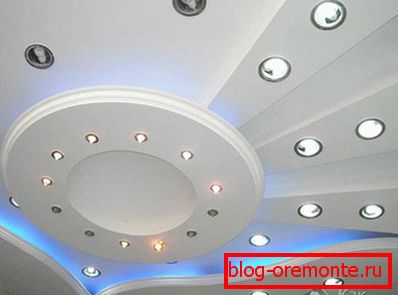
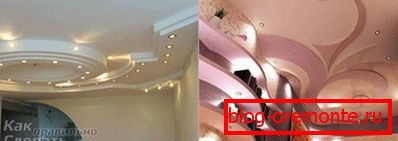
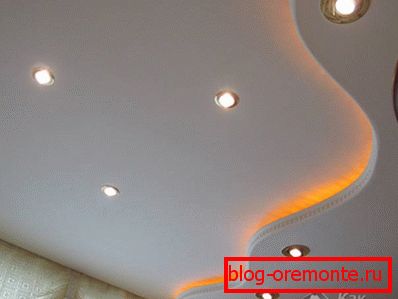
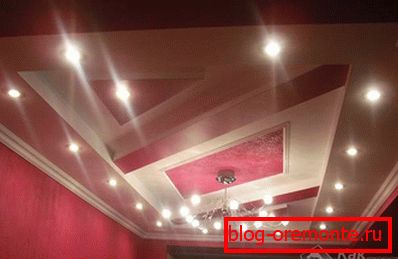
The ceiling of plasterboard allows you to realize any complex shape. Initially, it is planned how many levels there will be, how they will be located and where it is better to carry out the illumination.
What you need to build the frame
- Plasterboard sheets.
- Sharp knife, tape measure, ruler and pencil.
- Drill fasteners.
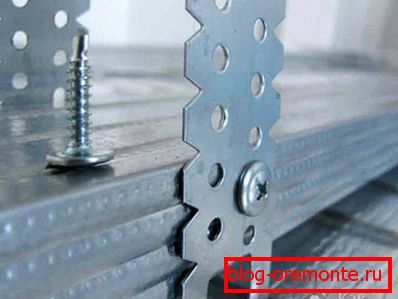
- Metal guides, C-shaped and L-shaped designs for the organization of several levels of the ceiling.
The procedure for the manufacture of frame and plating

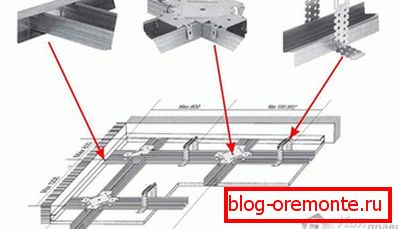
First, you must mark the surface of the ceiling, if it is not a single-level, but a two-or multi-level design. The marking is carried out with an ordinary pencil.

Then to the ceiling with a drill you need to attach metal guides around the perimeter of the room and in those places where two or more levels will be organized. CD-shaped structures are attached to the guides, on which drywall will be installed.

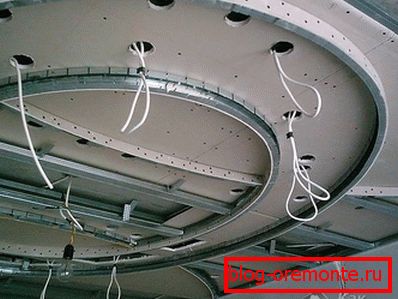
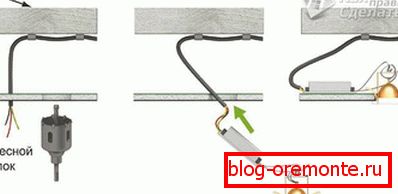
For the organization of the second level of the ceiling need to use curved metal guides. Metal parts are attached with an electric drill, and better - a punch. Having made holes in the concrete, it is recommended to hammer in the dowels there, install the profile on top, and, inserting the screws, tighten them with force. Thus, the entire metal structure will be securely fixed so as to not only support the weight of the building material, but also not too heavy chandeliers, if such is planned. At this stage also make wiring.
It is necessary to check the operation of all outputs for spot lighting.
To fix the heavy chandeliers, you need to take care in advance to strengthen the structure.

After the preparation of metal structures, it is necessary to begin cutting the plasterboard sheets. Filling metal structures of the same level is simple - you just need to dock the sheets with each other so that there are no gaps left. Details drywall attached to the guides with screws.
If the ceiling has two or more levels, you need to cut the parts from drywall in accordance with a pre-marked perimeter.
Details for the second level are cut out on the same principle. More difficult is the bending of the end part of the second level of the ceiling. To do this, you must first cut a rectangular piece of the required size from a sheet of drywall, then wet it by placing a damp cloth on the surface. After letting the drywall absorb moisture, you need to slowly and carefully give the details the required shape. By too much pressure you can break the part in half.

Having given the desired shape to the end element, it should be fixed like that for a day - until it is completely dry.
The finished part is tightly fixed to the ceiling on a CD-shaped profile.
The final step is to finish the assembled ceiling. To do this, use a primer applied to the drywall. After it dries, the ceiling is equipped with the planned spotlight lighting elements. The joints of sheets of drywall putty.
The ceiling with the connection of lighting can be painted in the color that best suits the interior of the room.
Video: installation instructions for a two-level plasterboard ceiling
A photo