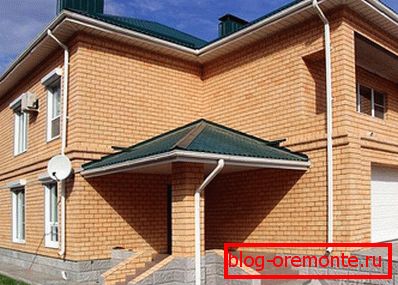
House made of brick with his own hands
As you know, every man must do three things in his life. One of them is to build a house. This is a very crucial stage, which requires certain knowledge and skills. In order to realize your dream, you need to consider where to start work, what to buy and what stages of construction need to be overcome. Despite the fact that today there are new technologies and building materials, brick is often chosen as the material for the house. And this is not surprising, since it has several advantages, such as environmental friendliness, acceptable thermal insulation properties, fire resistance, durability, reliability and excellent appearance.
In this article we will explain how to build a house out of bricks with your own hands, we will demonstrate the drawings, photos and video instructions. Even if you have no experience in laying bricks, you can easily carry out this task.
What you need to know before construction
Before you start building a house, you need to do some preparatory work. It is noteworthy that simply buying a plot and starting to build a house there will not work. More precisely, you can do so, but such construction will be illegal.
First you need to get permission for construction from the administration of the district. To do this, you need to collect the necessary package of documents: a statement about the construction, copies of ownership, purchase and sale, passport and other documents. Among them should be the drawings of the future construction, and coordination with various services. After reviewing your application, you will be given permission to build. This can be done after the completion of construction work through the court, but still in order to avoid problems, it is better to take care of this in advance.
In preparation includes the choice of location, planning, procurement of materials. It is also important to determine the type of foundation, the choice of bricks, the method of laying and roofing material. If everything is prepared and thought out in advance, then all the work will be easier and faster.
It is important to decide what works you can do yourself and what should be entrusted to specialists.
Once done, you can proceed to construction. All work can be divided into the following stages:
- Selection of tools and materials.
- The choice of bricks.
- Planning.
- Foundation filling works.
- Walling.
- Roofing.
- Finishing work.
So, let's take a detailed look at how to build your own brick house.
Procurement of tools and materials

Build a house is simple enough, but requires some effort, skills and planning. But even with all this, it is impossible to imagine a construction without the necessary tools and materials. Therefore, for such works you need the following tools:
- building level;
- nivelir;
- construction hammer;
- trowel, trowel;
- Bulgarian;
- jointing;
- plumb;
- construction cord;
- shovel;
- concrete mixer.
If we talk about materials, then you need to purchase the following:
- brick;
- cement;
- lime;
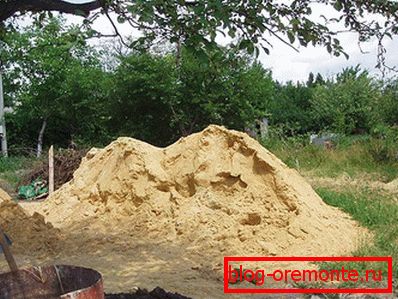
- sand;
- plasticizer or liquid soap;
- fittings;
- plywood or boards;
- insulation (slag, mineral wool, foam, expanded clay);
- hydroisol or ruberoid.
All this can be purchased at any hardware store.
Which brick to choose
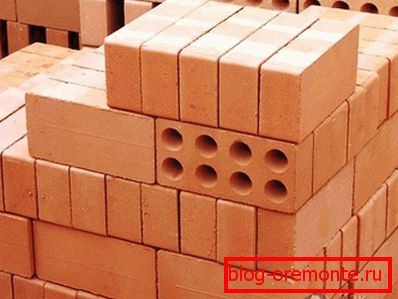
Since you can find different types of bricks in hardware stores, you should decide from which brick to build a house. The most popular and leading options are red clay and silicate bricks. When laying, they can be used separately, as well as combined with each other. As experts advise, when laying in the middle, you can add insulation. Since such bricks are quite heavy, the load on the foundation will be appropriate. To reduce it, you can use a brick with cells. This is a lightweight version of the usual brick, which weighs 20% less than usual.
In order to make the masonry smooth, beautiful and reliable, do not buy a brick that has already been used. Your material must be whole, the correct form and without the presence of cracks.
After all the necessary tools and materials are prepared, you can proceed to the next stage - planning.
The second stage - planning the house

As you know, you can not build something without first having planned everything. Therefore, for the beginning it is important to decide what the building will be used for. If this is a small country house, where you plan to live in a warm period, then you can build it in a half-brick. If the residence will be non-permanent, but at any time of the year, then the walls can be laid in one brick. In this case, the building even stand several floors. Well, when you plan to build a house for permanent residence in it, the thickness of the walls of such a house is recommended in a half brick.
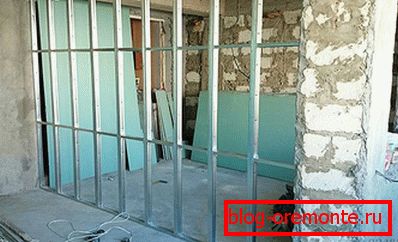
If you decide to build a one-story house, then the foundation can be simplified. In this case, the walls of the house will be made of plasterboard. Under them do not need to strengthen. But when the partitions will be built of brick, the foundation will look different. Since the future construction will be made of brick, which has a high density and, accordingly, gives a large load on the foundation, the foundation for your house should be strong enough. The most reliable is a strip foundation, the design of which exactly repeats all the lines of the walls and partitions of a building. Then you need to fill the foundation for each wall and partition. In this case, the entire load from the walls is distributed over the entire area of the soil, and therefore the stability of the building increases.
The layout of the future plot
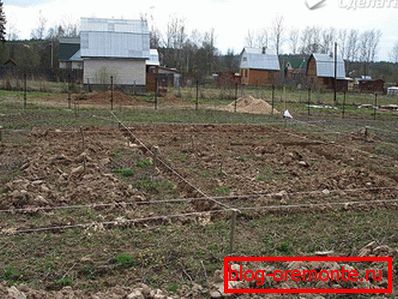
In order for your building to have the correct location, and in the process of building it was possible to avoid unnecessary problems, you need to make a marking on the soil that corresponds to the plan of your house. Drive pegs into the ground in places where the corners of your building will be, as well as in places where the pier walls will be erected. It must be real size. Then take a cord or a thick rope and pull it over all the pegs. Thus, you have made a certain landmark that will help you dig a trench for the future foundation. Check the horizontal tension of the rope can be a normal level.
After everything is done, it remains to take the shovels and dig a trench along your landmarks. To do this, you can ask for help from your friends, relatives or neighbors, since it will be very difficult to do everything yourself. Especially when there are several floors in the house, the trench depth can be up to 2 m.
Formwork for the foundation
![]()
On the basis of technology, the foundation must be arranged above the ground level by 10–15 cm - this is the minimum figure. In regions with harsh winters, the basement can even be 40–50 cm. To do this, you need to install formwork along the edge of the trench. It can be from plywood or ordinary boards.
In the case when the surface area is uneven, you need to find the highest point and repel it.
For the foundation to be made in the same plane, the formwork must be adjusted in height to the stretched rope and make supports. It is important to remember that the higher the formwork, the more often and closer you need to install supports. If this is not done, the mass of concrete can crush the entire structure, and it will spread or be uneven.
In order for the formwork to firmly hold the concrete, it must be made durable: without holes, openings, since concrete can flow out through them. Often, planed boards or plywood are used for formwork, but you can also choose another material at hand.
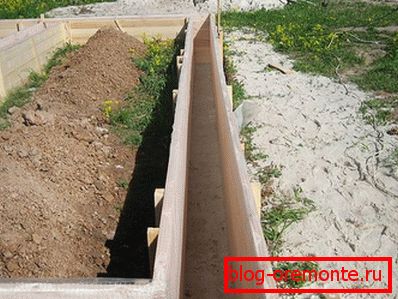
Before you start pouring the foundation, it is important to make a pillow at the bottom of the trench, pouring fine gravel, stones or sand to it to a depth of no more than 5 cm, after which it must be compacted. If you do not have a vibrating plate or tamping roller, you can use an improvised device. To do this, take a wooden beam, section 150? 150 mm with a height convenient for you and attach the handles on the sides. Applying brute force, tamp the whole trench. Thanks to this cushion, the shrinkage of the building will be much less, and the building itself will be more stable.
After that, the reinforcement cage is laid along the entire length of the foundation. To assemble it yourself, you will need:
- fittings O10–17 mm;
- fittings O5–8 mm;
- thin wire for knitting;
- Bulgarian;
- nippers;
- pliers.
Calculate how many valves you need, you need to advance. It is important to take into account soil data and the number of floors of your future home. It can be said for sure that if you build a three-story house on loose soil, then everything will be at its maximum — both the depth of the foundation and the diameter of the reinforcement. To make an accurate calculation, you need a whole topic, which takes into account all the subtleties and nuances, so it is better to use a calculator.
Foundation casting

It is important to know that the foundation can be monolithic and prefabricated. Monolithic foundation is made immediately in place. To do this, mix the concrete solution, which is poured into the prepared trench. Prefabricated foundation consists of ready-made slabs that are laid in the ground. A monolithic foundation that is able to withstand enormous loads is much better suited for a brick house. Even if you build several floors of the house, a basement and a garage, the construction will hold tight. The only drawback of the monolithic strip foundation is that it is not recommended to use it in soft ground. The best option would be a pile foundation.
So, it is time to pour the foundation of your home. To ensure the strength of the base of the house, pouring should be done in horizontal stripes in one go. If you partially fill it or make separate vertical sections, then there is a high probability that these junctions may crack. Therefore, everything must be done quickly and not without additional help. Ask you to help a friend or relative, as additional hands in this matter are simply necessary.
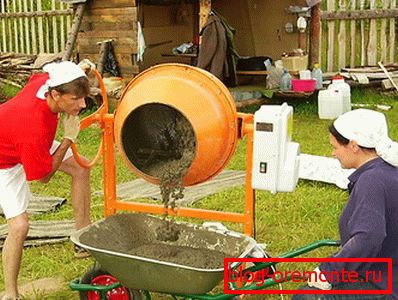
The first step is to knead the concrete. This is a time-consuming process in which you need to make concrete, to transport or transport it to the place where the pouring takes place. To pour the foundation, you need a lot of concrete. If the depth of your trench is more than 60 cm, then after you have filled the first layer of concrete, throw the rubble stones there and continue the process.
After you finish pouring the formwork, you need to compact the concrete, expelling air from it. A deep vibrator is well suited for this purpose. But since not everyone can have it, you can, using a thick stick, compact concrete up and down. After such manipulations, the surface of the concrete must be leveled with a trowel. Basically, the concrete dries for 5-7 days. But you need to start laying bricks only after a month, when the concrete will gain strength and will not be pliable.
Waterproofing work
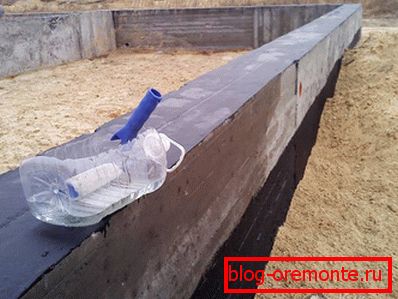
An important step before the laying of the walls is the waterproofing of the foundation, due to which moisture from it will not penetrate into the house or basement, and the brick will not collapse. Thus, you will extend the operational life of the foundation of the house and save yourself from the formation of fungi and dampness.
Such work can be performed after solidification of the foundation. Everything is done quite easily, the main thing is the presence of waterproofing material (waterproofing or roofing material). It needs to be laid or glued to the foundation in 2-3 layers. After the construction is completed, all the extra pieces that will be performed should be trimmed. The basement of the building should be coated with molten bitumen.
Laying base - mortar
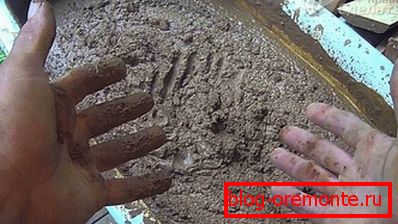
After a month, you can start work on the construction of a brick box of the building. First you need to make a solution, through which the whole structure will firmly hold. The main type of mortar is cement-limestone, limestone or cement. The basis or base for any of them is sifted sand (it is better if it is river). To find out how to make a solution and in what proportion to take the components, just look at the packaging, where everything is indicated. The most common proportions of sand with cement or lime are 3: 1 or 4: 1. In this case, the future masonry will be very durable, and it will not be difficult to do it, since the solution will be inelastic.
To find the best quality ratio of materials in the composition, you need to check them in action, because it comes across poor-quality cement. You need to make several compositions with different proportions, for example, 3: 1, 4: 1 and 5: 1. The composition is not necessary much - it will be needed only to make small balls of them. Wait until they all dry, and then hit them with a hammer. Pay attention to the ball that split upon impact, rather than crumbled - the ratio of the components, as for the manufacture of this ball, and you need to choose.
Erection of brick walls

After the solution is ready, you can start laying bricks. You need to start with removing corners. The first bricks need to be laid very carefully and carefully, as the further masonry and the general appearance of the future building depend on them.
At first it may seem that such work is simple, brick to brick and everything is ready. But inexperienced bricklayers find it very difficult to make the walls perfectly flat and geometrically correct. To do everything right, you need to try and be patient. Such work is long and tedious, but you will gain a practice that will help you further. What do you need to do?
- In the corners you need to put the first bricks. Use the water level to check the horizon and even out if necessary.
- Along the upper edge of the brick, you need to pull the string and fix it perfectly.
- The twine should not bend, interfere with the production of masonry - it should be well stretched, serve as a guide for perfectly flat masonry.
- After that, build a base row of bricks. To make them all fit perfectly, they need to tamp with the handle of the trowel, while aligning everything under the string.
- In the case when you make the outer part of the wall facing brick, you need to make the jointing. It should be done on a fresh, unheated solution. Then the surface will be protected from moisture, and the house will look aesthetically pleasing.
- After the first row is ready, the string must be moved in the same way and fixed. Then lay the next row of bricks in the same way, not forgetting the dressing.
- After every third row, cross-dressing of the wall should be used.
- Do not forget about the walls. Everything is done in the same way. If you want to make them later, you need to take care that there is a bundle from the bearing wall, from which you can continue laying later. To do this, leave the ladder of bricks in the place where the pier will be built.
- When you have reached a certain height, you need to make openings for windows. In advance it is necessary to provide places where there will be openings for doors.
To ensure high-quality masonry, you need to check the position of each brick.

At this frame your future home is ready. It remains only to make the roof. Independently all the work is difficult to implement. So ask the help of professionals who will provide you with a secure roof over your head.
Now you can be proud of yourself, because you were able to independently realize the dream of every person. As you can see, to build a house yourself is difficult, but possible. Therefore, if you have plans to make a comfortable home for yourself and your family, purchase material and get to work!
See also:
- how to make a visor over the porch with your own hands;
- how to make the track in the country.
Video
This video details how to build a brick house:
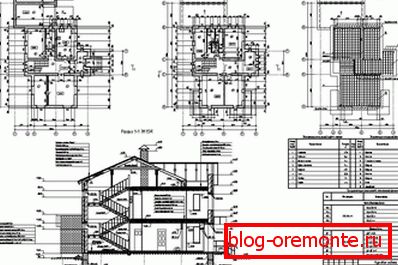
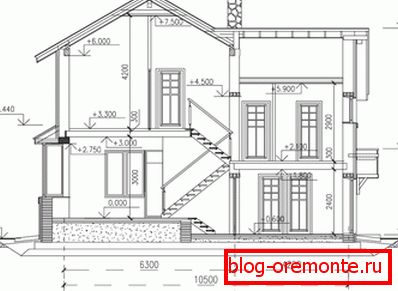
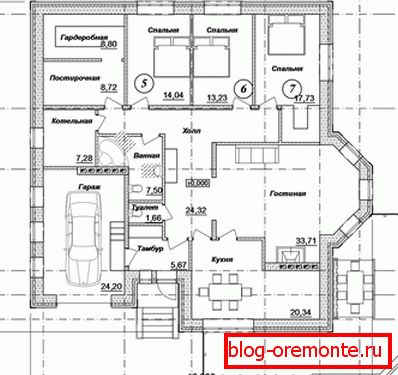
Blueprints

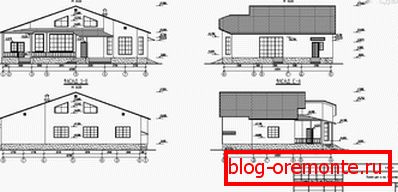
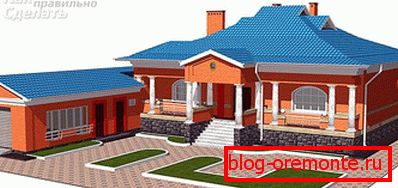
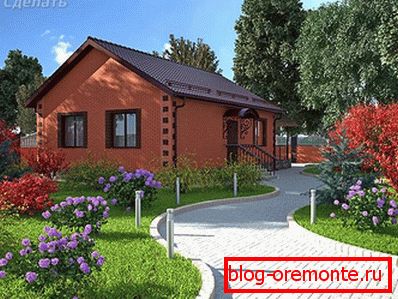
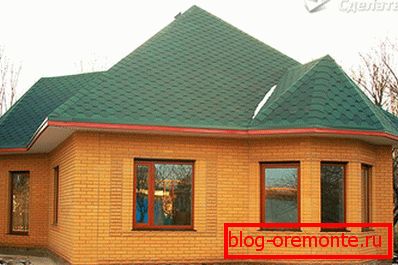
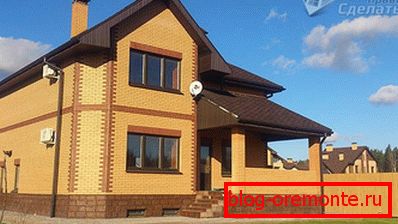
A photo