Geoplastic in landscape design
What will be landscape design ultimately depends entirely on the relief of the backyard plot. As a rule, people living on a slope dream of a horizontal territory, and those who live on a plain dream of hills. Today you have the opportunity to completely change the relief of the dacha. One solution to this problem is geoplastics in landscape design. What is this direction in landscape design and how to implement ideas to change the topography of the site? This will be discussed in this article.
General views
Geoplasty is an art that allows you to influence relief changes. We can say that nature with its reliefs is subject to experts in this area. If geoplastic was carried out correctly, then new original reliefs will appear on the garden plot, which are in harmony with the whole surrounding natural world. The following natural objects can be subjected to geoplastics:
- Mounds and shafts.
- Mountains and hills.
- Craters.
- The stairs.
- The walls.
- Natural and artificial canyons.
Geoplastic relief involves:
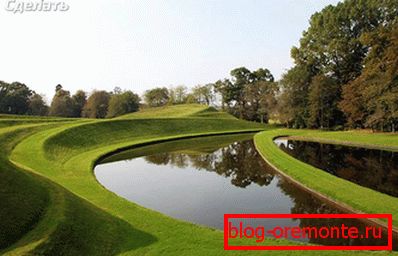
- the construction of artificial dams, ramparts and embankments;
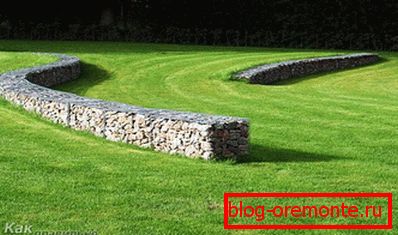
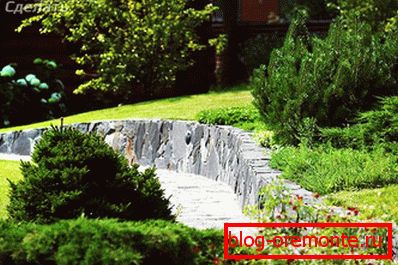
- terracing the backyard with retaining walls;
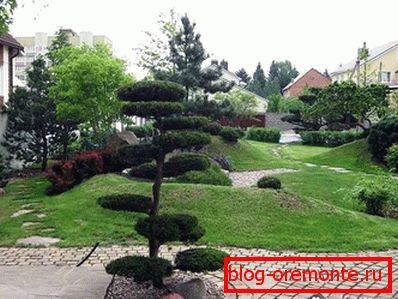
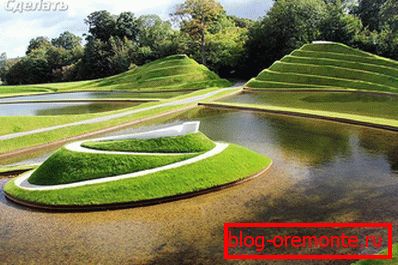
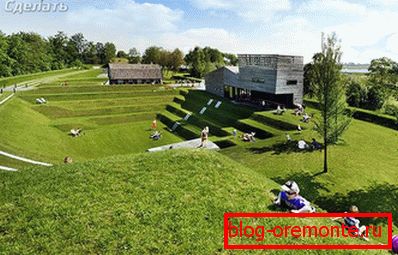
- creation of hills, labyrinths, hills and other designs.
In the process of geoplastics, the natural reliefs of the site can be restored, and new forms with protective functions can be made. It can be gazebos and sculptures of unusual shape. They can imitate natural slides and islets. Now we consider the most common type of geoplastic - the construction of artificial hills on the garden.
Where to begin
Initially decide what you want to see ultimately on the updated plot of land. This way, you will be able to estimate the estimated amount of work and the likelihood that your ideas can really be realized.
Not all ideas can be implemented. For example, on a site less than 10 acres the hills will look unnatural, disrupting the natural balance, as well as all the rules of geoplastics.
Although an artificial terrain is created in the process of geoplastics, it should still look natural. To achieve this result, it is important to work through each stage of work, starting from the design and ending with the implementation of plans. Working with the land is not easy, because you have to create harmonious proportions, without disturbing the natural outlines of the relief.
The benefits of artificial hills
As mentioned above, some gardeners want to get rid of the hills, while others are looking for opportunities to create them. It all depends on your preferences in landscape design and your chosen garden style.
The advantages of the hills in the country:
- The original decoration of the site. For example, you can make a beautiful alpine slide.
- Relaxing holiday on top of a hill. If you make a gazebo here, you can relax, admiring the beauty of the site from above.
- With the help of an artificial hill, you can hide the components of the site that worsen the appearance of the territory: a utility block, summer shower, cellar, heaps with compost, etc.
- You can make an artificial hill at a low cash cost.
Hill Geoplasty
The angle of inclination, as well as the height of the hill should correspond to the area of the territory, so that you can make it as natural as possible. Best of all the hills look at sites of more than 10 acres. But, if your plot has 6 acres, you can make rock arias on a small hill or rock garden.
Layout
Because how well you design a site's geo-plastic will depend on its durability and effectiveness. To do the calculations, you will need:
- an ambulance in 1 m;
- wooden pegs 50 cm long;
- Roulette 10-15 m;
- water level;
- notebook and pencil.
Make a map of the relief of the site. If you do not succeed in accomplishing this task yourself, then order a relief map from specialists. They will make you a computer model of relief, will put on it all the existing buildings and landscape elements. Also, you will be presented with documents confirming the reliability and safety of the man-made hill. You can make calculations yourself.
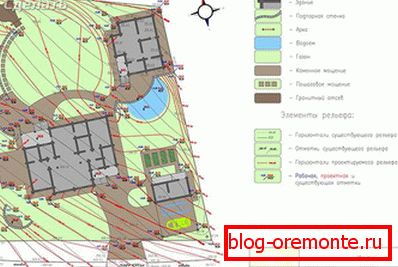
To do this, you need to mark the territory, dividing it into squares of 10? 10 m, if your site is flat. In cases where the terrain is complex, the marking should be 5–5 m or 2–2 m. Measurements should be extremely accurate. The tolerance is 5 cm. In the corners of the squares, you need to drive in wooden pegs. They should rise 30 cm above the ground.
Then using a water level and a ruler, determine the height difference between the pegs, which will help you accurately determine the terrain. The maximum permissible deviation during the measurement is 1 cm.
Measurements should be from the highest point of the site to the lower.
All measurements recorded in the notebook. Thus, you can recreate the terrain on paper. Now you can proceed to the construction of an artificial hill.
Materials

It is best to do the site geoplastics at the construction stage of the summer cottage. So, you will be able to use the land for geoplastics, which remained from digging the foundation pit and other construction works. Otherwise, the land will have to be imported.
The following materials should not be used for geoplastics of an artificial hill:
- Clay. This is due to the fact that it swells at high humidity, which will adversely affect the appearance of the hill. In addition, the clay has a high water resistance, which is why puddles will form on the hill and near it.
- Humus is the highest fertile layer of soil in which there is a lot of organic matter. Over time, they will decompose, reducing the volume of soil. As a result, the soil of the hill will begin to subside, which will degrade the appearance of the hill.
- Peat soil. Like clay, it changes volume with increasing humidity.
Best of all for geoplastics of the hill is infertile soil, located at a depth of 40 cm and deeper. It is also possible to use technical primer for these purposes, provided that it is previously cleared of debris.
To save on the volume of soil allowed the use of bulk structures, such as rings made of reinforced concrete or old tires.
Hill making technology
So, after you have made a relief map, determined the location of the hill and brought the material for the construction of the hill, then you can get down to business.
From the tools you will need:
- Shovel.
- Point.
- Roulette.
- Cord.
- Pegs.
- 2 buckets of 10 liters.
- Lawn rink.
- Land ramming machine.
Mark the area around the future hill. This will help you pegs and cord. Then, on the marked area, remove the fertile soil layer, which is usually about 30 cm. The lighter the color of the soil, the less it is fertile. If your estate is located on sandy rocks, the fertile layer will be quite small, just a few centimeters.
To make a hill you need to cover the prepared area with barren soil. To make it look presentable, it does not need to be made too high (no more than 1.5 m). In this case, the angle of inclination must not exceed 45 °.
To make the wheelbarrow easier to move over the hill, you need to pave a boardwalk, which will allow you to pour the soil on both its sides. To make the embankment uniform, it is necessary to change the track location from time to time.
To make a man-made hill suitable for decoration, the embankment should give a natural shrinkage. It will take about 6 months. No desire to wait? In this case, tamp the ground with a special machine after every 30 cm of sleep.
The tamper must be repeated after the hill is completely covered. In this case, you can pour all the irregularities in the soil and roll up the surface once more, this time using a lawn roller.
Strengthen the hill in advance. To protect it from weeds, you can use a special film, on top of which you will lay a geogrid or geogrid. Thus, you will increase the stability of the slope. The geogrid should be covered with a layer of fertile soil by 5 cm.
Now you can proceed to the design of the hill. To do this, you can use a turf with grass cover. You can also make a rest area on the hill and plant ornamental plants on it.
To avoid destruction of the hill structure in the future, do not plant tall trees on it, the root system of which will negate all your efforts in geoplastic.
Possible difficulties
Geoplasty can not only help nature, but also harm it. There are several situations in which it is impossible to do geoplastics on a site:
- High groundwater level.
- Soil friability.
- The presence of a large number of trees on the site that can not be cut down.
- Seismic activity.
Before you make a plot of the site and create a geoplastic project, consult with experts about the above situations. The site's geoplasty is a very interesting job. However, its implementation should be approached with full responsibility. If you have experience in this matter, then write comments to the article.
Video
This video shows how easy it is to create relief using geoplastic:
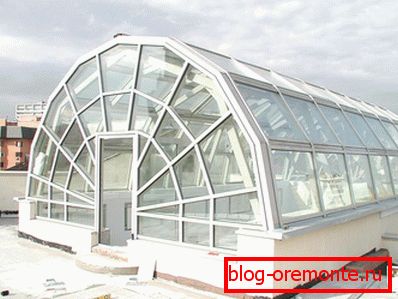
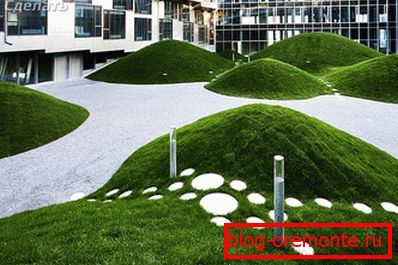
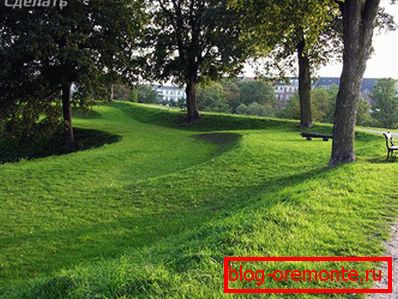
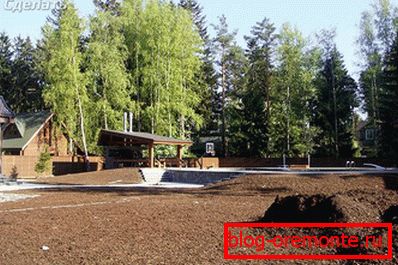
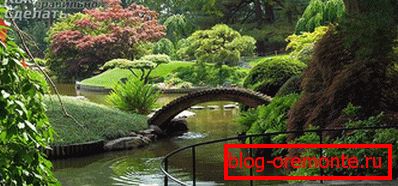
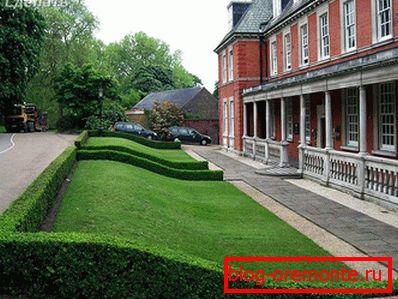
A photo
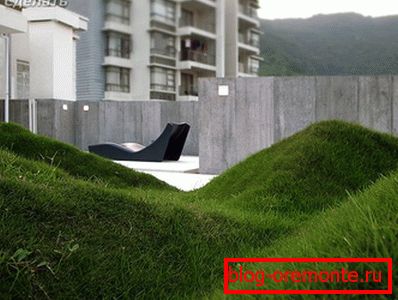
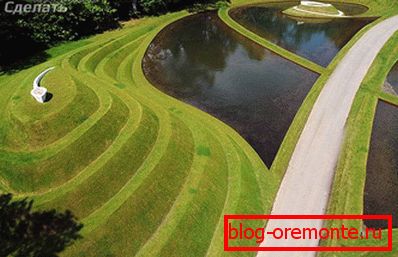
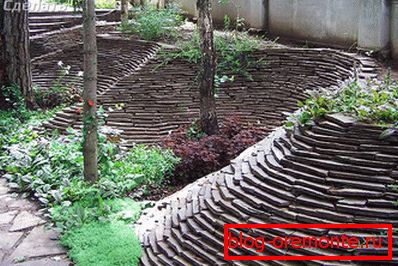
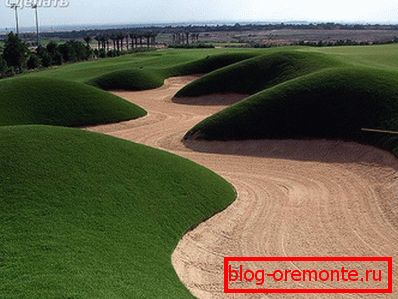
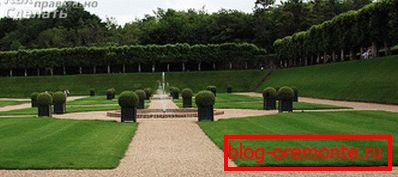
Below we offer you to get acquainted with several ideas on the formation of landscape relief: