Diy mosaic laying
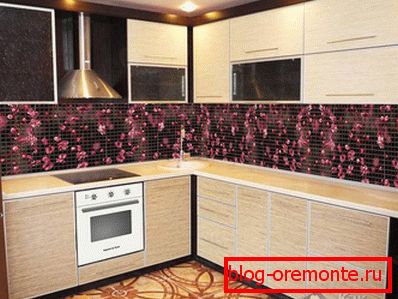
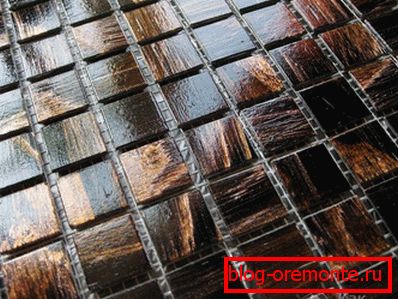
The mosaic made on the wall or floor becomes an ornament to any room. If you think that laying your own mosaic is unreal, you are greatly mistaken. Of course, many masters will say that doing such work is difficult. In some ways they are right, but if you have a little effort, patience and a sense of taste, then it’s quite possible to make a mosaic in your house. As an instruction, you can use the material of this article.
Preparing the base
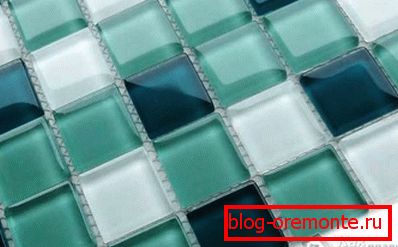
Laying out a mosaic (made from special tiles or individual elements) is a creative and difficult task. Here you need to show more diligence and accuracy than when laying conventional tiles. Increased requirements are imposed on almost everything.
So, when laying a mosaic to the preparation of the base should be taken more responsibly. If during the installation of tiled coating it is possible to slightly correct the arrangement of the tile with the help of the thickness of the adhesive mass, then this will not work. Any tubercle or trough will be immediately visible. Moreover, such a requirement applies to any plane. If you put a mosaic on the ceiling, floor or wall, the surface quality should be perfect. If we speak in a folk way - as "under the wallpaper."
When preparing the surface, pay special attention to the sheer and horizontal position. If the error is greater than 1–2 mm for every three meters, then ugly patches may form at the ends. Especially this requirement applies to laying mosaic of small tiles, here all the irregularities will be especially noticeable.
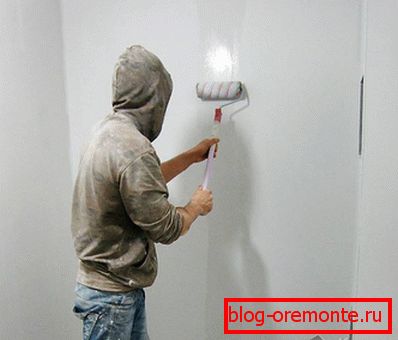
To improve adhesion and reduce the porosity of the base, the entire surface must be primed. It is desirable to do this in several layers. If you use transparent tiles in your “picture”, then it is worth covering the surface with tint. Otherwise, the heterogeneity of the base will be visible through the transparent elements.
When laying the mosaic in rooms with high humidity (bathrooms, saunas, etc.), one more layer is required. It will consist of waterproofing impregnation.
Markup
Before you start laying the mosaic, you need to carry out a preliminary marking. This is especially important if you are conducting such work for the first time. First make a sketch. In this case, you should pay attention to some nuances:
- if there are external corners in the room (box or slopes), then drawing should start from them;
- if there is any decorative element on the wall (mirror or panel), then it also becomes a priority;
- try to remove all possible trimming in low-angle corners (for example, the corner of the entrance door).
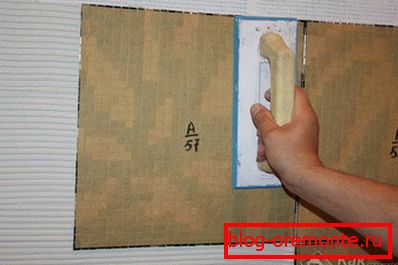
After the paper sketch is ready, it is transferred to the wall. If the mosaic is laid on the floor, then it is advisable to make a “dry” layout.
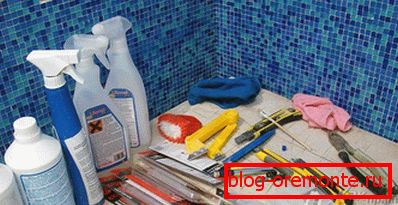
Apply glue

Now let's figure out how to glue. Glue mass must be selected carefully. As a rule, special glue is produced for the mosaic. It can be both tinted and white. Here the choice will depend on the tile used (transparent or not). Also pay attention to the base material.
At installation it is worth remembering that glue hardens pretty quickly. Within twenty minutes, a film forms on its surface. Therefore, do not immediately apply a large amount. It is better to pass at most one square at a time.

Glue is applied with a smooth spatula. The layer should not exceed four millimeters. Then on the surface of the adhesive mass pass with a notched trowel (tooth height not more than 3 mm).
Some professionals apply a thin layer on the tile itself. Thus, a more secure bond is achieved. But such a layer should be minimal so that the mosaic looks even.
Mounting the mosaic itself

If you know how to install a regular tile, then you will quickly figure out how to tile a mosaic. The principle is very similar, there are only some nuances.
For example, the usual tile (when laying on the wall) is mounted below. The bottom row will be the holding base for the top. With mosaic tiles, this is not necessary. They weigh a little, so you can start installation from any place you have planned.
It is better to start the first styling samples from an inconspicuous place. So you can practice a little and make the main part better and more beautiful.
The mosaic tile leans against the glue mass and presses slightly. Then you should carefully look behind the seams. To use plastic crosses (as in the case of ordinary tiles) is unlikely to work. All you need to do "by eye".
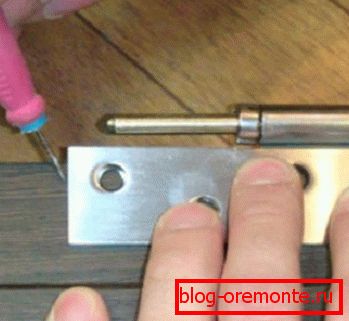
If the glue does not seize when mounted on the wall, the tile may move a little. In this case, help small carnations. They are inserted into the seam and hold the material in the right place.
Once laid square, you need to walk on it with a plastic pad with a nozzle of an elastic material. With its help lightly tap the entire trimmed surface. In this case, your actions should be moderately strong and short.
Half an hour after laying the square it is necessary to remove the protruding excess glue. This is done neatly with a chopstick or a hard pile brush. If the mosaic tile has a paper coating, then you need to get rid of it on the day of installation. To do this, slightly wet it and remove. Postponing this work the next day is undesirable. There may be difficulties with the frozen glue.
Produce grout
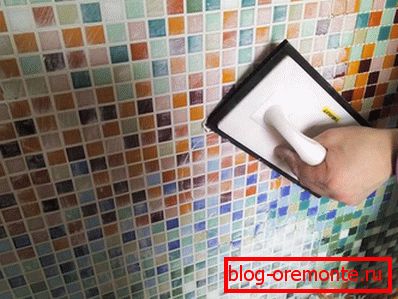
It is necessary to start grouting a day after laying. For such work a rubber spatula is used. Look at all joints before grouting. Remove sticking glue and debris from them. The grout itself is smeared in different directions. The last pass must be perpendicular to the previous one.
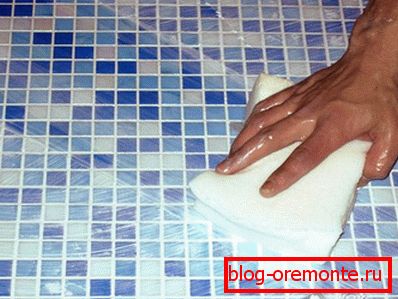
After applying the grout, the excess must be removed. If you use a waterproof material, this is done immediately. A water-soluble grout is given for 10–15 minutes, then it is removed with a damp cloth. Leftover residues can be removed at the end of the day with a soft cloth. That's all work completed.
Video
A photo