Diy mixer repair
What could be worse than the sound of dripping water? To save all households from such an unpleasant situation can replace or repair the mixer. In this article we will explain how to repair the mixer with your own hands in the bathroom (in the shower) or in the kitchen, consider the options for single lever and ball mixer.
First you need to try to determine the cause of the mixer malfunction among a variety of assumptions.
Single lever mixer

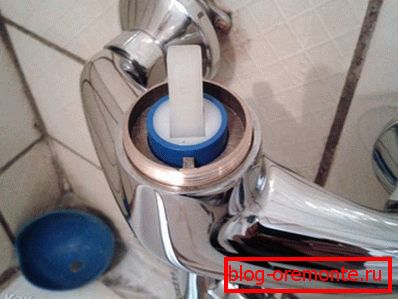
The most common cause of leakage of single-lever mixers is small debris between the discs of the cermet valve used, or for some reason turned out in a spherical sleeve.
Such a malfunction can be eliminated only by replacing the cartridge. How to do it:
- Remove the decorative rivets (red and blue) at the front of the lever.
- Then, remove the screw, located under the plug, the purpose of which is to mount to the lever of the control rod.
- After that, remove the lever from the mixer body.
- Remove the defective cartridge.
- Replace the old cartridge with a new one.
- Try, without losing anything, in reverse order to assemble the mixer.
That's all! Congratulations, you yourself have eliminated the cause of the leak.
Weak streams of water

The cause of the malfunction is most likely a clogged aerator. In order to eliminate it, you will have to:
- Unscrew the aerator from the spout.
- Rinse well (purge) the aerator mesh.
- Screw the cleaned aerator into place.
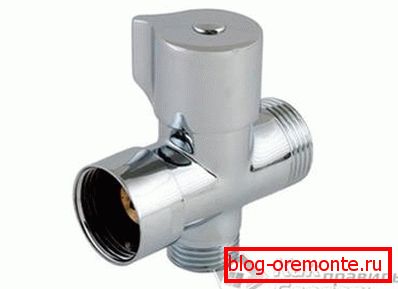
Breakage of the mixer with the switch "bath-shower"

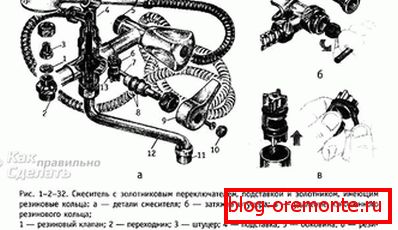
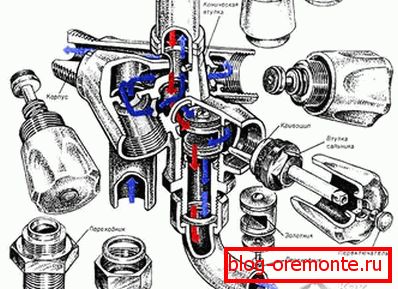
Let us assume that water began to flow simultaneously into the shower hose and into the spout. Worn spool gaskets that are in the switch may well be the cause of this malfunction. To eliminate it you will only need to replace the gaskets. The upper gasket can be removed without disassembling the switch using a thin hook. To remove the hose will be enough to unscrew the cap nut shower mesh-watering.
To replace both worn spool gaskets, do the following:
- Close, as it should, valves.
- Disconnect the hose.
- Remove the spout.
- Unscrew the adapter.
- Remove the switch knob, while removing the screw and removing the eccentric.
- Remove the spool from the mixer body (the easiest way to do this is through the bottom hole to which the adapter is connected).
- Using an awl or a narrow screwdriver, you need to remove the rubber rings from the spool. And, finally, fasten the new rubber rings on the spool, then moisten them with water to facilitate the return entry of the spool into the body hole. As a rule, spare rubber rings are included in the kit of the new mixer. In a separate sale they are difficult to find.
- You need only in reverse order to assemble the switch.
Rubber rings can be made by yourself. For these purposes hard rubber is suitable for approximately 4 millimeters thick. Consider that the rings made in this way will be short-lived. As a temporary option under the worn rings can be wound linen thread or thin copper wire.
Leakage in a push button switch

The reason may be a damaged gland. You can resolve the problem as follows:
- Unscrew the water switch button.
- Unscrew the switch housing (with a wrench).
- Pull the exhaust rod upwards.
- Check the condition of the seals on the exhaust rod.
- Remove the worn rubber gaskets, replacing them with new gaskets of the required diameter.
- Lubricate the exhaust rod (so that the changed rubber gaskets do not wear out longer).
- Assemble the switch.
Switch Button Malfunction

The button has stopped returning to its original position. The reason lies in the broken spring. Steps to fix the breakdown:
- Shut off the valve heads.
- Disconnect the shower hose and remove the spout.
- Insert the rod into the adapter.
- Remove the adapter (with a metal rod inserted).
- Remove the decorative cap, unscrew the screw and remove the water supply switch button.
- Take out the stem and the broken spring.
- Remove the broken spring. Instead of the old one, wind a strong metal spring with electroplated coating on the rod with the help of pliers (diameter less than the diameter of the broken one).
- Reassemble the switch in reverse order.
Be sure to check the operation of the replaced spring. The spring must return to its original position when reducing the water pressure and when the valve heads are twisted.
Remember that before you begin to repair the mixer, you should turn off the water with special valves on the pipes that supply water to the apartment.
Video
From the following video you can learn how to fix various problems with the bathroom faucet: