Diy ceiling plaster
Every year stretch ceilings are gaining more and more popularity. Yes, and drywall ceilings are not far behind them. However, not everyone can afford such an expensive pleasure. If your ceiling is not quite in a deplorable state, in many cases the ceiling will help with your own hands. Let's think about whether to do this at all, or better choose another way to bring the ceiling in order.
It turns out that choosing a plaster, you will win. Judge for yourself. Compare, for example, our way with suspended ceilings. Let's start with the fact that suspended ceilings hide several centimeters of vertical space. In some cases (with a low ceiling height) this may be unacceptable. On the other hand, suspended ceilings are much more expensive than plaster mixes. Any plaster is absolutely environmentally friendly material. It helps to maintain the humidity of the room, at high - absorbs moisture, at low - gives.
As for the plasterboard ceilings, this method requires not only the ability to work with this material, but also the skills to build a supporting framework. All this is complicated by the fact that the entire installation will be made on the ceiling. In this case, the partner is obligatory, since it is very difficult for one to fasten large sheets of drywall with self-tapping screws. The cost of the ceiling of plasterboard also flies a pretty penny. In addition, the device ceiling of plasterboard does not tolerate errors, sometimes inevitable with little experience of such work.
It turns out that such methods are not always preferable. But maybe when you putty the ceiling there are negative sides? Of course have. Now we will consider them:
- At least minimal experience in this area is desirable for working with plaster. After all, work on a large space requires almost perfect evenness. On the ceiling like nowhere else it will be particularly noticeable. This is especially important for ceilings, which are subsequently planned to be painted. If the difference in the level of the ceiling between the plates is more than 2 centimeters, then fixing the defect by plastering is very difficult. In this case, you need to resort to alternative methods of finishing.
- Plastering the ceiling is better with your own hands. Using the services of hired workers in this case is very expensive. Although it is possible that the team that you hire will be professionals, and the work will be done qualitatively.
So, let's decide whether you need to plaster the ceiling, or resort to an alternative method.
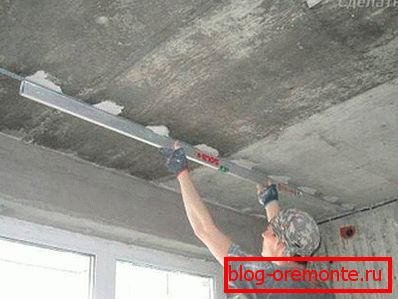
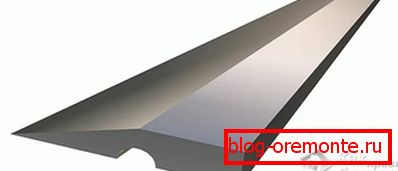
If the ceiling level drops do not exceed a few millimeters, then the best way to put the ceiling in order will be the plaster. To accurately determine the level of the surface is recommended to use the rule. With it, you can see what the elevation changes are, and decide what actions to take in the future.
Ceiling preparation
If you decide to plaster the ceiling, the first thing you need to do is carefully inspect the front of the work. Assess the elevation difference, the presence of mold, fungus, cracks, etc. If the ceiling is in poor condition, the old coating must be removed. How to do it correctly, we now tell:
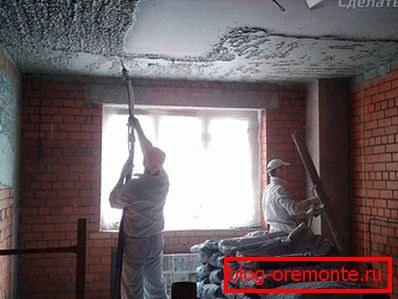
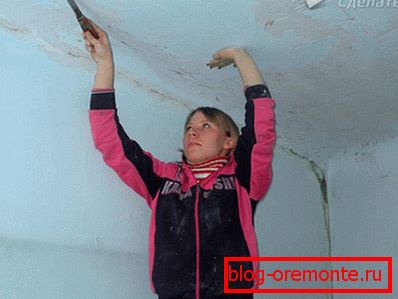
- Using a spray bottle, you need to wet the ceiling surface over the entire area. Since the old plaster absorbs moisture very well, repeat the procedure several times. Thus, the removal of the old coating will take place with the least effort. And the dust will be much less.
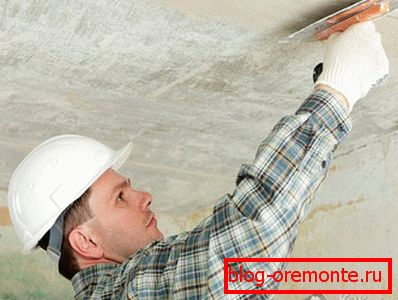
- After half an hour, when the moisture has thoroughly saturate the ceiling, take a wide, hard spatula and clean the ceiling from the old coating to the concrete base.
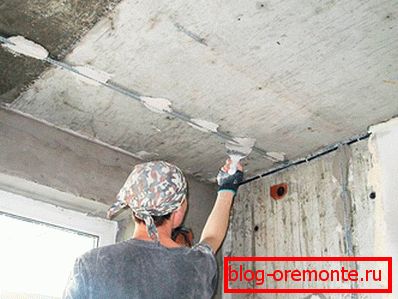
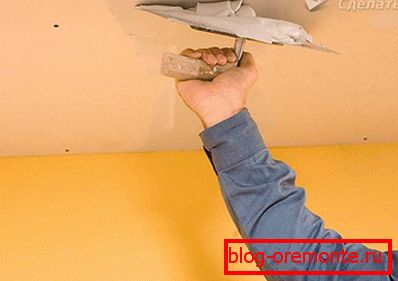
- If in the gaps between the plates you find plaster, which is clearly not holding well, it must be removed with a punch. To do this, switch it into shock mode without rotation and clear the interplate space.
- After that you need to treat the cleaned surface with a primer. After soaking up the solution, repeat the action. The use of a primer will increase the adhesion of the plaster to the ceiling and remove the dust layer remaining during the initial processing. If you had a mold or mold on the ceiling, it is necessary to treat the surface of the ceiling with a special primer with antibacterial composition. This will prevent the occurrence of such an unpleasant phenomenon in the future.
The better plaster ceiling?

The stores sell several varieties of putty. In order not to get confused, you need to know that there are only two types of these mixtures:
- Lime-cement mixes.
- Plaster on a plaster basis.
Gypsum plaster is preferable. This option can, to some extent, resist the occurrence of cracks during shrinkage and changes in humidity and temperature. In addition, this putty has a high adhesion, that is, better adheres to the surface. It is much more convenient to use it, than cement and limy.
How to plaster the ceiling?
Get a perfectly smooth surface "by eye" does not work, do not expect. But this is not really as difficult as it seems. For this use beacons. To install them you need:
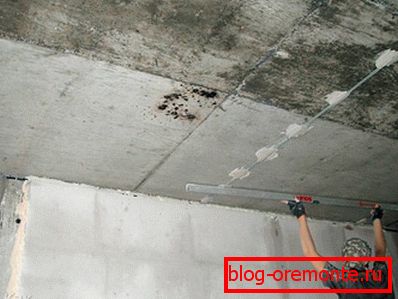
- Using the level, determine the lowest point of your new ceiling.
- Back down 5? 10 mm? this will be the new level of the ceiling.
- To tighten a horizontal thread between the screwed screws.
- Apply a small layer of putty and press in the ends of the profile. We will use it as guides for applying putty. Profiles should be located end to end butt joint from one wall to another. The distance between them must necessarily be less than the length of the rule.
- Apply a layer of plaster in such a way that it is a few millimeters higher than the beacons and remove the excess with a wedge.
- Thus, apply and smooth the plaster over the entire surface of the ceiling.
If the plaster is applied in several layers, the use of special reinforcing mesh is recommended. It is pressed into the primary layer of plaster. After complete drying, the second layer is applied. The final alignment is done with a putty finish.
Some people ask - how to plaster the ceiling of plasterboard? Making it even easier. Between the sheets of drywall is applied a thin layer of plaster, which is laid and pressed into a serpyanka net. Then put the finishing layer putty. To better understand the principle of operation, you can watch the video.
Video
This video shows the process of plaster ceiling putty:
A photo