Bench for a bath with his own hands
Logs chopped from logs are gradually receding into the past, unable to compete with light, modern, inexpensive materials, but the steam room and furniture are necessarily made of wood. Only this material is able to create a special healing atmosphere in the bath and provide comfortable conditions. If you want to save, then try to make a bench for a bath. Since its design is very simple, a bench for a bath with your own hands can be made without a special tool, and a thing created by yourself can always be better than a purchased one.
How to choose a wood grade

Strict requirements are placed on the material for benches in the bath:
- high density of fibers that does not allow wood to split and crack;
- low thermal conductivity, providing a comfortable temperature of wooden flooring;
- resistance to moisture, allowing long term use of furniture in difficult conditions.
It would seem that coniferous varieties of wood are suitable for the bath: larch, pine, cedar, but they have a significant drawback, precluding the use of furniture in the steam room. When heated, a resin appears on the surface of the boards, such excretions leave burns on the skin, so moisture-resistant coniferous wood is used for benches in the break room or in the washing room.
Lipa became a favorite among the materials for furniture in the steam room: it is easy to handle, resistant to water and heat, it smells good. Aspen is also good, but over time the wood begins to rot from the inside. Oak does not cause any complaints? this material has solid advantages, only its cost is high. You can make benches from other types of wood: maple, poplar, birch.

Before you make the benches in the bath, you need to find out the requirements for their design.
- Boards and bars used for the manufacture of furniture in the bath should be thoroughly polished the entire surface of a special machine or sandpaper.
- The corners of the benches must be rounded to avoid injuries and scratches.
- Furniture must be durable and reliable, designed for safe use by an adult.
- For antiseptic impregnation is prohibited to use synthetic fluids that release toxins when heated. The material is protected by special formulations based on natural oils.
- For better drying, the space under the bench is not sewn.
- There is always a gap of up to 10 cm between the wall and the installed bench.
Varieties
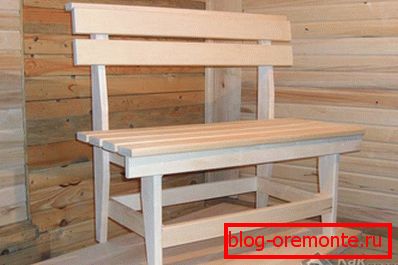
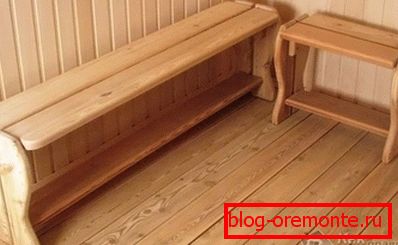
In pair establish stationary or portable benches. Their sizes depend on the area of the room and location. Comfortable installation height is 60? 70 cm; if several rows are being constructed, then the distance from the upper flooring to the ceiling should be 1.2 m. The upper tier is intended not only for sitting, but also for lying. Its width should be up to 90 cm, length - 150? 180 cm, for the lower shelf it is enough to make a flooring of 60 cm. Portable benches are inferior in size, their length is 90? 150 cm, width - 50 cm. Arrange furniture away from the stove and windows, against a blank wall. At the heart of most models of shops lies the frame, the legs of the bars and the seat of the plates, packed at intervals of 1–2 cm, designed for running off of water.
Tools for work:
- hammer;
- screwdriver;
- sanding machine or sandpaper;
- knife.
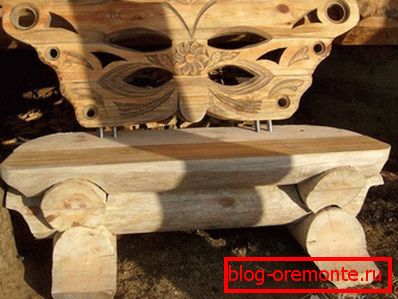
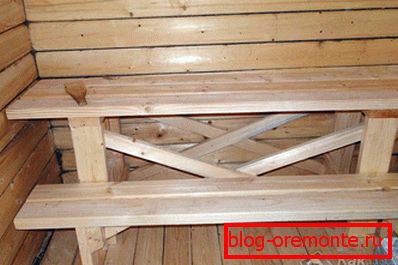
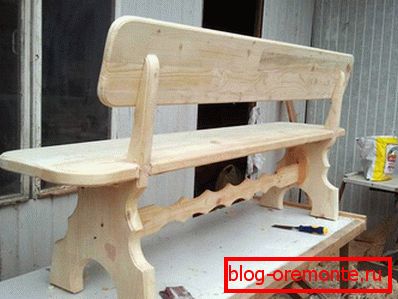
Here is an example of the scheme of another more complex bench that can be used for a bath:

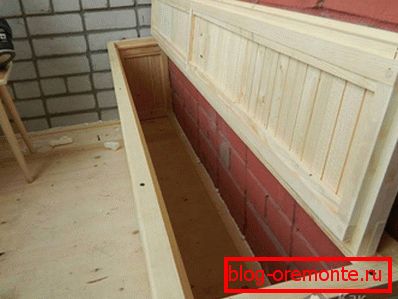
Manufacturing
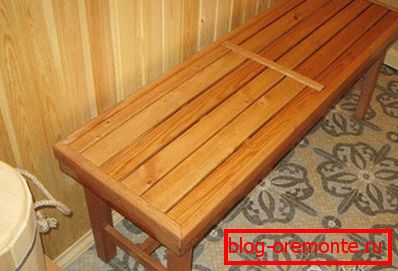
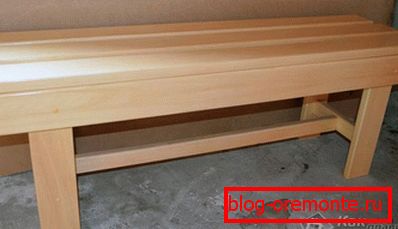
A simple option for a novice carpenter is a small portable bench. Having a little experience with wood, you can later take up a more complex structure. The first step is drawing the scheme of the bench with the designation of parameters: length, width, height. For the manufacture will need: 2 boards 150? 20? 5 cm, bars 5? 5 cm, 2 levels 10? 2 cm, screws. All boards and bars are thoroughly polished before assembly.
- Saw the boards into 4 pieces of 50 cm for the legs and 4 by 41 cm for the horizontal posts.
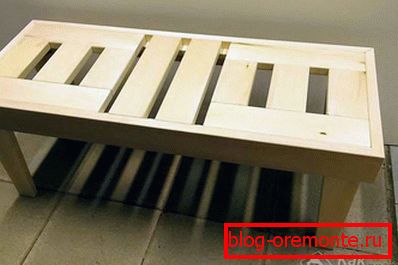
- Run the two frames, screwing the legs and the stand in the upper part on the same level, and fasten the lower stand from the inside at 5 cm from the floor.
- Fix the two boards alternately on the frames with four self-tapping screws, leaving a 1 cm gap in the middle. The self-tapping screws are mounted on the inside of the bench so that they do not cause a burn when heated, or go deeper into the tree by 5 mm and putty.
- For the stability of the bench on the crossbars, fixed at the bottom, two thin strips are fixed.
Initially, for the manufacture of furniture in the bath used wooden dowels, which were driven into the prepared holes. This process is quite complicated, so it is easier for a beginner master to use screws and a screwdriver.
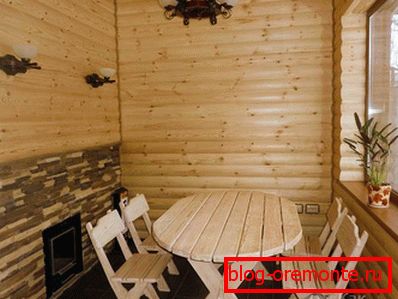
Having made furniture for your bath, you can be sure of the quality of its wood and impregnation. The dimensions and design of the benches are ideal for the rest of the furniture and fit into the interior of the bath rooms, because they are made according to individual measurements.
Video
How to make a bench for a bath, you can figure out by watching the following video:
A photo