Bar counter: instructions for making
Having made a modern renovation in your kitchen, you will think about the bar counter, which will fit perfectly into the overall interior and make it more relaxed.
Location
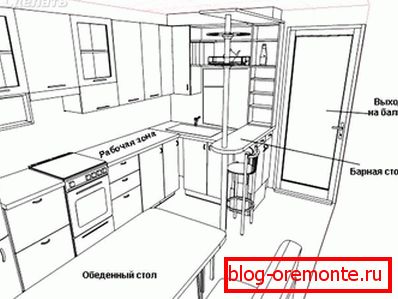
It is suitable for both a separate kitchen, and for a studio apartment in which the counter is able to zone a space without overloading it. The bar counter in the interiors of apartments is popular abroad, where people are known for their love for snacks, however, eating food in Russia is a kind of ritual, and therefore the design has its own characteristics.
- As a rule, the counter is located in the kitchen.
- This design is not able to replace a full-fledged dining table, but is only its complement.
Varieties
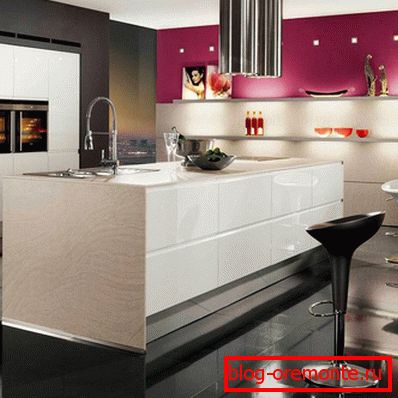
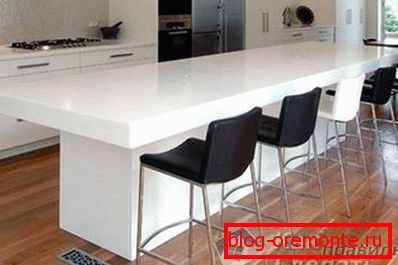
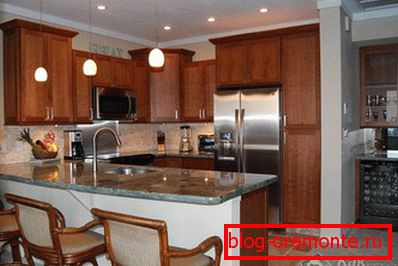
- The classic version of the design is based on high consoles. This stand has a height of 1.1-1.15 m. In order for this type of rack to fit well into the interior, it is worthwhile to choose chairs with high seats.
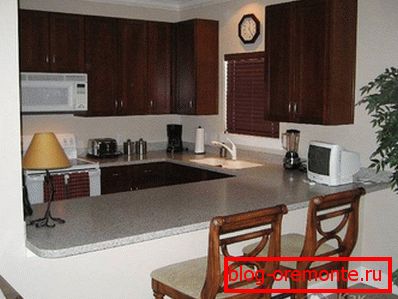
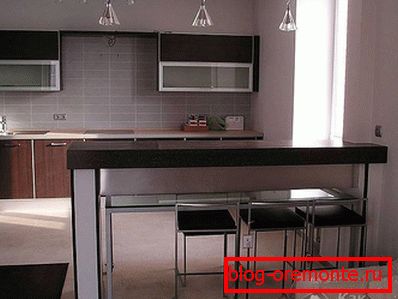
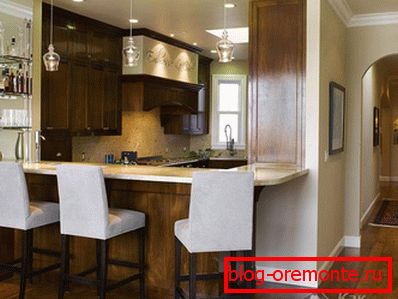
- Combined stand, i.e. combined with a dining area. Accordingly, the bar counter will have the same height as the working surface (0.9 m) and you should choose suitable chairs (0.6 m). This is done mainly for convenience.
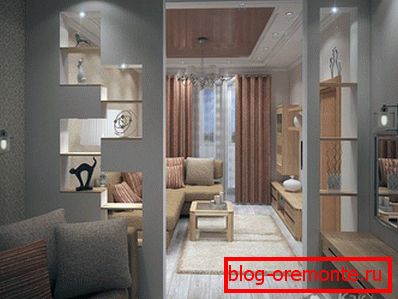
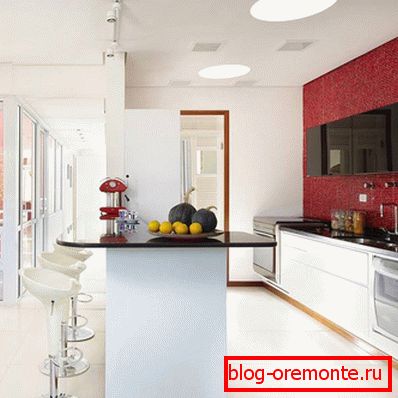
- If the design is combined, then it will have two heights. That is, a higher level tabletop plays the role of a bar counter, and the element below serves as a dining table. This method is often used when zoning the kitchen and living room. In this case, the dining area is located from the kitchen, and the bar - from the living room. With proper design, this option is quite convenient.
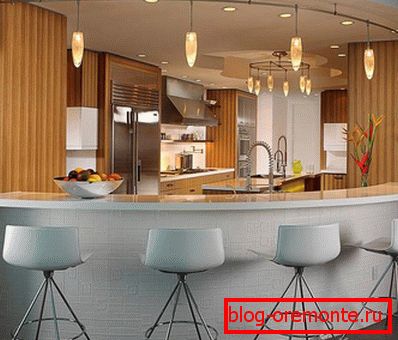
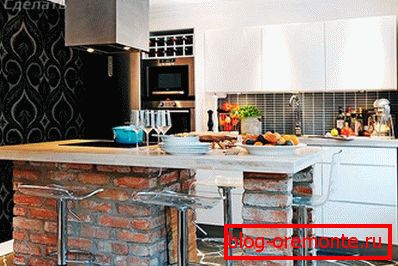
- Another option is when the bar counter is installed in the center of the kitchen with a large area. In this case, the rack is a continuation of the hob and sink. This model is not suitable for everyone, but also finds its admirers.
Bar arrangement
If the area of your apartment is quite large, you can equip a separate full bar, which will not apply to the kitchen. In such a bar there is a place for washing, there is a refrigerator for drinks and cabinets with a variety of alcohol.
With this arrangement, the bar counter completely fulfills its original functions and is a resting place where you can drink. This option is relevant for small families living in a studio apartment. In this case, the design can be located anywhere in the room.
Unfortunately, in shops the range of bar counters is small. As a rule, you will be able to find accessories for it: shelves, lighting, tabletop, accessories. We have to select and complete everything in such a way that the design is combined with the general interior of the room in which it is located.
Manufacturing
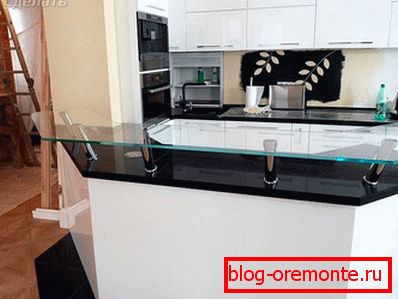
In order for a bar counter to appear in your interior, you need to decide on the material for its production. For this you can use: wood, glass, chipboard, natural or artificial stone, metal, and combinations of these materials. Corinth is mainly used to finish the tabletop, which is durable and is available in a wide range of colors. From it, you can easily make the desired shape that fits your room.
In the manufacture it is not necessary to make the tabletop of the same material as the work surface.
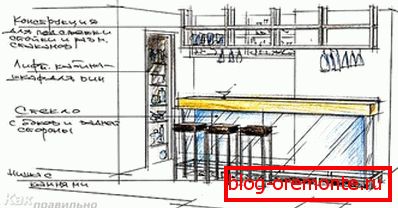
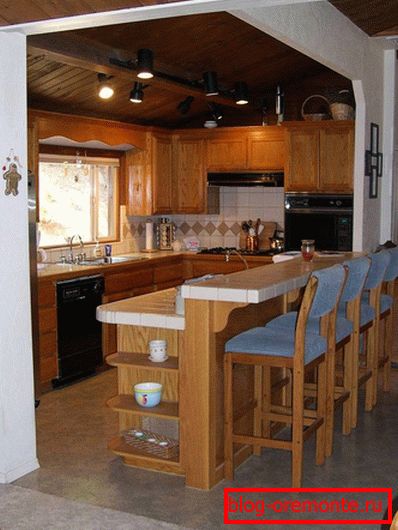
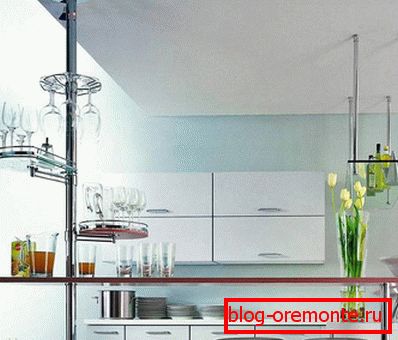
Equipping the rack, you must correctly and beautifully use the space above it. Shelves and sheds for wine glasses, fruit baskets, napkin holders can be placed here. Having made such a multifunctional “tree”, you use space and decorate the room.
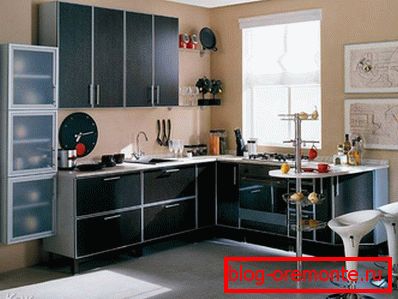
In the presence of a small kitchen is not necessary to deny yourself a bar. In this case, it is combined with the dining area, but is made slightly above the table. You should not make the rack too high, because in a small room it will look inappropriate. The best option would be to continue the work surface or tabletop, that is, the location in the same plane with the other objects.
From plasterboard
It is necessary to prepare the following tool and material:
- level;
- perforator;
- metal profiles;
- plasterboard;
- dwelling;
- self-tapping screws;
- putty;
- putty knife;
- paint;
- knife;
- screwdriver;
- просекатель;
- grater for smoothing putty;
- sealant;
- roller, brush and tray for painting.
The manufacturing process is as follows:
- Determine the size of the structure - the width, length and height of the rack. The main thing is to be comfortable behind it.
- At the next stage, the metal frame is made.
- In the manufacture of the frame is very important to give it sufficient rigidity. To do this, the corners can be made from a solid profile, for example, you can cut its two walls with metal scissors and then bend a 90 ° angle. It is possible to strengthen the place of a bend with the help of a prosekatel or having twisted self-tapping screws.
- Thus, the guide profile UD is fixed to the wall and floor. Dowels are used for fastening. It is necessary to make two wall frames.
- Between themselves, they should be connected with a transverse profile. Each profile is also sealed by a prosekatel.
- If necessary, the connection of two profiles perpendicular - crabs are used.
If you want to install a backlight on the bar in the future, then you should immediately connect the wires to the construction, leaving the leads outside. When the frame is completely ready, check it for stability. After that, you can proceed to the fastening of drywall. Hats of self-tapping screws should be slightly embedded in drywall. After they will be easier to putty, and the entire surface of the bar counter to paint.
After installing the drywall each joint must be putty with mounting grid. This will prevent cracking.
If at the completion of the work there are places where the rack does not adhere well to the wall or floor, these gaps can be treated with sealant. Install a plinth at the floor.
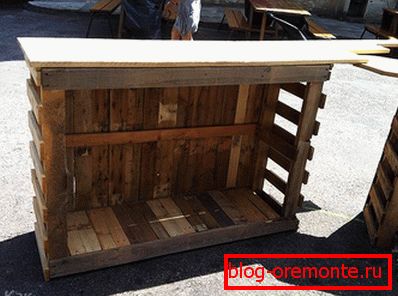
From wood
For the work will require the following set of materials:
- timber 50 × 100 mm;
- edged board 25 × 300 mm;
- MDF sheets 18 mm thick;
- plinth;
- molding;
- self-tapping screws;
- acrylic sealant;
- varnish;
- paint.

The manufacturing process is as follows:
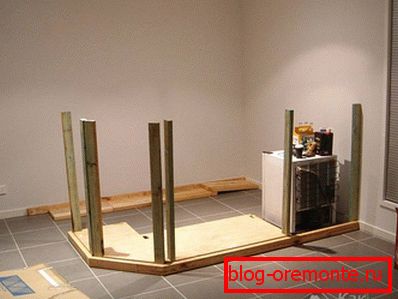
- At the first stage, a design project is developed. At the end of the article will be presented ready-made drawings of bar counters. You can use a ready-made project or slightly modernize it for individual needs. At this stage you should decide what the length, height and width of the structure will be.
- Now, starting from the finished project, you can begin to manufacture the frame. To do this, make the layout of the future frame on the wall and floor, drawing the contour lines of the future location of the bar.
- Mount the timber to the floor and wall along the marked lines.
- It is also necessary to install support struts and transverse beams for mounting the table top. Determine the height of the racks so that the top of the countertop is at the same level as the working area in the kitchen. In addition, each vertical rack should be level.
- Between the racks are connected transverse bars. For fixing, you can use furniture corners.
- When the frame is assembled, it is trimmed.
- For plating, you can use sheets of MDF. They additionally give the structure the necessary rigidity.
- The table top is made of edged boards, which are polished and varnished.
All wooden elements of the rack should be treated with special compounds against corrosion to increase moisture resistance and to protect against fire.
Fill all the gaps between the bar, the wall and the floor fill with acrylic sealant. The ends of the installed countertops should be closed molding.
Of brick
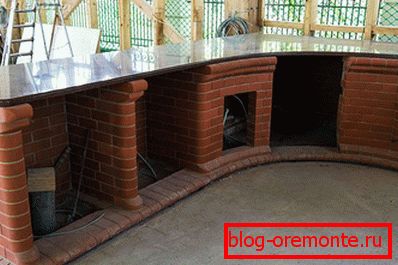
The brick bar counter is a truly solid construction, which is distinguished by high strength. If the apartment has a wooden floor, then the creation of such a structure will have to be abandoned.
For construction you will need cement mortar and brick. The design will look like a parallelepiped. Row after row is laid brickwork, sealed with mortar. For facing such a stand, a facing red brick is better suited, the laying of which is carried out under the jointing. As for the countertop, it can be made of natural stone, wood or MDF slabs.
Of stone

Bar racks can also be made from natural stone. For example, polished granite is an excellent option. The surface is not afraid of moisture, sharp objects, hot and cold, and there are no stains on it.
So that the installed stone worktop has a finished look, its edges are decorated with a decorative facet.
There are a number of advantages in using natural stone:
- strength;
- heat resistance;
- ease of care;
- a wide variety of colors and patterns;
- durability;
- resistance to various effects of reagents.
A little advice
 When you think over the design of the bar, try to comply with the measure. That is, the design should not be overloaded with a variety of objects and parts. It is worth starting from three basic rules:
- Functionality. Decide what you want from the bar and when designing, take into account all your preferences to make it as comfortable as possible.
- Division of space. In the case when it is necessary to zone the room, the rack must fulfill this role.
- Beauty. The stand should be not only comfortable, but also aesthetic, fit perfectly into the overall design. The combination with all other pieces of furniture is a strict requirement, which must comply with the design.
A photo


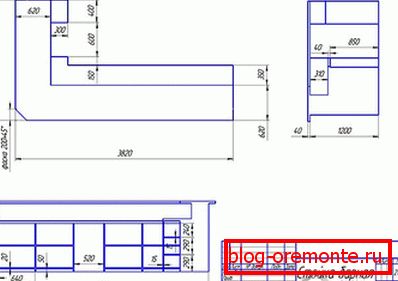
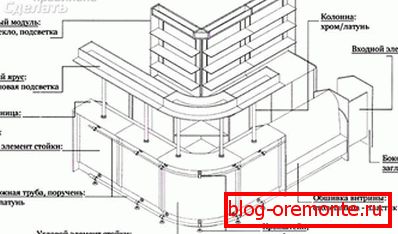
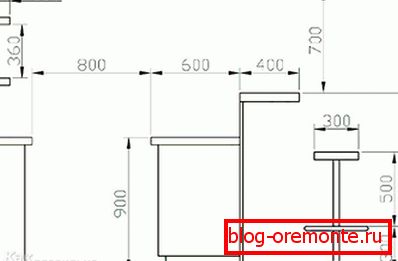
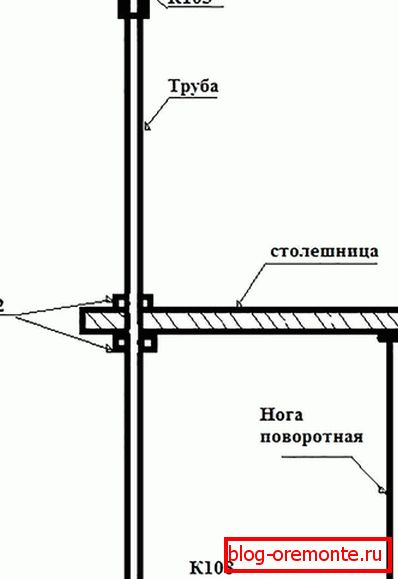
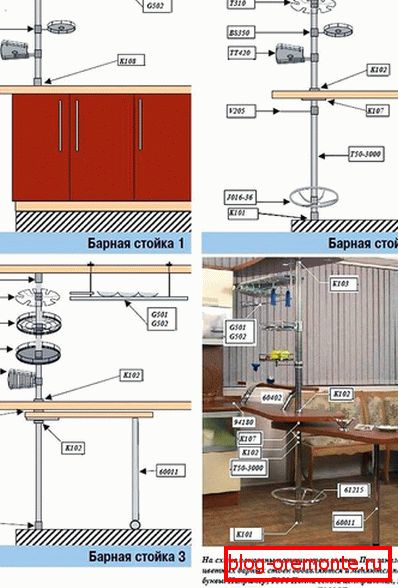
Blueprints
With the help of the diagrams and drawings provided, you can design and make a bar counter yourself: