Arbor with a brazier with their own hands
Most people, the rest spent in the country, brings special satisfaction. And to stay in the country house was comfortable and cozy, you should worry about the necessary buildings and communications. For example, a gazebo with a barbecue will allow, in addition to relaxing, to eat pleasant food cooked on the fire. If you want to save money, then we invite you to familiarize yourself with the process of making a gazebo with a barbecue grill.
Varieties of designs
Initially, it is important to figure out what type of gazebo you need. Such a structure may be closed and open. The construction is made of brick, metal or wood.
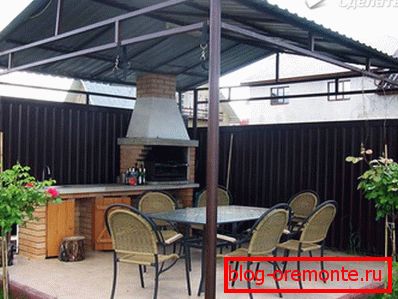
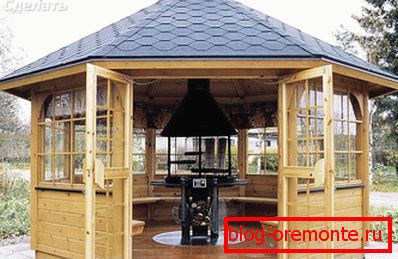
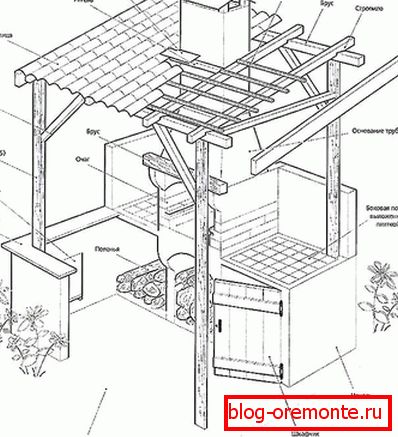
For example, a gazebo, where there is a built-in summer barbecue. This design consists of a rack with a roof and base (this gazebo is open). Optionally, you can stock up on polycarbonate shields, so that, if necessary, open areas, in the gazebo, close.
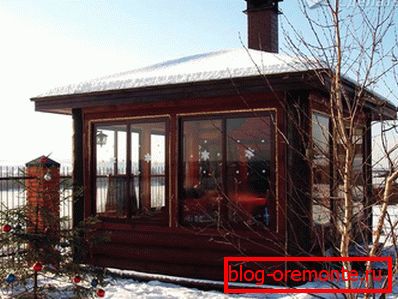
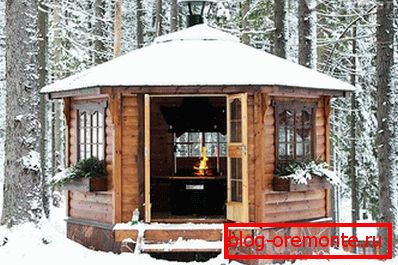
If you are going to use a gazebo with barbecue in the autumn-winter period, it is better to build a closed type structure with a chimney and ventilation.
From wood
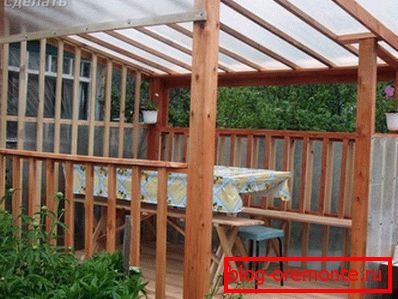
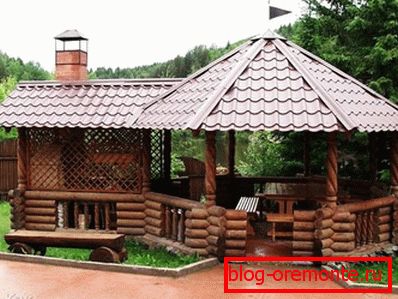
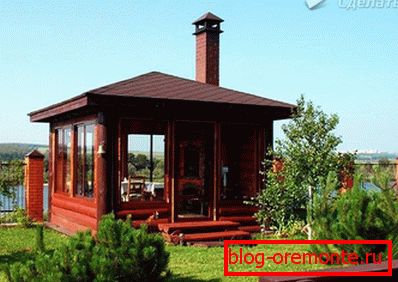
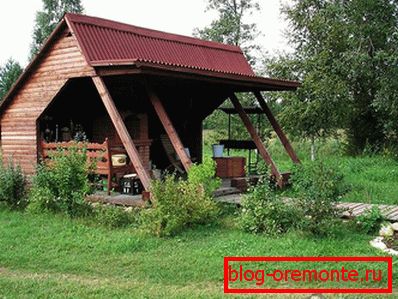
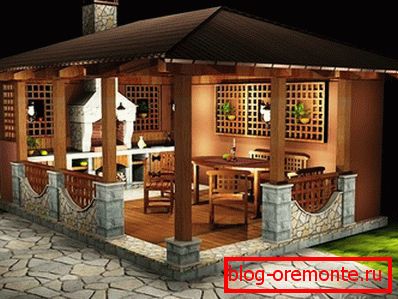
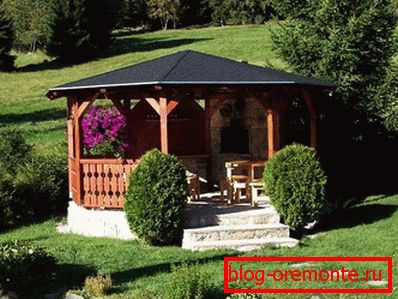
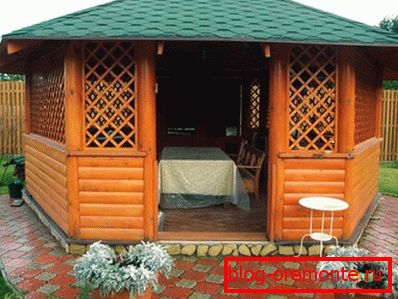
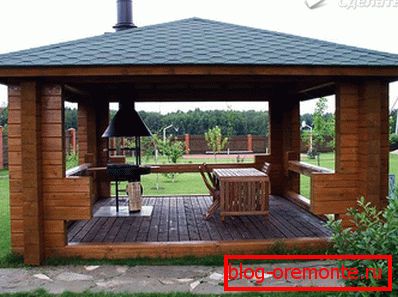
Arbors, made of wood, look great near the country house or mansion. Among the advantages are the following:
- perfect look;
- construction of winter and summer arbors;
- perfect combination with other facilities;
- easy accessibility, ease of installation;
- there is no need to order specialized equipment;
- saving time.
Wood construction is able to provide excellent stability, does not require the construction of a strip foundation, because, as you know, wood has a low specific mass. With proper care, these gazebos will last a very long time.
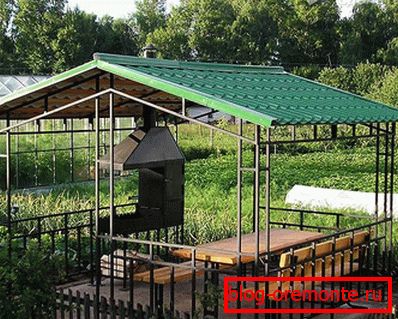
Of metal
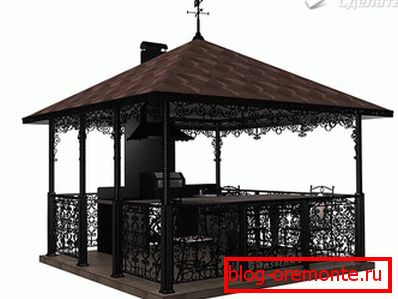
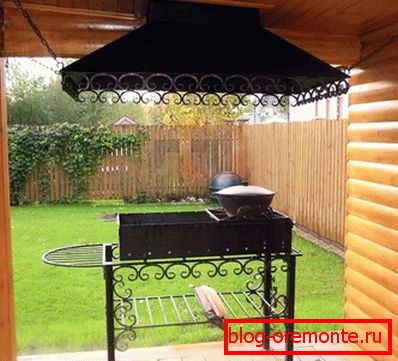
Metal structures allow you to show design skills and bring your imagination to life. Bends, various forms and branches - all these solutions can be used in a wrought-iron summerhouse. The cost of the finished structure depends on the choice of its design and the complexity of the work performed.
In order to significantly increase the service life of a wrought-iron gazebo, it is necessary to cover it with high-quality powder and alkyd paint.
The elegance of a wrought iron arbor is truly a decoration in any garden. If your choice fell on this type of building, then it will become the highlight of your garden. Gazebo and grill can be performed in the same style, adding wrought benches and corresponding decorations.
Of brick
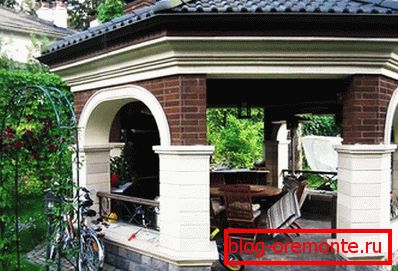
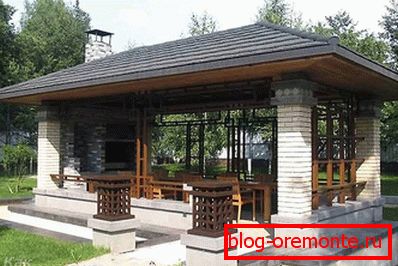
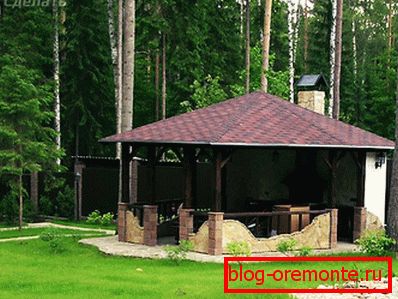
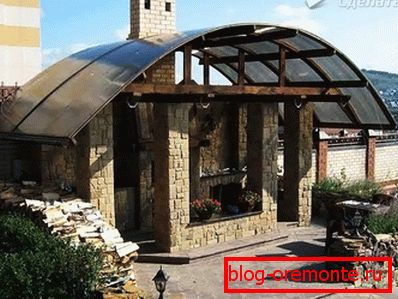
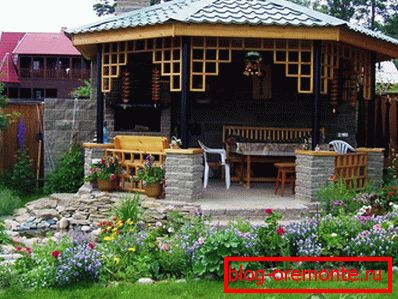
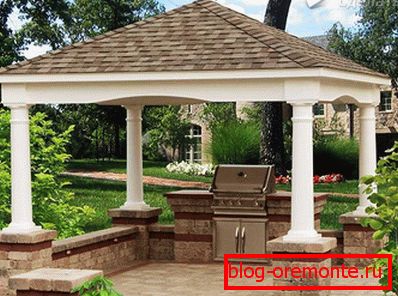
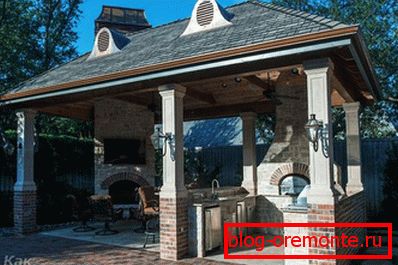
Brick construction is highly durable. Arbor, which was built conscientiously, will last more than a dozen years. The brick structure is not afraid of sparks emanating from the brazier. Such designs, with proper care, do not particularly need to be repaired. Reliable walls will protect from wind, rain, snow and cold. The brick construction can be, both closed and open, and the combined type. Also important is the combination of stone with wood.
Arbor Design
As a rule, the area where the arbor will be located may be far from home or border it. But it should not be arranged near neighbors, since this kind of noise is not always welcome. So, we will consider the step-by-step guide on construction of an arbor.
Step by Step Construction Instructions
As in any construction project, it is necessary to prepare the drawings in order to perform the work professionally.
- Layout site.
- Foundation. The type and size of the foundation depends on the massiveness of the building. For wooden buildings, you can use the column foundation. The predominant side of the slab foundation lies in its practicality, since it performs the function of the floor and is used for heavy structures. Ribbon foundation is the right solution in most cases. To build it, a trench is being dug, in which the formwork is installed, after which a framework of reinforcement is laid and concrete is poured. A wooden beam is laid on the base, it is fastened with screws and boards.
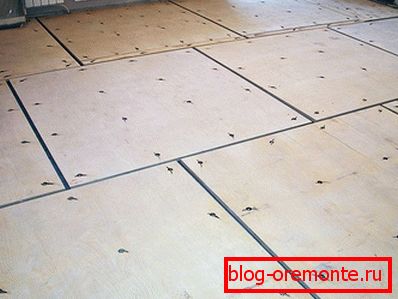
- Next, make the floor. When a gazebo is built on dry and hard ground, the flooring is optional. Just fall asleep gravel or left as is. Pavement tiles or boards are laid on the concrete base. If the gazebo is open, then it is necessary to ensure the flow of rainwater, providing for a sufficient slope of the floor.
- The next stage - the construction of walls. For the arbor, you can build lattice walls. But as a rule, the walls do not perform the carrier function. But maximum attention should be paid to the erection of corner structures, since this is the basis of the whole building, on which the weight of the roof will be supported.
- Roof. A ridge or inclined one-way construction (slope 5–10 °) becomes a frequent choice. Coating material - ondulin, polycarbonate or metal tile. In the decorative gazebo, a grid roof is used, into which plants will be woven (in rainy weather, such a gazebo cannot be used).
- Exterior finish. If there are wooden parts in the building, it is imperative that they are impregnated with protective oils (linseed oil) and coated with varnish for external works. As mentioned earlier, metal structures are also coated with special enamels.
Arbor decoration
A cozy, comfortable and beautiful gazebo - that's what gardeners try to bring to life when decorating. Everybody decides how to decorate such an arbor, but still there are some methods that need to be known. These include furniture, decoration with a fabric, put a spectacular lighting and landscaping.
Clearance
This can include a beautiful path of tiles or stones that lead to the exit, as well as steps made of stones (for a gazebo with elevation). This path can be illuminated with solar-powered floor lights.
Furniture

Furniture для беседки должна быть изготовлена из влагоустойчивых легких по весу материалов (кресла, скамьи, столы). Оригинальную и удобную мебель можно как купить, так и смастерить самостоятельно, применив, например, паллет (строительные поддоны). Готовую мебель надо защитить от влаги и зноя, покрыв специальной краской для внешних работ, подобрав необходимый цвет.
Curtains, pillows and a tablecloth can be sewed on their own, keeping the products in a certain color and style (such non-natural materials include organza and PVC). It is better to limit to two sometimes and three colors. It is better not to apply natural fabric as it is subject to fading, aging and is hardly erased. Provide holders for curtains, 2-3 blades on each side of the gazebo. Fix the curtains on the racks, it will help to protect them well from wind gusts.
Lighting
Under the roof, place the main light source of the yellow spectrum. Overhang on the roof of the gazebo, if desired, decorate the decorated garland.
If you do not have skills in working with electricity, it is better to entrust the wiring installation to a specialist, which will help you to avoid electric shock.
Gardening
For perennial climbers include: climbing roses, decorative grapes, or ivy. Planted such plants near the supports and walls. They are perfectly combined with each other. It is permissible to install additional trellis, since they will support your plants outside the structure and form aesthetically smooth “walls” of the twigs. Floor containers of large sizes are usually placed at the entrance to the gazebo.
Varieties of braziers
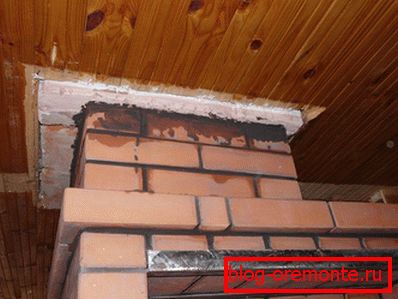
The location of the brazier is determined at the stage of filling the foundation. Next, the brazier is installed on the stove that has already been poured in, the chimney is removed (the hole in the roof does not need to be done, for this you can use adapters having a tilt angle of 45 °).
It is important to separate such concepts as grill, grill and barbecue, they should not be confused with each other. The brazier has a completely open design, also a coal tray with a grate, in a simpler version - a surface for the location of the skewers. The grill is similar to the brazier, but has a lid. Barbecue is a complex structure that has a hood and a rear protective wall.
Braziers are divided by classifications:
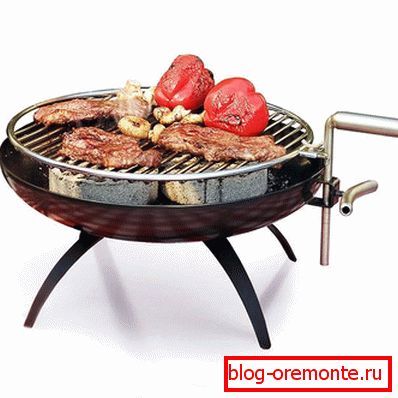
- portable (folding);
- metal;
- cast iron;
- electrical;
- stationary (brick).
Portable or folding brazier has the form of a suitcase. The disadvantage of this design is insufficient material strength. It is subject to deformation during temperature fluctuations or various mechanical effects. Therefore, it is better to use coal, not firewood.
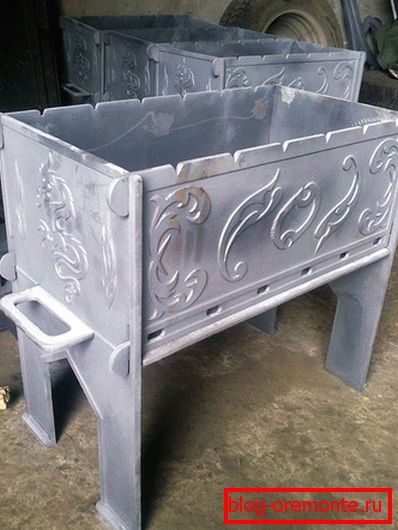
Metal grill - much more economical, since it can be mounted independently. In appearance, it is a rectangular metal box wide in the skewer, there is a stand or legs, on the sides, and in its lower part, holes for air circulation are perforated.
Cast iron grill requires less fuel costs and perfectly retains heat in the coals. This option will be the most practical.
The electric charger will suit those who do not like the smell of smoke, and it’s not a pleasure to mess around with coals and firewood.
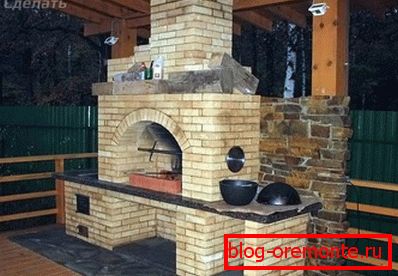
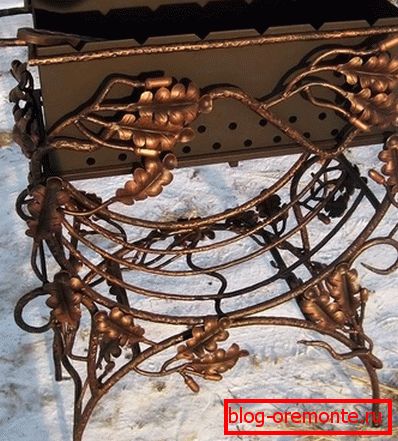
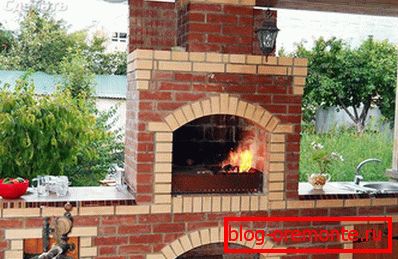
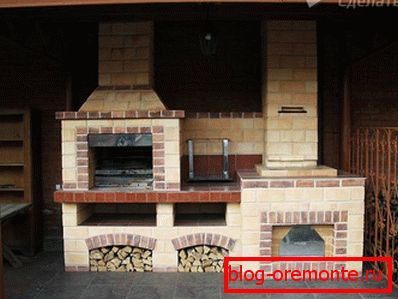
Stone or stationary braziers are built into the gazebos, especially it looks good if the design is made of the same materials. In the built-in grill can be equipped with small tables with a compartment for storing firewood. Starting from the difference in constructions, stationary braziers are divided into brazier-stove and brazier-fireplace.
Mangal construction rules
To know how to make and correctly position the brazier, in a separate gazebo, you must consider the following rules:
- The height of the mangal base must be higher than the level of thawing spring and rainwater (as in the mortar for the mangal there is clay and sand, which will be affected by moisture).
- Brazier in the gazebo should not be in contact with the rain, which implies the construction of a gazebo with a sufficiently large area.
- The space around the barbecue should not be forced to a large number of furniture (this is one of the main requirements for fire safety).
- In the gazebo, from the side of the brazier's firebox, the unoccupied space should be at least 3 m, and in its other parts - 1 m.
- It is important to consider the size of the barbecue. Since the larger the furnace body, the greater the load it will carry on the entire structure, thus increasing the wear of the furnace. If there is a need to use different types of equipment, for example, a smokehouse, then they should be removable. Or in one complex to use several medium-sized furnaces.
Step-by-step instruction
Let us consider in more detail how to build a grill with your own hands. Place under the grill must be remote from the sunny and windy sides (otherwise you will have to cook with difficulties).
To grill served you more than one year, you need to make a quality foundation. For example, you can use the following proportions: the back wall of the foundation is 3 m, the width on the right side is 1.7 m, the width on the left side is 0.65 m, the thickness is 0.5 m;
So, consider an example of the construction of a brick mangal:
- A pit is digging, further formwork is placed at the edges of the pit, then the slab is reinforced and poured with concrete, leveling the foundation and waiting for about two weeks for it to dry completely.
- When time runs out and the foundation is dry, you can start building. Lay waterproofing under a brick in two layers of roofing material or another waterproofing material.
- After you have prepared the bricks, you can start laying (bricks can be pre-sawed, if necessary). Each row is transversely duplicated to the seventh row. After the seventh row overlaps are built. We cut the corners of the required size and place them on the wall. Next, lay out the bricks in a single layer. The second row should be laid out with bricks, with a heat-resistant clay-chamotte mixture (this will be the bottom of the furnace).
- Now we are building a brazier and stove from a brick mangal using a clay-chamotte mixture. The back wall is built of bricks.
- We put the door in the grill. Since the metal expands very quickly when heated, it is important to leave a small gap between the brickwork and the door frame, laying the asbestos cord. On the right side, in the brazier wall, there is a passage for a brazier in height of 2 bricks (for the convenience of a grab of coal in a brazier). Walls for a brazier are being erected in parallel.
- The second row of bricks, on the back of the brazier wall, must be moved slightly forward (for skewers). We finish building the side and rear walls of the brazier at the level of the stove.
- Now we are building a smoke pipe, moving the rows inwards by no more than a third. Monitor the quality of ligation sutures.
- On the right side there is a niche where you can put a sink or table.
- The hole in the pipe must be obscured.
After painstaking work, it is necessary to wait until the masonry is dry, and then proceed to the preparation of fragrant and delicious dishes.
Plain cement will not work, as your grill will simply crumble.
Now you can start building a gazebo with barbecue facilities. Properly drafted project will help you achieve success in this matter. From this article you got a general idea about the construction of this type, so it's time to work. Have questions or want to share personal experience? In this case, write comments on the article.
Video
In the material provided, you can clearly see how to make a gazebo with barbecue:
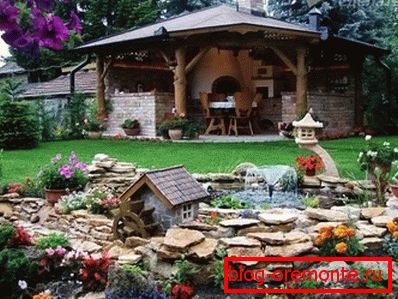
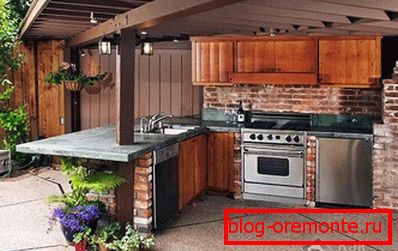
A photo
The photo shows the original solutions for making gazebos with barbecue: