What tools are needed for laying laminate
Laying laminate is a technically difficult process. It is necessary not only to perfectly comprehend all the details of the installation of this flooring, but also to use special tools. Studying the tools is best done in practice in order to know exactly how they are used. What tools are needed for laying laminate?
Basic tools and their purpose
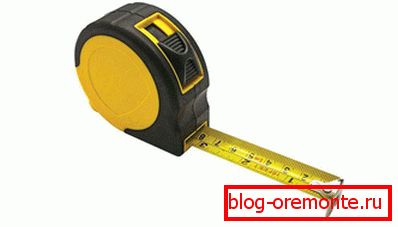
Roulette. Indeed, laying laminate is, above all, accurate measurement of all sizes. The roulette will be used from the very beginning of the process to its completion. For example, you can’t do without a roulette at every end of the row, when you need to measure the length of the board with millimeter accuracy.
Pencil. It is very important to choose a good pencil, with a soft stylus, which would not scratch the laminated surface.
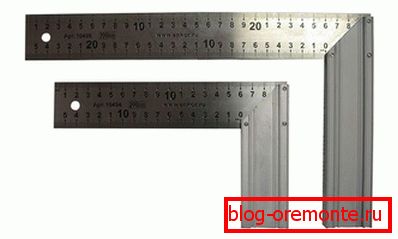
Square. When laying laminate it is simply necessary, because on each board, which will have to be cut, you must first apply the marking strictly perpendicular to the length of the board.
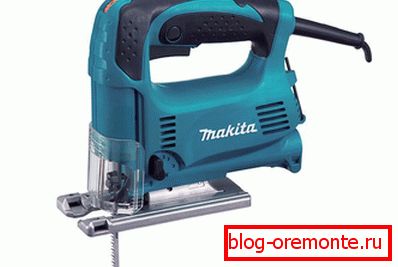
Hobbies. There is no need to purchase an expensive professional jigsaw. A power of about 500 watts will be quite enough to make the necessary cuts. When installing laminate is better not to use a hacksaw. First, the work with it is very long and tedious. Secondly, a hacksaw does not always give a perfectly even cut. Thirdly, in some cases it is necessary to cut the boards not only across but also along, and this will take much longer. Finally, sometimes it is necessary to make rounded cuts, for example, in the places where the radiator pipe abuts, and it is simply unrealistic to make it with a hacksaw. Only an electric jigsaw will save in this situation. Circular saw also will not be salvation, because it is more cumbersome and is designed for completely different work.
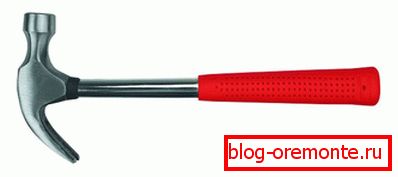
Hammer. Of course, it can be replaced with any other heavy object, but there is almost always a hammer in every household. The hammer helps to snap the locks of the laminate boards, as well as perfectly knocks them down, for example, under the door frame.
Note! The reverse side of the hammer can be used at the completion of installation, when the last row of boards must be pressed and done as gently as possible.
Auxiliary tools
Above were listed the necessary tools, but there are also other auxiliary ones, whose help may also prove invaluable. Auxiliary tools include a drill with special nozzles, restrictive wedges, a splitting bar and a clamp.

A drill with a pin drill is required if it is necessary to circumvent an obstacle in the form of a pipe. It is also used when constructing a plywood base to make holes for screws.
Restrictive wedges necessary in order to create a small gap between the boards. As you know, the laminate is not attached to the floor, and therefore during its operation, due to the effect of changes in humidity and temperature, the boards begin to change their size. They narrow or expand.
Note! The clearance created by restrictive wedges allows boards to temporarily change their size without damage.
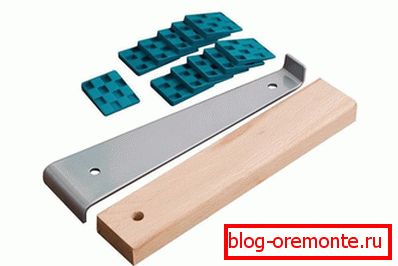
A bar for a subblock. It is used to score each board to each other. If you hammer directly with a hammer, then in this case the boards will be deformed, chipped, and you can forget about the beautiful floor covering. It is better to purchase a bar for plastering from plastic, since it acts much softer. A tamping bar in size can be impressive, but shouldn't its weight be significant? maximum 1.5 kg.
Structin. So called an auxiliary tool that must be used at the time of fixing the boards, so that they are the most tightly pressed against each other. The clamp is used to install the extreme panels, as well as in cases where the tamping is inconvenient to make a hammer.
Video
Detailed instructions for installing laminate with an overview of the tools: