Laying laminate with a bevel
In recent years, many are interested in how to lay laminate with a bevel. The fact is that the usual flat laminate and a laminate with a facet are practically the same material of the floor covering, differing only in the shape of the edges.
Laminated with bevel

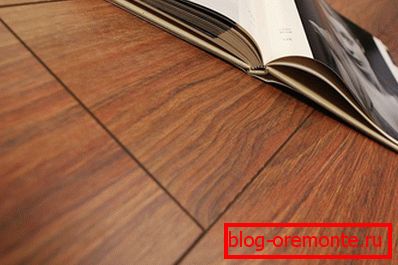
First you need to understand what "chamfer". If you do not delve into the terms, then the chamfer is the beveled end edge. It means that a laminate with a facet is a habitual laminate having beveled edges of the upper surface, for example, from two longitudinal or from all four sides.
Why do you need a chamfer?
- First, the chamfer allows the flooring made of fairly cheap material (laminate) to look like an imitation of real wood flooring.
- Secondly, the edge of the laminate with a chamfer serves as a kind of protection from its splitting or delamination during the operation of the floor.
How to lay laminate with a bevel
The technology of laying laminate with a chamfer, as mentioned above, is no different from the technology of laying ordinary laminate. In either case, the laminate plates have locks on the ends, which allow them to join each other into a single structure without the use of glue.
However, the correct laying of the laminate with a chamfer (as well as without it) implies strict compliance with the instructions.
Preparing the surface under the laminate

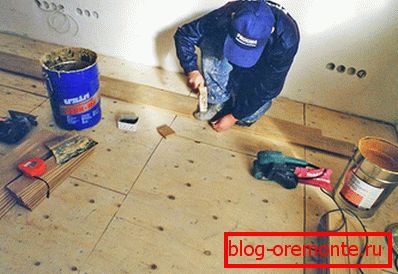
The surface must be flat (without “hollows” and “mounds”), without dust and debris.
Note! If a concrete screed is used as a base for laminate with a facet, do not forget to prime it with a special compound first. The base of plywood (with large differences in the heights of individual sheets) should be sanded (for this you can use a grinding machine).
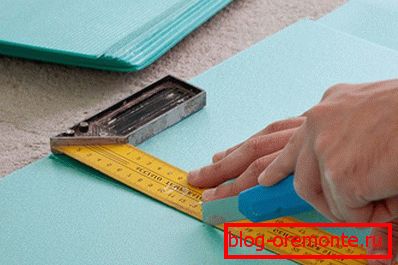
Under the laminate with a chamfer it is necessary to lay the substrate. It will serve as a shock absorber. Some speak also of its soundproofing properties, but this is more fiction than a fact - the thickness of this layer is too small.
Laying the substrate

The substrate should be laid perpendicular to the direction of laying laminate plates, without overlap.
If in some place on the floor of the room instead of a whole sheet of substrate it is necessary to lay its pieces, use scotch to join them - this will not allow the pieces of the substrate to “slide out” from the place during laying the laminate.
The location of the laminate relative to the window

Стелить обычный ламинат рекомендуется параллельно падающему из окна свету – так будут меньше видны поперечные стыки. Но это правило не распространяется на ламинат с фаской с четырех сторон пластин. Правильная укладка такого ламината абсолютно не зависит от местонахождения окон в помещении. Тут следует обращать внимание на общий результат: как пол из ламината с фаской будет смотреться после установки на него мебели, укладки ковров и т.п. Laminated with bevel можно постелить не только параллельно каким-либо двум стенам, но и под углом.
Note! Before you decide on the direction of laying laminate, spread his plate close to each other, first across the room, and then along. Finally choose the option in which the extreme laminate plates along them will have the least to cut off the excess, or the trimmed plates will be hidden under the furniture.
Laying laminate, following the instructions, which are always enclosed in the packaging of the laminate with a chamfer, is quite simple. But still it is better to do it together, especially if the plates are stacked along the long side of the room.
Note! With proper installation of laminate scraps you have almost no remains. The cut part of the last plate of the first row of laminate fits first in the next row. This process is repeated row by row, provided that the length of the cut part is not less than 30–40 centimeters.
Video
To finally make sure that this work you by force, it is recommended to watch a video telling how to lay the laminate.