Laying laminate diagonally
Laminate has long established itself as a practical material. It is considered stylish and attractive. The specificity of this material allows you to lay out its various complexity of geometric patterns, and the effect of such styling will be indescribable. For example, laying laminate diagonally is an unusual beauty option that allows you to significantly transform the room.
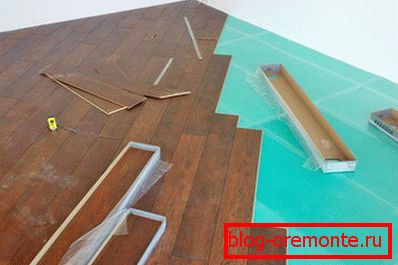
Advantages of using diagonal styling:
- With this arrangement, the panels are positioned at an angle to the walls of the room, successfully hiding all the shortcomings. If the walls are not parallel, the usual layout of the panels will only emphasize this disadvantage, and the diagonal installation will hide.
- Diagonal styling creates a unique visual effect of the visual expansion of space. This will be especially relevant in small spaces.
- The main advantage is the beauty and sophistication of the finish.
Issue price
If you decide to use this version of the installation, then be prepared for the fact that the material, and accordingly, the funds will have to spend more. This is due to the fact that at the junction of the ends of the laminate to the walls they will have to be cut at an angle in order to “fit” the place. From this it turns out that more material will go to waste than with the classical method of laying out panels.
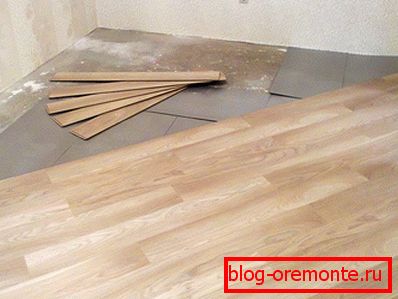
Skilled craftsmen at installation cost 5% of the material, because they have a flair for the optimum location. For those who decide to do this for the first time, it is better to take 10-15% of the material in stock.
Note! It is better to take at once to purchase all the material that is required for installation. Because there is no guarantee that after a while you will find exactly the same color.
Necessary tool
- roulette,
- jigsaw
- metal ruler
- small wooden block and rubber hammer,
- pencil,
- spacer wedges.
We put laminate
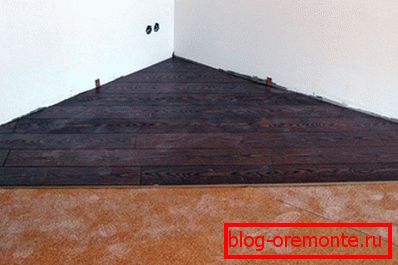
The most common pattern of laying laminate diagonally - from the corner of the room. The work is carried out in stages.
- First, the surface is carefully prepared. If work is carried out on a concrete floor, then it must be flat and dry. When laying on a wooden floor it is also checked for reliability. To level a wooden surface it is possible sheets of plywood.
- Then the substrate is laid on the surface. Joints must be glued together with tape.
- To control the accuracy of laying, you need to stretch the rope diagonally across the room.
- To select the desired angle of inclination of the panel, you can pre-lay several boards on the floor.
- After you collect several rows, they need to be stapled together. To do this, use a rubber hammer. Only when connecting do not overdo it, so as not to damage the lock connection.
- The gaps between the wall are fixed with wedges.
- If it is necessary to lay the board in the place where the pipes pass, holes are pre-cut in the panels, which can be filled with acrylic or silicone based sealant.
- In the final part of the work is the installation of plinths. It is better to choose a quality material with the possibility of pulling the cable inside it.
Trimming corners
Trimming is carried out at an angle of 45 °, use a square for this, or you can prepare a template in advance. The first rows are made from a single panel. Each row represents a trapezoid. The adjoining side should be equal in length to the outer part of the previous row.
- First, with the help of a square or a template, the cutting place is marked and the necessary angle is cut with an electric jigsaw or another tool.
- When you reach the rows of several panels, you must first saw off the angle from the leftmost rail and join them in one row. Such a connection will be temporary, so you should not be zealous, seeking density.
- Next, we measure the size of the residual piece (do not forget to take into account the thickness of the wedge that is inserted between the wall and the canvas), take the next panel and cut the required angle using the resulting size.
- The whole row is taken out of engagement with the previous one, the resulting corner is inserted, and all connections are finally sealed.
- Thus, row by row, all the corners are displayed. Reaching the edge of the room, you need to change the direction of the segment of the left corner. Further work is carried out in a similar order, only in the opposite direction.
Correctly doing all the work, you get a smooth and beautiful finish.
A few tips before work
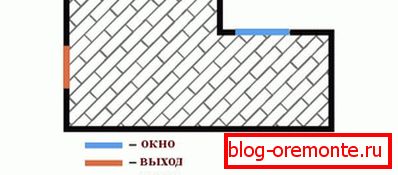
- Choosing material, do not dwell on cheap options. Due to poor quality during operation, various defects may appear.
- After acquiring the laminate, you need to give it “rest” in the room where you decide to put it. This is necessary in order to get used to the temperature of the room after storage.
- Work on laying can be carried out only in dry rooms. Increased moisture levels may affect the quality of the material.
- During the installation, it is necessary to leave the “thermo craters” between the wall and the panels. They will provide additional protection against compression or expansion. Clearances must be provided on all sides of the room. The gap is calculated as follows: for each meter of the width of the room, you need to leave 1.5 mm of clearance around the perimeter.
- If in the room where the laminate is being laid, heavy furniture will be located, then the gap must be left within 10 mm from each wall of the room.
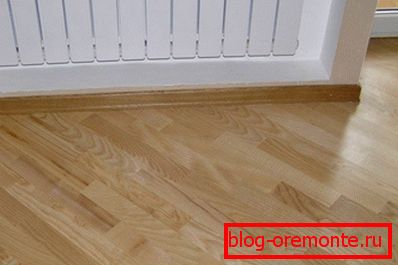
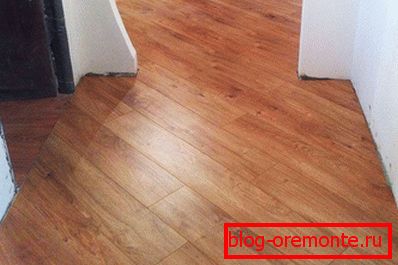
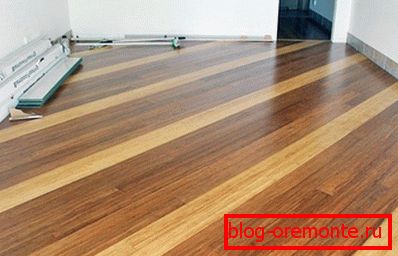
The photo shows examples of laying laminate diagonally, also, you can watch the video, which describes in more detail the process of work.
A photo
Video
We offer you to watch a video about the diagonal laying of the laminate.