How to level the floor under the laminate
When planning to carry out repairs in the room, it is very often necessary to face the choice of floor covering, which would have a durable protective coating, was rather simply mounted and was resistant to mechanical stress. One of them is laminate. Its installation is not as complicated as it may seem at first glance. The main problems may arise if it is installed on an unprepared surface. Floors must be not only flat, but also strong, so that under the weight of people and objects there will not be a deflection of the material. Otherwise, there may be various damage to the connecting locks, the substrate, or just an annoying creak will appear. The result of all this will be to reduce the life of the coating several times. The floor surface must be carefully leveled and prepared for laminate flooring.
Floor alignment methods
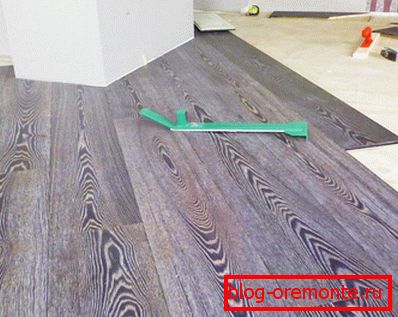
Today there are many ways of leveling floors, depending on the strength of the floor material, its binding properties and susceptibility to processing. Conventionally, all methods of leveling can be divided into "dry" and mortar. The first type of leveling is applied without the use of solutions and mixtures. It includes methods of laying plywood sheets, filling with expanded clay chipping and grinding. The second type is based on the use of leveling mixtures and solutions and is quite effective due to obtaining a more solid base. Before leveling the floor under the laminate, choose the most suitable method for a particular floor material. If the deformation is so great that it takes a lot of money to level out, then you should consider laying a new floor in order to save a significant amount of time and money.
Leveling concrete floor
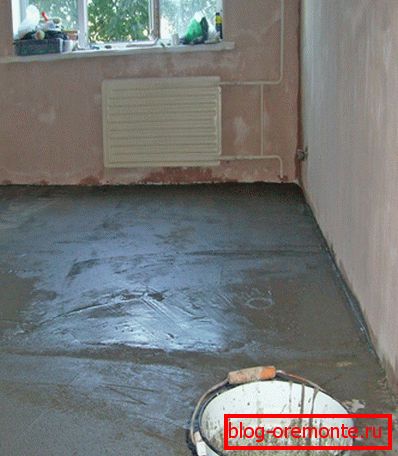
Most high-rise and country houses use a concrete base, which was made by self-casting or reinforced concrete slabs were installed. For a long time, the plates could sag, twist, in addition, they could initially be installed horizontally. Such irregularities are easily eliminated by screed.
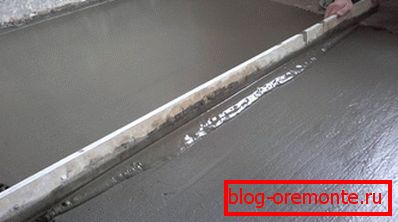
Defective cracked floors and protuberances need to be removed, or on top to make a reinforcement screed, and then leveling. To do this, using a laser or bubble level is the zero level, put beacons and guides, which are filled and aligned. It is enough to set the layer 3 cm above the zero level. In addition, all concrete pouring must be done at one time so that the screed will acquire uniform density and strength without the formation of stresses.
If the floors have a minimum layer, which is not enough to provide a reliable base, in order to save mortar, you can apply the installation of a reinforcing layer of reinforcement bars with a thickness of 3 mm and then pouring and screed. Another economical way is to grind irregularities with a grinder or sandpaper. This method can be used with small roughness. But you need to be sure that there are no metal parts of the reinforcement in the layer of concrete near the surface. If there is no certainty, then apply a self-leveling mixture. This method is not cheap, but the surface is almost perfect. When using it, the solution is prepared in small portions and immediately applied to the floors treated with a primer. Full hardening occurs in three days.
Note! Self-leveling floors can be used in case of irregularities not exceeding 20 mm. Otherwise, you should pay attention to pouring concrete solution or methods of dry screed.
If you need to work in the winter, you can use a dry screed without the use of solutions. As bulk material, fine-grained expanded clay is usually used. A waterproofing layer is laid on the subfloor, and an insulating tape is installed around the entire perimeter of the room. Then, spread claydite in a uniform layer and align it horizontally with beacons using a rule. Plasterboard sheets are laid on top in several layers with ligation of seams and fastened to the floor with self-tapping screws every 5 cm.
Wood floor leveling
To level a wooden floor under a laminate it is possible in several ways which are reduced to removal of a certain thickness of the main material or to fastening of a new strong layer. The first method is called cycling. It is considered one of the most difficult, but also the most effective. This is due to the fact that no additional fasteners and application of putties are used, due to which high uniformity and durability of floors throughout the entire area is achieved. The whole procedure is carried out in several stages with the use of abrasive material with a smaller graininess each time. Before cycling, metal metal attachment heads are buried in order not to damage the tool, skirtings are removed, the surface is cleaned and wetted.
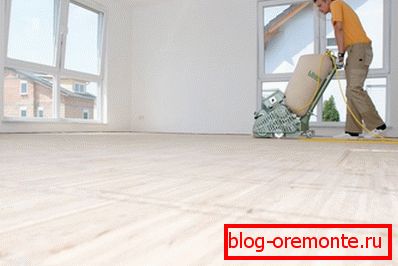
Then the cyclovochnaya machine is taken and processing is first carried out in a direction parallel to the laid boards, and then in the perpendicular. When removing a layer of wood from the floor, the decorative layer and part of the impregnation are removed, so after ticking you will need to take this into account and remember to re-treat with antiseptics. The complexity of the work is associated primarily with the complexity of controlling the overall level during processing, so this work is best left to professionals. This method is not suitable for use in the case when the thickness of the floors is insufficient, they can lose their strength and begin to sag under the action of the load. For laminate this is unacceptable.
Another method is simpler and more reliable, since the floor structure is actually strengthened through the use of plywood sheets. In addition, it will hide defects such as cracks and damage by insects and fungus. But taking into account the hydrophobicity of wood, before installing it is necessary to check the quality of the waterproofing material and hidden water pipes. The thickness of the plywood is selected depending on the requirements for the degree of strength, it can be up to 5 cm thick.

For ease of installation, it can be cut into small squares with sides of 50 to 60 cm, but keep in mind that solid material is more durable. There should be no traces on the plywood, as this may be a signal that it will soon become unusable. Before installation, in order to prevent plywood boards from buckling and bulging up, they should be brought into the room. Installation is carried out on the established labels, ensuring the horizontal floor. On them lay logs with a distance of half a meter, and they install sheets of plywood. Fastening is carried out with the help of screws or nails. With this method, you can also align the concrete floor.
Note! To prevent the creaking of plywood can only be due to a strong attachment to the subfloor. To do this, usually use long screws from 7.5 cm in length, which pierce through the logs and screwed into the floor.
The third method of leveling wooden floors is based on the use of gluing-based putty. This method is inexpensive, but quite effective. In the putty add moistened sawdust of fine fractions and put in the gaps between the aligned boards. Too thick layer is applied in several stages with breaks on drying the previous one. The thickness of one layer should not exceed 2 cm. The horizontal surface is checked using a level. The disadvantage of this method is the long drying time of the adhesive in the multi-layer application of the mixture.

If the wooden floor has significant damage and rotten or rotten boards, it should be partially or completely disassembled and replaced. Loosening fragile floor material will require the creation of a reinforcing frame.
Currently, there are many different ways to prepare the surface of the floor for the installation of laminate. All of them have a certain efficiency in their use in various conditions. Therefore, you should choose the best way, depending on the roughness of the subfloor and the amount of financial resources that are planned to be invested in the preparatory work.
Video
You can learn more about leveling the floor with plywood from this video.