Front door laminate
Manufacturers do not just pay great attention to wrapping the goods. Often it is precisely because of its color or solidity that the buyer leans towards a certain choice. This is the law of psychology, according to which a person first of all pays attention to the external. Each house or apartment has its own "wrapper", so finishing the entrance door with laminate will not be superfluous.
Need it

- When you come to the solution of any question yourself - it is an opportunity to show your individuality.
- Door trim is an opportunity not only to decorate it, but also to warm it.
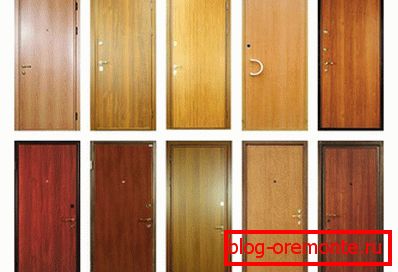
- Wide selection of colors, textures and patterns.
- Low cost.
- Laminate is sufficiently resistant to moisture.
- The top layer of plastic wear resistant.
- Additional sound insulation.
- The ability to combine interior doors and entrance doors.
- Ability to hide external flaws.
- Creating coziness.
What is needed

Preparation and calculations can sometimes take more time than the work itself, so it is better to do everything in order.
- Find out the door area by multiplying the length by the width.
- To pick up a laminate in tone and to get its necessary quantity. No need to buy the most expensive option. It will be enough to class 31, and its thickness can be 8 mm.
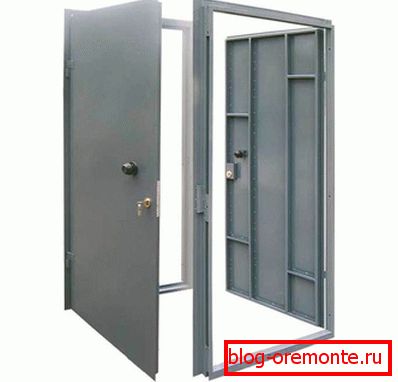
 In addition to the laminate will need wooden lath, which will serve as the base. An amount equal to the perimeter of the door is required. In addition, it will be necessary to provide two more cross-pieces at the level of the shoulders and knees. The thickness of the board should be equal to the depth of its installation.
- Insulation required. This may be polystyrene foam or mineral wool. The advantage is given to the first option, with the same thickness, the foam will be able to provide better heat and sound insulation.
- You will need foam (not always).
- If there are metal lintels in the door, then the bars can be fixed to them with metal screws, if not, then glue will be needed.
- Drill on metal. Its diameter should be one millimeter smaller than the diameter of the screw.
 Cleats or glue for laminate.
- Copper carnations.
- Decorative corner, which can be used to close the joints of laminate with metal.
- Electric jigsaw, hacksaw or miter saw.
- Roulette, marker or pencil, square.
We do, and do not look

- The first thing that needs to be done is to dismount all the bulging parts. These can be handles, padlock, heck, chain, peephole, etc.
- Prepare the substrate on which we place our door.
- Remove it from the loop and laid.
- Remove the finish, which may be available.
- If necessary, we clean the rust and tint these places to localize its distribution.
 We start making crates. Using a hacksaw or jigsaw, we make blanks equal to the length of the inner side. The other two strips will need to be made a little shorter, so that they fit between the first two. We make two more transverse strips. If there is a corner along the perimeter of the door, then we drill it with the help of a drill and fix the screws using self-tapping screws.
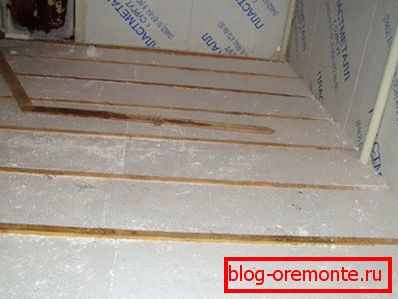
- Now we take insulation and put it in the niche. It is better to cut it in size so that it comes in tightly. Additionally, it is not necessary to glue it. It should be flush or slightly flush with the wooden planks so that the laminated panels can be easily fixed.
- If the corner with which we will close the joints is made in the form of the letter L with a side, then it will need to be fixed first. If this is a regular corner, then it can be fixed after the main work is completed.
- Laminate can be mounted both vertically and horizontally. Usually the second type of location looks more attractive.
- We cut the material in width or height with a small gap for the future corner.
- It is better to carry out the lining not with a whole shield, but to fasten each element separately. So it will be possible to securely fix the laminate.
- Sew up better from top to bottom.
- On the first plank the docking spike is trimmed, and it is installed in its place. Its fixation can be accomplished with the help of a cleat with teeth, which must first be driven into the butt. Then cut the next bar and snap it into the previous lock. Fastening with staples can be done once. If the width of the last plank is small, it is better to trim the first and last ones to the same size. The dressing is not necessary (if you just do not do vertical fastening), because the area is small and there will not be a large load.
- After finishing the cladding, you must install a corner that will hide the junction.
- We set the door on the right place, check that no parts from our plating do not interfere freely to close and open it.
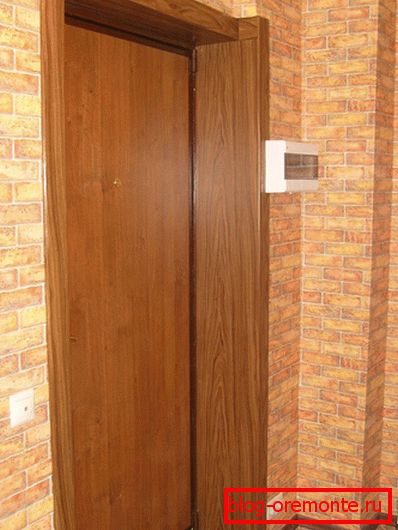
 To make the situation more harmonious, you can immediately trim the door slopes. If they are fairly smooth, then no special effort is required. If this is not the case, then it is necessary to make a crate. For her, you can use wooden strips of such thickness that the sheets of laminate lay flush with the cashing (although if it turns out to overlap, it will not be a big problem). Here you need to decide whether they are parallel to the wall or go at an angle. With the help of a building level a vertical surface is exposed. Holes are made in the wall with a perforator and two vertical wooden planks are fixed. Lining can be made to align.
- By analogy with the way the laminate was attached to the door, it is fixed to the wooden base of the slopes.
- At the level of the shoulders and knees, additional planks should be mounted to provide greater rigidity.
- If cracks remain, they can be sealed with a sealant in the color of the laminate.
- Around the perimeter is fixed corner, which closes the junction.
Note! In the course of how the plating is performed, it is necessary to immediately make holes for handles, keyholes, as well as a peephole. It is best to do this with a metal crown on the tree. If you planned to install an additional lock, now is the time, after that it will be much more difficult.

Skill is acquired as you move forward with the implementation of the planned work. Perhaps, at first, something will seem unfamiliar, but if you do everything yourself, you can save a significant amount of money that would go to pay for the services of the master.
Video
How to trim the slopes with laminate, see below: