Toilet floor itself
Repair of the smallest but sought-after premises in an apartment or house should be carried out efficiently and quickly. The toilet is the most functional room in the house, so it’s not worth it to plan a long-term repair here. This article will discuss how and with what you can trim the floor in the toilet with your own hands. So, you will save costs and create comfort quickly and efficiently.
Preparation of the basis for new covering
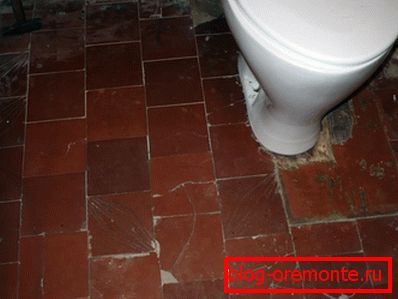
All preparatory processes before repair are rather dusty and dirty. The first thing you need to inspect the attachment of the toilet and, if possible, unscrew it. Only in this way you can remove the tile without damaging the toilet, of course, if you do not plan to replace it. If you need to replace the toilet before removing the old floor covering, remove the toilet and remove it from the toilet.
Note! The toilet should be removed only if you do not plan to use it during repairs. However, if there is still a need for it, it is better to postpone its dismantling until the process of replacing pipes.
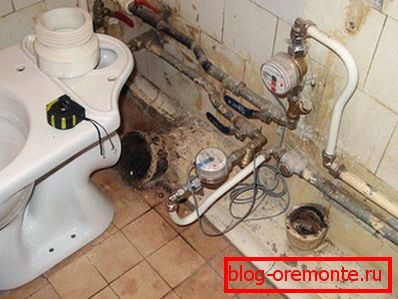
Before dismantling, turn off the water and drain the remnants of it from the tank. Unscrew the supply water hose. Unscrew the nuts under the shelf and remove the tank from the toilet. If it is suspended, then disconnect the pipe and remove the tank from the fasteners, which must also be removed later. To do this, unscrew the dowels or unscrew the nuts from the studs. Substitute capacity for drains, and then remove the rubber socket from the sewer pipe. If your toilet was installed on a cement mortar, then you will have to work with a hammer and chisel. The sewer hole should be closed. To do this, you can use a rag or a standard lid, pre-drain the water from the toilet bowl.
Now it is time to dismantle the tiles. It should be noted that it is not necessary to knock down tiles from the floor to the base of the ceiling. Screed and the bulk of the plaster in the toilet does not deteriorate even over time. Do not smooth the floor to smoothness, knock down the tile in the rough if you plan to make a self-leveling screed. For these purposes, you can use a drill or hammer and chisel.
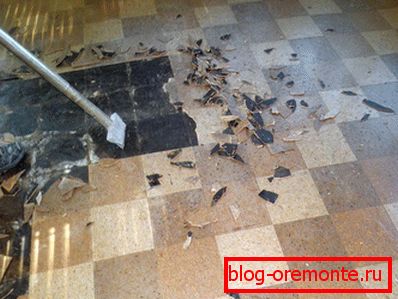
After the tile is knocked down, do the cleaning. Take out the remnants of the floor covering, mark the floor and prime. Cracks need to be sealed with sand-cement mix or tile glue.
Waterproofing
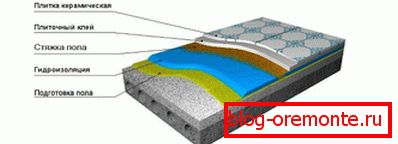
There are many alkalis, acids and salts in water. To prevent the destructive effect of moisture on the floor, waterproofing should be carried out. It will protect the room from unpleasant smell, fungus and dampness. In addition, reliable waterproofing will prevent flooding of the neighbors below. This is especially important if you live in an apartment building. Obmazochnye and rolled materials can be applied to isolation of a floor. If we talk about the latter, their disadvantage is that over time they can flake off. But, on the other hand, rolled waterproofing materials are cheaper than coating their counterparts. If you decide to buy a roll waterproofing, then choose self-adhesive option. To glue the roll waterproofing, first prepare the surface, having treated it with a bitumen primer.
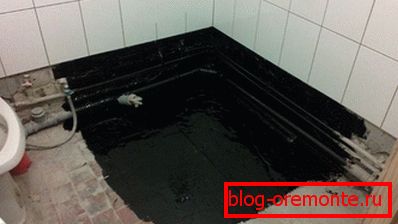
Note! Painting waterproofing is more expensive, but it is also easier to apply it on the floor. You can buy polymer cement, seamless, concrete or inorganic cement coating waterproofing. The material fills all the pores, which allows you to create a durable and reliable water-repellent layer. Thus, the floor screed is sealed and strengthened, which increases its service life.

Concreting compositions are frost resistant, dense structure and strength. They are used for the manufacture of reinforced concrete structures. Cement inorganic mixtures are used for laying ceramic tiles. Seamless waterproofing will provide a reliable water-repellent layer. Apply the material with a spatula, brush or roller. Polymer-cement mixtures well adhere to concrete, wood and brick. They can be applied not only on dry, but also on wet surfaces.
Floor screed device
To make the screed even, you should install beacons. They are special rail profiles. They are distributed on the floor. In the toilet, most likely, one or two of these rails will be enough. It is attached to the mortar used to fill the screed. Step back about 20 cm from the wall and screw the screws into the floor parallel to the wall in a straight line. All caps should be on the same level. Check it out with a level. The distance between the screws is 60–80 cm. The solution should be applied to the screws, and a rail is installed on top of them.
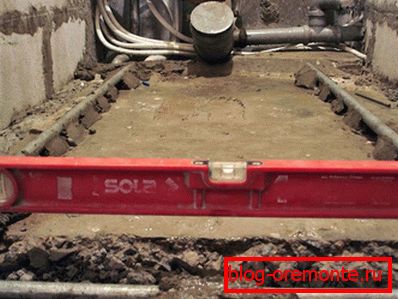
The solution on which the slats are fixed should be completely dry. So you can level the floor. To fill the screed, you can use special ready-made mixtures. To prepare them properly, follow the instructions for use. If you decide to make a cement-sand mortar, then it is important to maintain a standard proportion of cement and sand, equal to 1: 3.
Note! To match the strength of the screed, add the tile adhesive to the mortar.
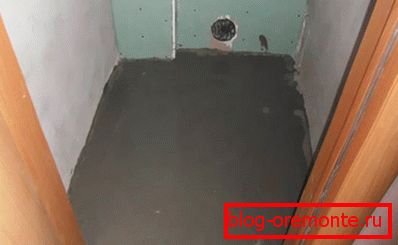
The pouring process should be carried out in one go. Note, however, that the cement mortar sets in 40–60 minutes. After this time, the solution will be poorly compared, and it is not possible to add water to it. Non-observance of technology leads to a decrease in the quality of the result. First fill the lane between the lighthouses. Surface level rule. In places where there is not enough solution, you need to add it. For air release, pierce a layer of mortar in some places. It is possible to get on the surface of the screed only after several days. To form a reference island, use drywall or chipboard sheet. A day later, remove the beacons, and fill the grooves with a solution. Smooth the surface with a grout or trowel. After complete curing of the screed, you can begin to finish the floor.
Floor covering
The floor in the toilet should not be slippery. Therefore, choose materials for finishing with a rough surface. The flooring should be resistant to moisture and abrasion. It should be moisture resistant in case of leakage. All these requirements correspond to the tile. However, the building materials market offers buyers a large assortment of flooring with an original design. Some of them are successfully used for finishing the floor in the toilet.
Synthetic tile
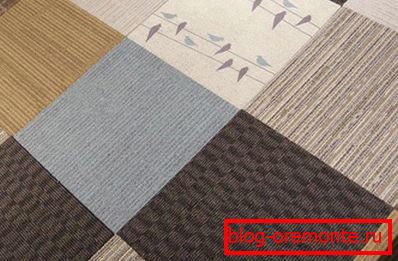
This is an economical option for finishing the floor in the toilet. PVC tile is a modern lining material, which is produced with the addition of amorphous PVC, plasticizer and powdered filler. The material is not inferior to the characteristics of any ceramic or glass tiles. However, PVC tiles can not be laid in places where the air temperature exceeds 50 °, in particular, near heating systems. The material is dense, provides sound and heat insulation, durable, heat resistant, waterproof, wear-resistant. Standard sizes are 150? 150 mm, 200? 200 and 300? 300 mm with a thickness of 1.5 cm, 2 cm and 2.5 cm. Tiles are produced with different patterns and colors, and even with a relief surface.
Quartz tiles are a type of tile made from synthetic materials. It is made at high temperature indices by pressing. The composition of the material mixture of vinyl, pigments, quartz sand, additives and plasticizers. Kvartsvinil wear-resistant, has anti-slip properties, chemical resistance and fire resistance. Sizes of 300? 300 and 600? 600 mm. Of course, such tiles can only fit in large toilets. The color palette is diverse, there is even an assortment of imitation marble.
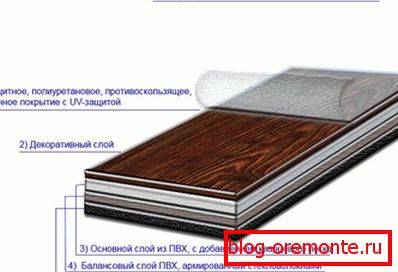
Laying synthetic tiles is a time consuming process. Finishing of floor joints in doorways, with walls and sills is performed using special running products such as baseboards, sills and trim.
For laying such tiles use special adhesives. Pre-apply to the screed primer layer made of bitumen and gasoline in a ratio of 1: 3. After 8–10 hours, start marking the floor. Then install lighthouse rows along the mooring cords. On the base of the tile, apply glue to the floor, then lay the tile and press it. After the lighthouse rows are ready, lay the remaining tile. For bonding quartz tiles used acrylic, rubber or vinyl glue. The method of installation is no different from laying PVC tiles.
Linoleum
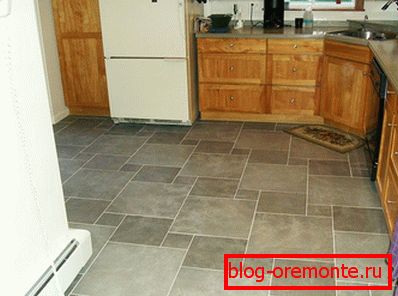
Among the advantages of the material - practicality, lack of seams, ease of installation and ease of maintenance. The market provides customers with a variety of linoleum, which allows you to choose the best price / quality ratio. The richness of textures and colors makes it possible to fit the linoleum coating into absolutely any interior. The material can imitate granite, marble, wood, stone, etc.
Note! A specific type of glue is suitable for each coating. For fabric-based linoleum - dispersive and bitumen-synthetic glue, for a material with a heat insulating base - dispersion glue, for baseless linoleum - a mastic based on rubbers and synthetic resins.
The material should rest in the room for 2-3 days. After that, you can proceed to cutting. However, before doing the cutting, consider the shrinkage of the material. Lay it on the base and leave for 48 hours so that the linoleum can even out. Apply adhesives to the back side, lay the cloth and roll it with your hands, and then with a bag of sand. Panels must be laid with a 3 cm overlap. The edges do not need to be coated with mastic or glue. After the glue dries, they can be cut with a special knife, and the edges can be glued with the same glue as the entire cloth. Now you can install the plinth.
Ceramic tiles custom shapes

If you decide to distinguish yourself and purchase six- or octahedral tiles for the toilet floor, then you should take into account that the method of laying it is a little unusual. Installation begins with marking and surface fixing. Then you should lay out the first frieze row. It consists of square or rectangular tiles. The finishing row consists of the same tiles. Perpendicular to these rows, 2 cords are installed, and the lighthouse strips of hexagonal tiles are laid over them. In the corners, lay out the quarters and halves of tiles of an unusual shape and complete the whole laying in the usual way.
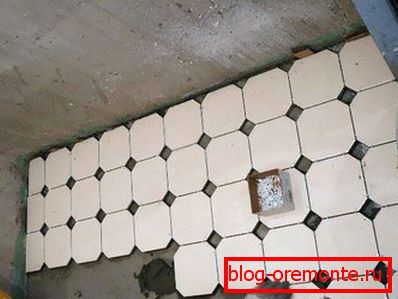
Laying the floor with octagonal tiles also begins with the closing and frieze rows. Then come the lighthouse rows and the subsequent laying of tiles according to the scheme.
Tile standard sizes
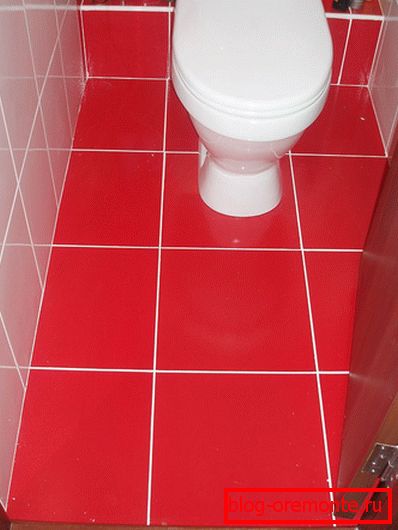
Ceramic tiles are made from kaolin clays, pigments and additives. Mass is pressed and burned. The material is moisture resistant, has high strength. The range is so wide that the coating can be chosen to any style of finish. Ceramic tiles can be grooved, embossed, smooth, multi- and single-color, unglazed, glazed and partially glazed.
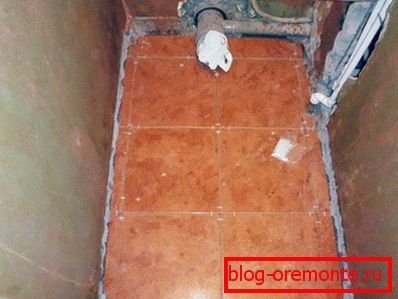
When laying the tile on the floor, the mortar or glue is applied to the moistened floor screed. The floor can be laid diagonally or straight alongside. The laying of the “straight row” method begins with the installation of rows adjacent to the wall. Then follow the next rows towards the exit of the toilet. Tile should be moistened with water with a paint brush, and then pressed to the floor, upsetting to the desired level with a special rubber hammer or wooden blade handle. Remove excess glue with a spatula. The size of the seam is fixed by steel pins, which should be removed after laying about 15 tiles.
The quality of the cladding and horizontal surface is determined by the level of construction. Swings should be eliminated by adding or removing glue as needed. Run along the seam with the edge of the trowel. If it does not catch the corners of the tiles, the seam is smooth.
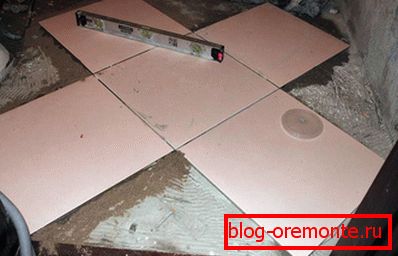
Sloping masonry rows should be made at an angle of 45 °. To do this, tighten the mooring cord, which will control the straightness of the joints. In the rest of the method corresponds to the method of "straight line".
So, there are enough ways to lay the floor in the toilet, which allows you to make a covering that matches the capabilities of the wallet and personal preferences. If you have any questions on the topic, then ask them to specialists working on the site. If necessary, you will be given additional advice. Write comments on the article!
Video
The following video shows the technology of laying ceramic tiles on the floor: