Polyurethane floor yourself
When choosing a floor covering in the house, many prefer laminate as a material distinguished by its decorative and eco-friendly properties. But today polyurethane self-leveling floors are gaining popularity in the building materials market. By structure, they are not less aesthetic and are considered modern hygienic material, allowing them to be used as a finishing coating for residential premises.
Their installation is convenient and simple in its own way, so you can do it yourself. Let's look at aspects of such work.
Note! A polyurethane floor, made with your own hands, is an excellent option for a living room, because such a coating has all the qualities to give the room individuality due to the different color options.
Room requirements
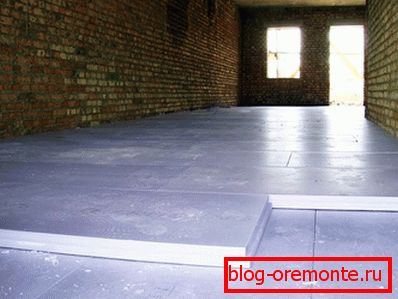
- The temperature of the air in the room and the base for laying should not be less than + 10 ° C. It is also better not to fill the pot at a temperature above 25 ° C.
- Humidity is the key to quality. In the room where the filling will be carried out, this indicator should be at the level of 70–80%.
- Also, after pouring the floor, the room should be kept closed, a small airing is allowed. It is forbidden to use forced ventilation or heat guns for faster surface hardening.
Note! If everything is simple with the temperature regime, then you can use a proven method to check the humidity: a day before starting work, put adhesive tape on the floor. At high humidity a day later condensation will appear below it or the surface will change its color.
Filling polyurethane floor is permissible on both concrete and wooden surface - the main thing is to properly prepare it.
Required Tools
- For applying the mixture will need nylon rollers, better - srednesherstnye.
- Steel spatulas. Check them for evenness and rinse before work.
- Rakla - it will allow you to evenly distribute the composition.
- Needle roller. Its use will remove the air involved in the pouring process and evenly distribute the mixture over the entire surface.
- Flat shoes are adaptations (soles) for movement on a liquid material.
- Adjustable capacity construction mixer. Nozzles are better to use double-helix.
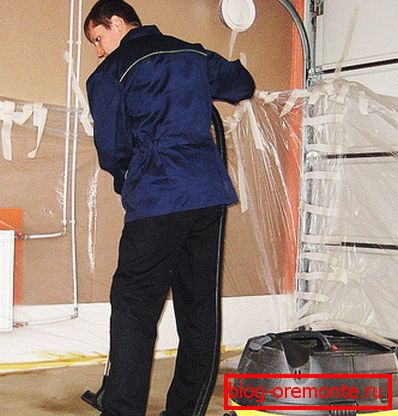
- Industrial vacuum to clean the surface before pouring.
- Personal protective equipment: respirator and boot covers, so as not to spread the dirt in other rooms.
Note! The rollers must be working and clean. All their segments should move smoothly and touch the surface.
Surface preparation

On condition of work on the old surface, it must be cleaned and prepared. Remove all visible irregularities, cracks. Use for this glue solutions, and when processing protruding places, grind them with a grinder.
Then you need to check the presence of horizontal slope and, if necessary, to carry out work on alignment.
Note! In older buildings, the concrete base may have internal voids and delaminations. Over time, swelling may occur at the place of pouring polyurethane floor, so the masters advise to check the floor and get rid of problem areas. To do this, you can take an ordinary hammer, and tap them on the floor surface. The problem area will crack and need to be sealed with a solution.
Concrete Surface Requirements

Note! The maximum allowable deviation of 2 mm to 2 meters from the horizontal plane.
- The brand of concrete used for casting is not lower than M 200.
- Mandatory waterproofing surface.
- On the working surface should not be visible delaminations and chips.
Preparation of wooden coating
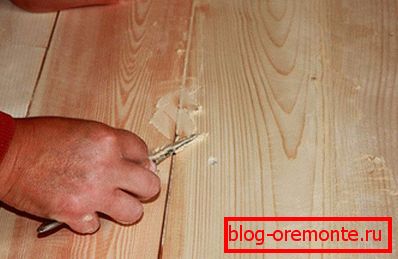
If the wooden floors in the room are in decent condition, but you decide to fill the polyurethane floors, you can do this without dismantling them. The main thing is to prepare correctly.
- We remove the old plinth, you no longer need them.
- We clear a surface of a varnish or paint. This needs to be done qualitatively, use a grinder and a scraper.
- If there are cracks in the tree, they need to be opened and cleaned with sandpaper.
- Using a vacuum cleaner, remove all dust and degrease the surface.
- After this, the cracks need to be sealed with a mortar.
- If the surface has large deviations, you can level it with a cement screed.
Ground the surface
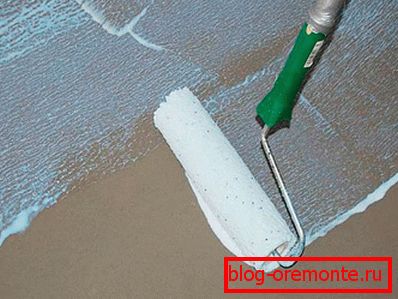
This procedure is necessary to increase the adhesion of the surface with self-leveling floors. And before laying the polyurethane self-leveling floor with your own hands, this procedure should be carried out in accordance with all requirements.
- If the working base has a porous structure, it should be treated with a primer several times using high-viscosity materials. This mainly applies to wooden surfaces.
- It is enough to prime the concrete surface only once.
Note! So that when pouring on the floor surface there are no bubbles, the temperature in the room should be maintained at the same level, and a wide brush or roller should be used to apply the material.
Preparing the solution
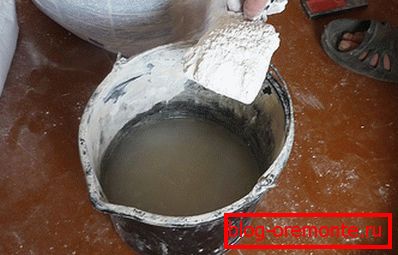
To get perfectly smooth floors you need to keep the correct consistency of the mortar.
- Carefully read the instructions on the package, it provides accurate recommendations and indicates the necessary proportions for cooking.
- First pour water into the container, and then gradually pour the dry mixture.
Note! If you pour water into the dry mixture, lumps will appear.
- To the mass was homogeneous consistency, mixing should be carried out for at least 10 minutes.
- A color scheme (if you decide to give a certain color to the surface) is added to the already mixed mixture.
Floor fill

When you have everything ready, you can get to work.
- Pour the prepared mixture on the prepared surface.
- Rakle adjustable tolstein.
- Then we pass several times on the surface with a needle roller to expel the air.
- After preparing another batch and doing the same procedure with it.
- After pouring the entire surface, cover it with plastic wrap. This procedure will protect it from dust and ensure uniform curing.
Note! The diluted mixture of polyurethane floor remains fluid for 30–40 minutes, and in order to prevent premature hardening, it is better to do all the work with an assistant: one - kneads, the second - puts the mixture on the surface.
Security measures required
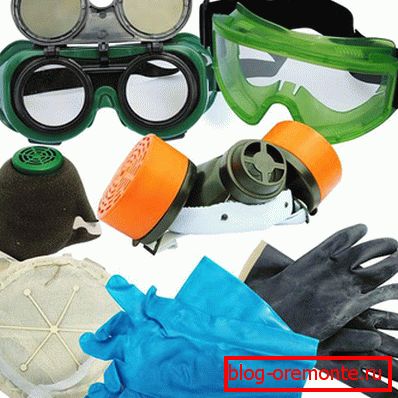
- Polymers are present in the composition of the mixture, and therefore, when working, it is imperative to use protective equipment: gloves, glasses.
- Also, to protect against sharp odor, it is better to provide the room with reliable ventilation and use a respirator.
Decorative component
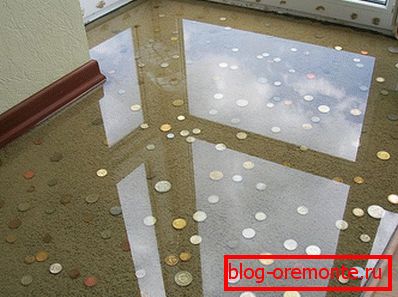
This coating is successfully used as a base for laying laminate, tile and other materials. But you can also think about how to make decorative polyurethane floors. Modern technologies allow to realize any design idea.
By filling the usual polyurethane mixture, the finish coating will be transparent. It is this feature that allows you to experiment and create a truly masterpiece on your floor.
The most common version of the decorative design of the floor - use flocks. These are paint particles that mimic any finishing material. With their help, you can create an intricate pattern or ornament. Flocks must be laid between the layers of self-leveling floor and varnish. Actually the last applied layer after grinding will give the surface a delicate shine.
Video
This video shows how to make a 3D bathroom floor in your own hands:
This video demonstrates the self-leveling decorative floor in the apartment: