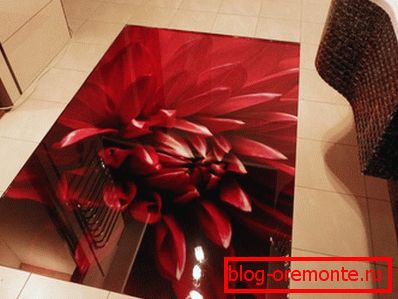
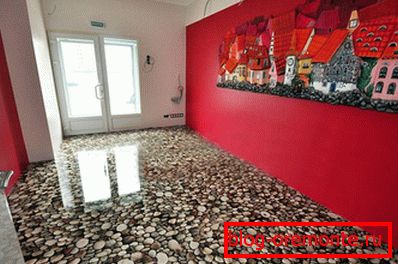
Polymer flooring itself
Recently, the technology of applying polymer flooring is becoming increasingly popular. The second name of the technology - self-leveling floor. This partly explains the manufacturing technology. The finished composition is not mounted, and poured on the prepared surface of the floor.
Polymer floors
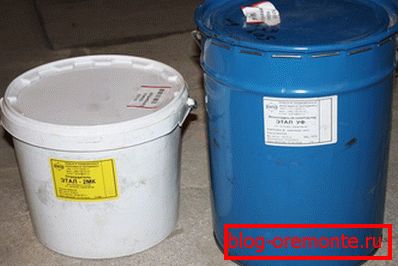
Наливные полимерные полы не содержат в своем составе цемент. Это значительно ускоряет процесс монтажа. Polymer blend состоит из двух, в некоторых случаях из трех фаз.
The basis of the mixture is acrylic, polyester or epoxy substance. Most resistant to external damage to the mixture, which includes epoxide.
In addition to the main component, the mixture includes the following elements:
- hardening agent;
- granite chips or gravel;
- colored pigments.
Advantages of polymer coatings
Consider the main advantages of this type of coatings:
- short polymerization period;
- high level of elasticity;
- resistance to low temperatures;
- high level of wear resistance;
- long service life;
- ease of use;
- safety for human health;
- esthetic appearance;
- variety of textures and shades;
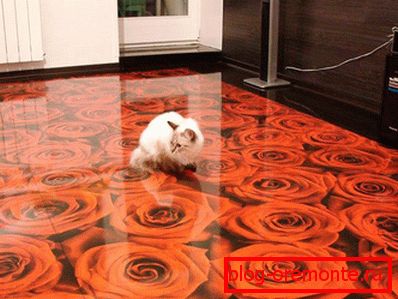
- the ability to install a three-dimensional coating.
Technology flaws

Speaking of polymer flooring, it is impossible not to note their inherent drawbacks:
- high cost of materials;
- installation complexity;
- high cost of installation work;
- when installing polymer coatings on a new foundation, it is necessary to maintain a break before installation for at least 1 month;
- vapor tightness;
- when installing the coating on the cement base, you must additionally apply a layer of waterproofing material. Otherwise, due to penetration of concrete through the concrete, the coating may be damaged.
Special features
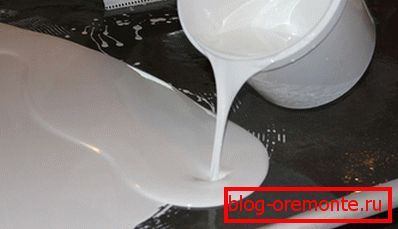
Polymer flooring has the following characteristics:
- Lack of connecting seams causes a high level of hygiene. The covering easily gives in to both wet, and dry cleaning. Seamless technology prevents the spread of insects in the room. The material does not absorb moisture and retains an aesthetic appearance for a long period of time.
- High level of resistance to various chemicals. Alkaline and acid solutions are not able to destroy the finished coating.
- Many modifications. You can achieve any final result of the appearance of the surface. The coating can be both smooth and rough.
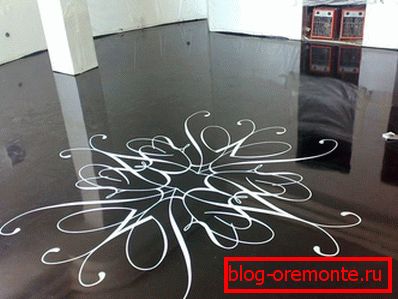
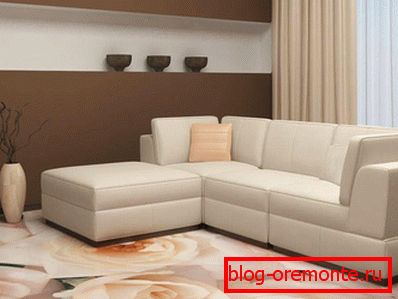
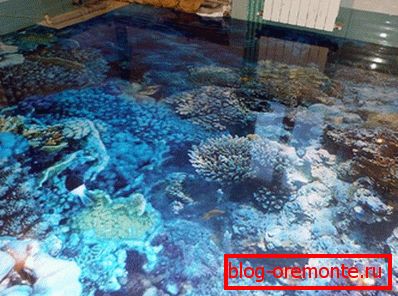
- A variety of colors. The ability to create a unique coating design. Also popular is the three-dimensional drawing technology.
- High level of durability. Thanks to the polymers that make up the mixture, you can achieve strength equal to the strength of the concrete base.
- High level of elasticity. Due to this, the surface is not subject to external damage.
- The material does not support combustion.
- Durability. If you follow the basic rules for caring for a coating, you can achieve a long term use.
Main types of polymer coatings
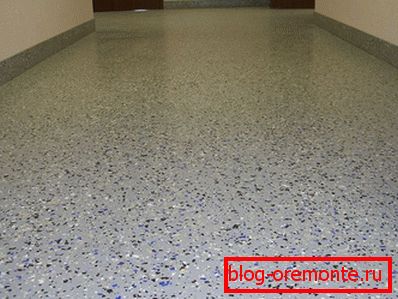
Polymer floors своими руками наносятся по двум основным технологиям:
- Thin coating. The thickness of the applied mixture does not exceed 0.35 mm. This technology is suitable for work in standard rooms with an average level of loads on the floor surface. The mixture can be used as a final coating or layer under a waterproofing mixture.
- Coverage with high filling. Its average thickness can reach 4 mm. This technology is designed to install coatings in buildings with an increased level of load on the floor. It has a high level of durability and strength. There are various options for decorating the surface with additional inclusions.
Installation work
To fully get acquainted with how to make polymer floors, it is necessary to study the main stages of work:
- Preparation of materials for work.
- Substrate surface treatment.
- Priming the floor.
- Application of the mixture.
- Topcoat.
Preparation of materials for work

Work is done with the use of metal tools. In order not to damage the polymer coating, it is recommended to soak them in an acetone solution for 6 hours.
During installation, the roller should also be wetted in acetone solution as often as possible. This will prevent the residual mixture from polymerizing on the roller.
Note! Work done only with dry tools. Use of contaminated - is unacceptable.
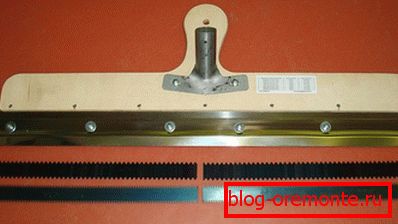
To install the self-leveling floor you will need the following tools:
- plastic roller;
- bucket;
- paint spatula;
- the rule;
- shoes with a specialized sole;
- mixer;
- squeegee - adjusts the level of coating thickness;
- personal protective equipment - is working with toxic materials. Therefore, when installing, be sure to use protective gloves and respiratory mask;
- a vacuum cleaner.
Surface treatment
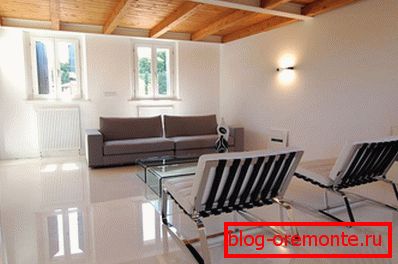
Before you start work, you must first prepare the base of the floor. He must be aligned and not have chips and cracks.
The polymer coating can be applied to any type of substrate. However, before applying it, it is necessary to prepare the surface for work.
The first is to check the evenness of the coating. To do this, you must use the level.
Note! Deviations from the level should not exceed 4 mm.
Special features обработки зависят от типа поверхности пола.
- Work with a wooden base. Surface cleaning, moisture testing. It is necessary to remove the baseboard, paint and stains. The surface should be sanded. Dust and dirt are removed with a vacuum cleaner. To prevent damage to the polymer surface, it is necessary to apply a screed layer on the wooden surface. It will prevent damage from natural deformations of the wooden surface due to temperature differences. It is not recommended to fill the bulk mixture too thin.
- Work with a concrete surface. The floor should be leveled, cleaned from dust, paint and dirt, then carry out additional grinding of the surface. If the base is severely damaged, it is recommended to apply a new top. In this case, the polymer mixture is applied 3 weeks after the installation of the new screed is completed.
- Work with a ceramic surface. It is necessary to check the strength of the coating. To do this, each tile is tapped. If the sound is ringing as a result, the tile should be removed. The place must be primed and covered with a layer of putty. Then the surface is degreased and primed.
- Work with a metal surface. Cleaning the base. Removing paint stains, grease and oil. Degreasing. Remove rust and rust by sanding.
Floor priming
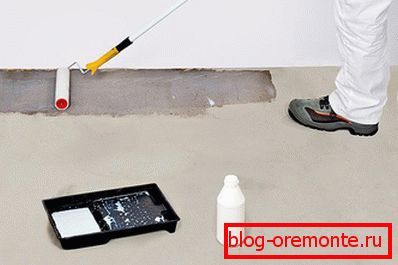
Before applying the polymer mixture, the floor surface is primed. The base must be dry, it should not be dust. Priming takes place 2 hours after the dust removal procedure.
The primer is carried out using a special mixture - impregnation. It is applied to the base with a roller. The primer will improve the adhesion of the polymer mixture to the floor surface. Impregnation is applied in one layer when working with a metal base, in 2-3 layers when working with other types of bases. Each subsequent layer is applied only after polymerization of the previous one.
Putty
After the floor surface has been primed, it is necessary to give it an evenness with the help of puttying. In this case, the existing cracks and irregularities will be corrected.
Note! It is not recommended to use a mixture containing water. The most optimal is reinforced putty based on quartz sand.
Applying the mixture
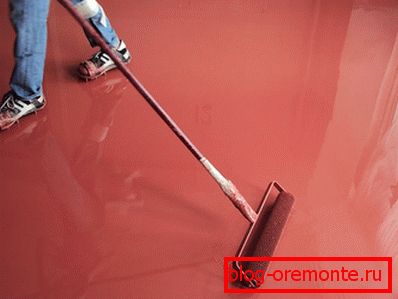
It is necessary to start applying the polymer solution at least one day after priming the surface.
Work should begin at the farthest corner of the room, gradually moving towards the front door. That in the put solution there was no air remains, it should be processed the needle roller.
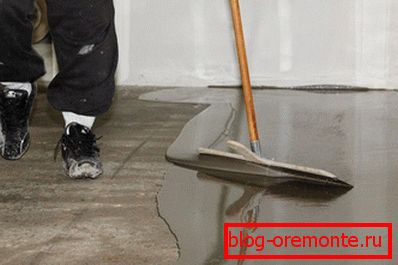
The mixture is applied in stripes. For convenience of application, you can use a special hose. The fluid is leveled with a squeegee. Next, you need to seal the layer with a special roller. Work is done in shoes with metal studded sole.
Finish coat
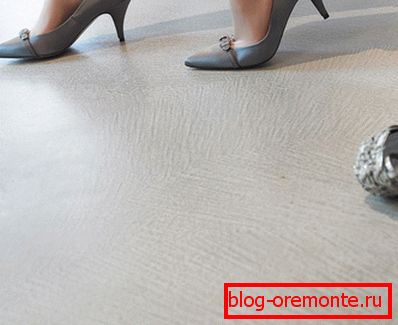
After the base layer of the mixture is applied, you should proceed to surface treatment with a finishing layer.
Finishing is done 48 hours after pouring the polymer solution. A polyurethane varnish can be used as the finishing mixture. It improves the quality of the polymer mixture and adds shine to the floor surface.
Applying a topcoat will significantly extend the service life of the self-leveling floor. The varnish should be applied in at least two layers. After applying each of them must be kept for at least one hour to dry.
Note! The self-leveling floor is ready for operation no earlier than two days after the finish has dried. If an increased level of load on the floor surface is envisaged, the polymerization period must be increased to one week.
Video
The technology of applying a polymeric self-leveling floor is quite simple and accessible to almost everyone. You can learn more about it in the following video:
A photo
