Liquid floor yourself
Liquid floor is a modern and high-quality coating for any room, industrial premises or workshop. Before you buy any material to fill the floor covering, you need to determine the requirements for the surface of the room. In other words, each room is experiencing a certain load, which implies the purchase of a suitable material.
On the building materials market there is a large selection of polymeric self-leveling floors that can be used in a wide variety of buildings. In order for the liquid floor with your own hands to be of high quality, you first need to choose the right raw material for casting. The following facts should be considered:
- the choice and quality of the liquid base affects the choice of the liquid floor;
- it is necessary to determine the purpose of the room and the forthcoming load on the floor;
- need to consider the level of static;
- It is important to know the slip coefficient.
You also need to ask other options. Basically, the composition of the bulk solution includes epoxy and polyurethane fillers. How to fill this floor, we now know.
The basis of polyurethane is characterized by high endurance to the loads and a good strength. It does not react with chemical compounds and is quite resistant to the actions of different masses. To its main qualities you can add plasticity, resistance to damage and impact. This type of floor makes an excellent exposure to minus temperature, it is not afraid of heat. There are two- and one-component polyurethane compositions.
The use of self-leveling polyurethane floors

This type of floor composition is used in rooms or halls with a high abrasive load, frequent vibration, or in workshops where it is necessary to adhere to a high degree of hygiene. For example:
- agricultural buildings;
- food industry facilities;
- retail space;
- production workshops;
- warehouses;
- food storage facilities;
- freezers.
A floor based on an epoxy mortar suffers worse shock and pressure than a floor with a polyurethane coating; therefore, they are not recommended for use in rooms where it will have a large load. The main advantage of this component is high resistance to chemical products, such as:
- electrolyte;
- various alkalis;
- salt compounds;
- gasoline;
- acids and more.
Exposure to chemical loads
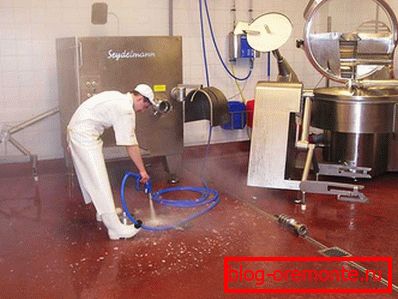
Based on the listed quality characteristics of this type of casting, we can say that this type of flooring is perfect for use in rooms with chemical stress. For example:
- shops of the pharmaceutical, chemical and food industry;
- laboratories, high humidity rooms, utility rooms, chemical storage facilities, etc.
The advantages of the liquid base
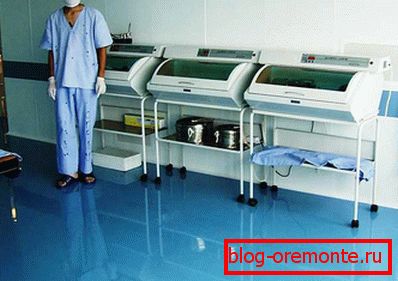
This type of coating is often used for industrial constructions, where powerful mechanical loads are used, frequent temperature drops occur, point shocks are possible, chemical reagents hit the floor and much more.
The main properties of liquid floors:
- Impact resistant.
- Resistant to wear. Such a floor is well tolerated by the movement of heavy trucks.
- Resistant to temperature changes. This property makes it possible to use this type of floor in boiler rooms and in freezing rooms.
- Elastic.
- Resistant to chemical actions.
- Resistant to vibrations.
- Durable. With proper operation, such a floor will last more than 20 years.
In addition to the listed advantages, hygiene, seamlessness, smoothness, harmlessness, fire safety, dustlessness and many other things can be noted at the same time. Installation of a liquid floor is carried out in a short time with a consistent and correct approach.
Preparation of the base proceeds as follows:
- Treatment of cracks and seams of slabs or concrete base.
- Cleaning the floor from dust and small particles. This can be done with a vacuum cleaner.
- Primer seams and filling them with sealant.
- Filling large cracks with quartz sand, mixed with the composition for pouring the floor and laying on top of a piece of fiberglass.
- Primer and floor impregnation before starting work.
Preparatory work
The working surface is divided into certain areas. This is done so that no voids or bubbles form. To work you need the following tools:
- roller;
- drill for mixing solution;
- capacity for preparation of solution;
- spatula 1.5 m;
- primer;
- special varnish based on polyurethane;
- level;
- wide brush.
How to pour liquid floor
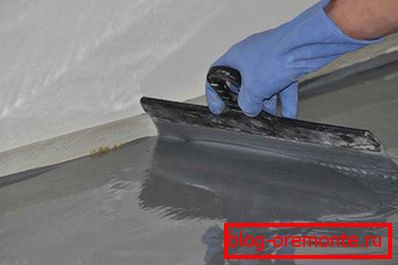
First, insulating seams are made around the columns and along the walls. This is necessary in order to exclude the transfer of deformation going from the building onto the floor screed. Such work is performed before pouring the base and serves to prevent cracking. We must try to get square plates. Such seams are cut in a couple of days after concreting. The depth of the seam is 1 / 3–1 / 2 of the screed thickness.
Before starting work on the surface, you must install the beacons in a staggered manner. The distance between them should not exceed one meter. For the convenience of pouring marks are drawn on the walls, which will serve as a level when pouring mortar. The floor is mounted in sections and leveled with a spatula.
The main layer of liquid floor is applied at the end of the day after preparation. If indoors the height of the grout is very high, the bottom can be covered with quartz sand, which will sink in the first layer of the mixture. In another case, the sand and mortar are mixed before pouring the first coating layer.
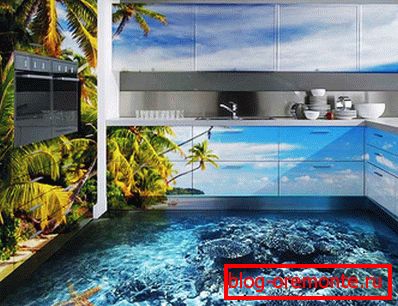
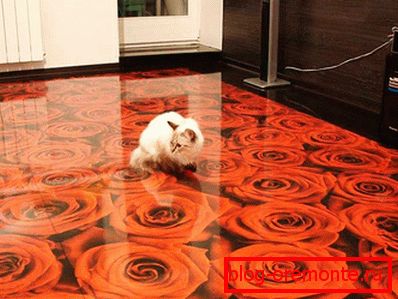
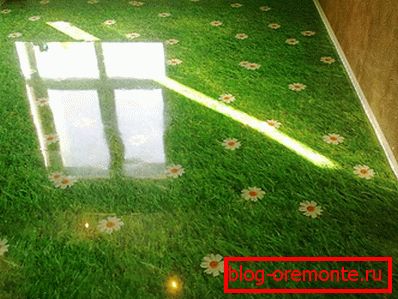
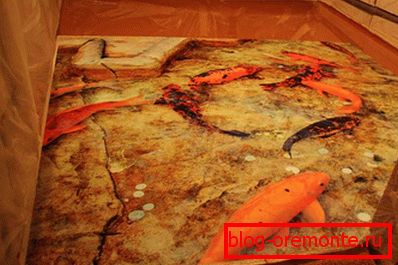
After drying, the base layer is applied topcoat. For aesthetics, before applying you can decorate the floor with decorative 3D drawings or lay three-dimensional images to improve the effect.
The main requirements for the performance of work on pouring a liquid floor:
- the base is thoroughly cleaned from dirt and dust;
- the floor is poured onto a concrete base of the grade not lower than M 200;
- porous concrete base must be impregnated with a special substance;
- working surface moisture should not exceed 4%;
- during installation it is impossible to allow sudden changes in temperature.
Note! During the drying of the flooring the room must have a constant temperature and humidity. Slight drafts can destroy the structure of the liquid floor. In an apartment, a polyurethane or epoxy-based compound dries out within two days, but you can walk on it in 10–12 hours.
A photo


Video
The video shows in detail how the self-leveling floor is made:
В видео показана технология заливки наливных 3D sexов: