Laying the floor tiles yourself
Ceramic tile is a high-demand type of flooring, which is a fireproof and moisture-resistant finishing material made from silica, clay and sand. The tile differs from ceramic only by the glossy covering giving to it gloss and showiness. It is used as a facing material for all surfaces due to its unique qualities: high service life, wear resistance, heat resistance, resistance to pollution and the effects of chemicals.
The coating is divided into several types, depending on the place of operation. Floor tiles are available for:
- low traffic areas;
- residential areas;
- kitchen facilities, bathrooms and bathrooms;
- shopping and office halls;
- crowded areas.
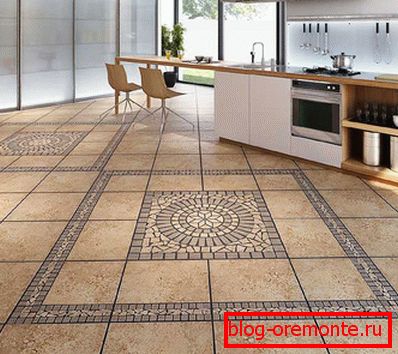
Ceramic tile has a classification, a huge color palette and the maximum number of textures. This allows you to choose a product that preserves the integrity of any interior.

The advantages of tile compared with other floor materials are very significant:
- higher resistance to mechanical damage;
- durability;
- preservation of the original appearance for a long time;
- moisture resistance;
- resistance to deformation;
- resistance to low and high temperatures;
- environmentally friendly material;
- safety for allergy sufferers.
Along with the advantages, the product has a number of disadvantages that should be considered:
- rather high cost of material;
- the need to purchase related materials;
- the desirability of floor heating;
- The coating is not shock resistant.
Laying floor tiles with your own hands is time consuming and requires special knowledge and skills. But thanks to modern technology to do this work independently is quite a feasible task. Consider how to lay the floor tiles, in stages.
Tile selection
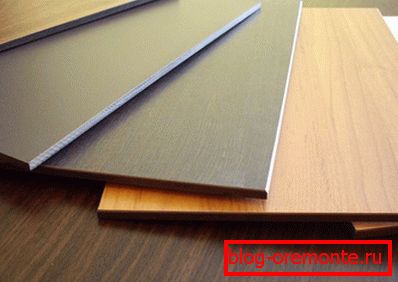
Ceramic (or tile) tiles can be monochrome, multi-color, ordinary and shaped. According to the quality characteristics is divided into three varieties.
Ordinary products are square and rectangular. Square have sizes of 150? 150 and 100? 100 mm, and rectangular - 150? 100 and 150? 75 mm.
Corner elements that have different shapes and purposes are called shaped. The scope of their application is the angular layout of the eaves and baseboards.
Before purchasing a material, you should calculate its required quantity and add 10-15% to it. It is important that the tiles are from the same batch and have the same tone. This can be found on the label on the box.

From the pictograms on the package you can learn a lot of additional information: a foot painted on a black background means that the material in the box is intended for the floor, the brush - the walls, the snowflake - frost resistance, and the foot on the shaded background indicates the high strength of the coating.
The most important indicator for flooring is wear resistance. The abrasion class must be at least 1 or 2. AA marking is the best indicator of resistance to aggressive media.
We draw the scheme of laying of a covering
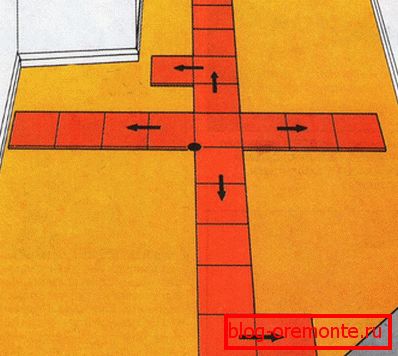
It is necessary to perform the selection of the tiles so that its dimensions are in perfect harmony with the size of the room. In a narrow and long room, it is better to cover the width of the coating. This will hide the length and visually expand the room.
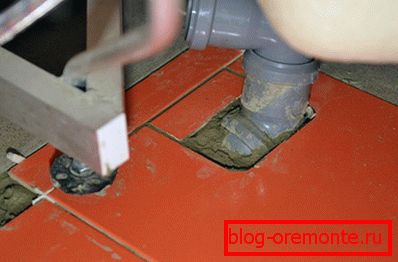
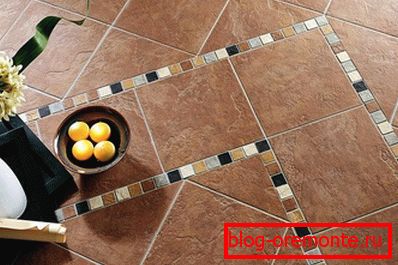
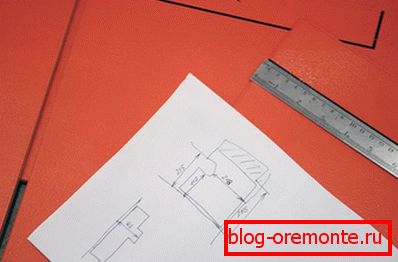
For clarity, it is better to draw on paper a diagram of how the ceramic tile will be laid on the floor. So it will be better seen, whether to supplement the ornament borders and decor. It is necessary to calculate the junction of ceramics to the existing plumbing or communication elements. And also know how and what the final row of finishes will end with.
Materials and tools
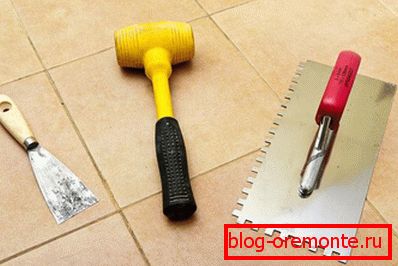
For laying floor tiles you need to purchase some tools and materials. Since there are many ways to level the surfaces and lay the flooring, this list can be considered as an example.
Instruments:
- hammers;
- chisel for dismantling old tiles;
- trowel (plastering blade) and rubber trowel;
- plummet and level;
- triangle;
- pliers and pliers;
- polyethylene film;
- brushes;
- bucket and rule;
- Bulgarian and tile cutter;
- floor heating;
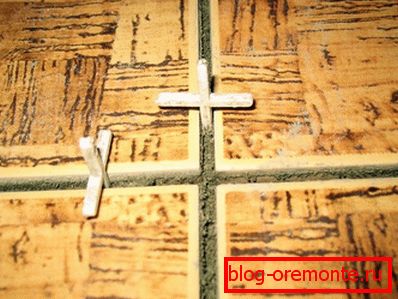
- plastic crosses for precise styling.
Materials:
- ceramic tile;
- bitumen mastic;
- polyethylene film;
- self-leveling compound for the floor;
- anti-mold primer and antifungal solution;
- tile adhesive;
- grout for joints, preferably epoxy.
The quality of tile glue and grout often depends on the brand of coating manufacturer. Often on the package with glue and grout composition there is a recommendation about which companies' products are best used in a particular case.
When selecting a grout for interfacial joints, it should be remembered that after drying it becomes lighter.
Preparation of the subfloor for finishing
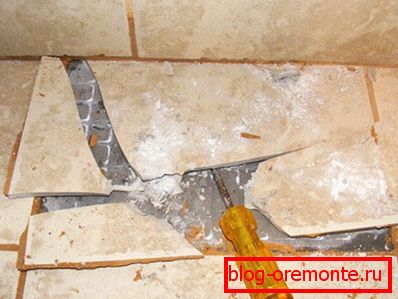
After the tools and materials have been prepared, the covering scheme with all the additions has been drawn, you can proceed to preparing the surface of the sub-floor. It should be clean and dry.
The wooden floor is leveled by scrubbing: the smallest slits are putty, the irregularities are plastered and polished. And you can simply put moisture-resistant plywood, whose thickness is from 12 mm.
Laying the floor tile on the concrete floor should be done after adjusting the surface of self-leveling mixtures. Before this, the surface must be dried and cleaned. In addition, a number of conditions must be met:
- difference in roughness and roughness not more than 2 cm;
- complete lack of gaps;
- the surface must be primed;
- the mixture should not flow into adjacent rooms.
After leveling the surface, waterproofing and floor priming should be done.

Waterproofing under the tile выполняется:
- roll materials, the advantage of which is low cost, and disadvantages: acrid smell, the need to use a burner, the complexity of installation, raising the floor level;
- bitumen mastics, which are convenient to use, especially in difficult premises, but have a pungent odor and cannot be used in the system underfloor heating;
- cement-polymer mixtures, easy to apply and firmly set to the surface, but they dry very quickly (you can dilute small volumes).
The primer is applied in several layers until it no longer absorbs instantly.
We do the laying of the tiles with our own hands
- To lay the tile smoothly and carefully, mark the prepared floor surface:
- remove skirting and sills;
- we measure out the middle of the walls and draw axial lines;
- draw diagonal lines for diagonal stacking.
- After that, you can proceed to laying on the planned lines, according to the drawn sketch. You can try to lay out the material on the floor without glue to choose the best location.
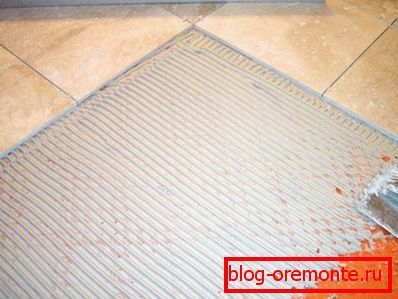
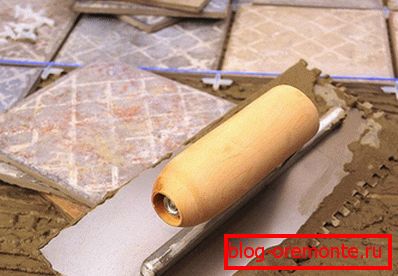
- The adhesive is applied to one square meter of surface at any selected corner, which forms at the intersection of the marking lines. For this work, use a spatula or spatula.
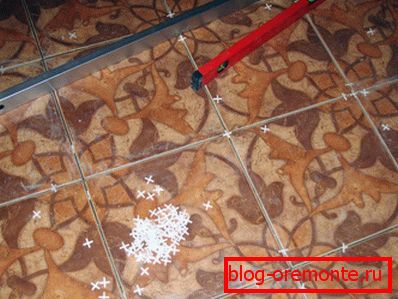
- Tile firmly pressed to the floor, pressing on the adhesive base. Marking lines are used as a guideline for traffic. Laying is performed on the entire surface on which glue is applied. If you need to keep a special distance between the tiles, you should use plastic crosses, prepared in advance.
- Observing the direction created by the lines, we lay the floor, heading towards the center of the room. Gently close one half of the room, only then take up the second part.
Note! It is necessary to maintain the same level, in some cases a little more adhesive can be applied.
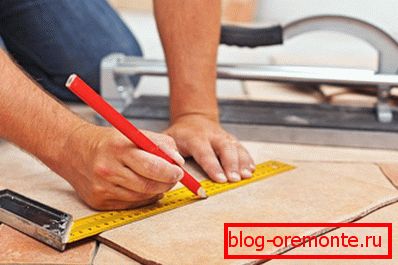
- Next you need to fill the empty space between the floor and the walls, where the solid tile did not fit in size. For this, the material is cut with a special cutter with an exhibited size, for the same cropping.
A product that has been cropped on all sides may look bad after installation.
- After installation, the glue should dry and harden. After that, if the tile is porous and not pre-coated with a primer solution (see the instructions for the tile), it should be covered with a primer.
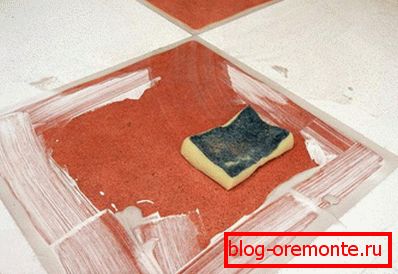
- The final step is to grout the joints between the tiles. To do this, a special scraper in the gap gently superimposed trowel composition. The excess amount of the solution is removed with a wet sponge, immediately after application. After drying, the surface is polished with a dry cloth.
Video
See below for details on laying tile floor:
A photo
