How to make an electric floor heating
It is impossible to imagine a modern apartment without good heating. The installation of an electric floor heating is also common. Such a system is no longer considered a novelty. In this article we will describe how to make an electric floor heating with your own hands, and also demonstrate the video on its installation.
What is good, this system
- The first is simple installation, low-cost maintenance and the ability to save energy.
- The second is comfort. For example, conventional heaters are installed on the walls under the windows so that the heat from them displaces the cold air. If we talk about the floor heating system, then in regions with a mild climate, when installing it, it is not necessary to use other heating options, because there will be enough heat even to warm the entire room.
Device and principle of operation
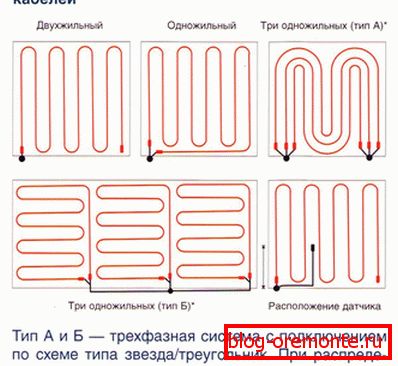
Everything is simple here - it works on the basis of an electric cable laid on a clean floor, which is then poured with a coupler. On top of this design, you can lay any coverage.
How to choose a cable

In appearance, it is similar to a conventional antenna cable, but its purpose is completely different - the conversion of electricity into heat. When choosing, pay attention to its labeling. The main thing is the heat dissipation parameter, the most reasonable option is from 15 to 25 W / m, this will be enough to create a comfortable temperature, and at the same time such cable will be less susceptible to destruction during a long service life.
Before you make an electric floor heating, you need to decide what goal you want to achieve. Installation of a heat-insulated floor in most cases makes:
- as additional heating in a large room,
- as the main method of heating a loggia or balcony,
- as a means to increase comfort in the kitchen or bathroom.
The order of the preparatory work
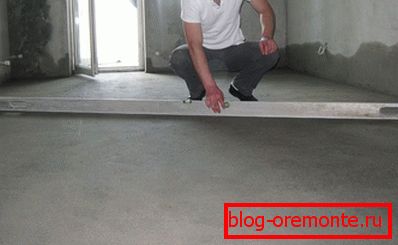
- Fully free the whole room.
- If the work is carried out in a new building, then you need to remove all the garbage and make a cement screed, and if you carry out repairs in an old apartment, then you need to level the floor and putty all irregularities.
- Schedule and prepare a place for the thermostat (if necessary, lay a separate wiring for it).
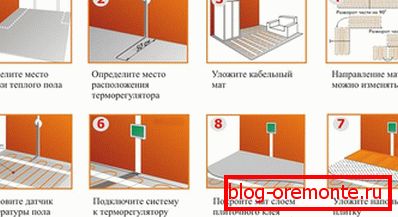
Note! Before laying the cable, experts recommend placing a plastic film on the floor as a waterproofing to prevent condensation.
We put a heater
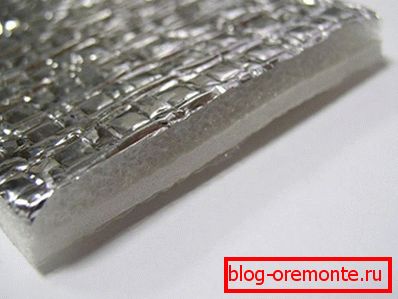
Penofol will cope well with this task. This is a modern heat insulating foil coating that is 14 microns thick and has a self-adhesive polyethylene coating. Lay it around the perimeter of the room, if necessary, fastening the joints with mounting tape.
On top of the insulation there is a reinforcing mesh that performs two important functions:
- First, it will give strength to the solution with which the base will be poured.
- Secondly, its installation eliminates overheating of the heat cable from contact with thermal insulation.
Mounting technology
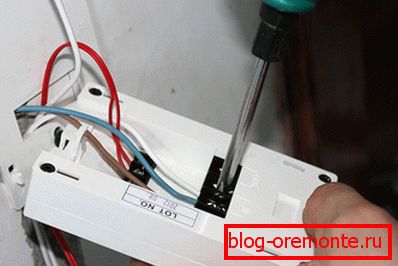
To begin installation of a heat-insulated floor it is necessary from installation of a temperature regulator.
- In the pre-marked place, a hole is drilled for the seat of the control unit.
- Channels for connecting the power cable to the distribution panel are stitched from it in the wall.
- Then the box is installed and the cable is laid.
- After all the strokes are sealed with alabaster and, if necessary, leveled with a putty for subsequent finishing.
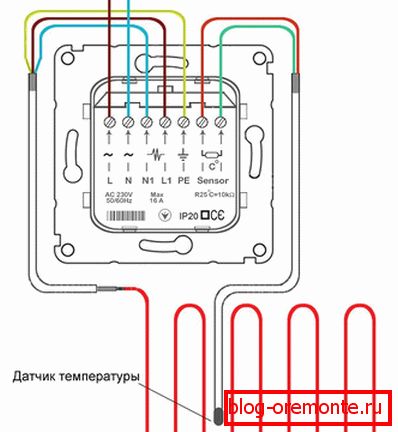
Note! For the reliability of the entire system to connect it must be directly from the electrical panel. It would be better if you “land” the supply wire on a separate switch.
Technique of laying the heating cable
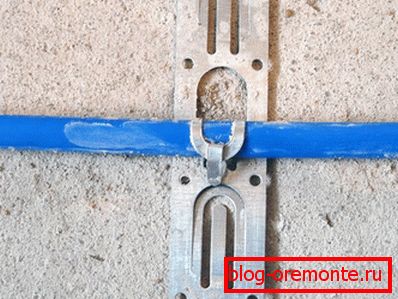
Laying electric floor heating with their own hands (especially the cable) should be made strictly according to the scheme:
- First, check the integrity of the cable for any visible gaps, and measure the resistance.
- It is necessary to make laying with a small tension, but only without excess effort. Make sure that he is not overturned.
- When bending, the minimum cable radius may be at least 6 mm. Especially this condition must be observed in places where there are couplings.
- For better fastening of the cable it is attached to the reinforcing mesh with masking tape.
- After you have finished working with the cable, experts advise against doing any work other than screeding.
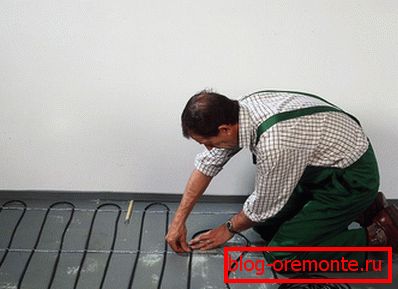
Note! If the laying of the electric floor is carried out in a cold room of the new building, then before laying the cable it must be connected to the network for a few minutes to allow it to warm up.
Pouring concrete screed
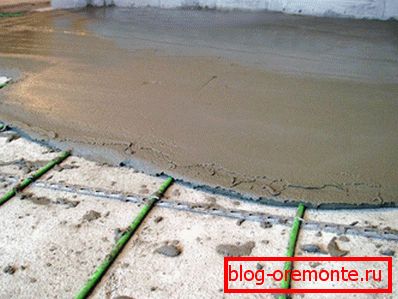
For such works it is better to use ready-made mixtures. In their composition usually contains all the necessary binding materials. They have plasticity and resistance to cracking.
- Immediately before pouring, you need to make small holes in the heater so that the mixture comes into contact with the rough flooring and holds better.
- It is necessary to pour the solution from the far corner of the room and use beacons for leveling. It is necessary to level the coupler along the length of the cable in order not to disturb its length.
Note! In order to maximize heat transfer from a warm floor, experts advise not to make screed thickness more than 50 mm.
Operation Tips
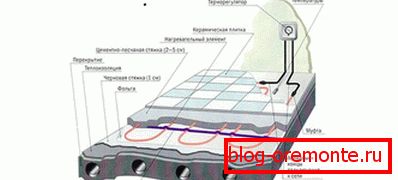
- Starting the operation of the system should be switched on for several hours, while the regulator must be set to 20 ° C. Every day, the switch-on time must be increased by one hour.
- Laying the finish coating can be no earlier than 7 days after the start of the system. If you cover the floor with laminate, it is better to postpone this process until the screed completely dries, the manufacturer usually indicates on the packaging time.
- When laying the floor tile, the joints should be at least 2 mm, this will prevent the tile from cracking during thermal expansion.
After reviewing the instructions for laying electric floor heating, you can confidently get to work.
Video
Installation instructions for electric underfloor heating: