Epoxy floor itself
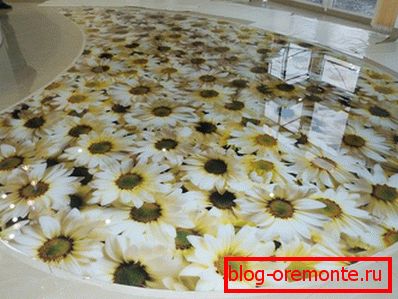
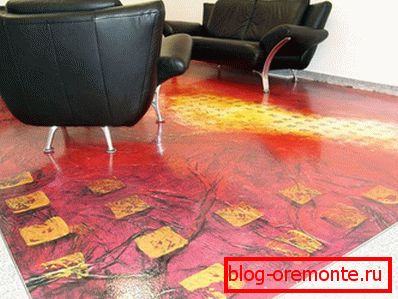
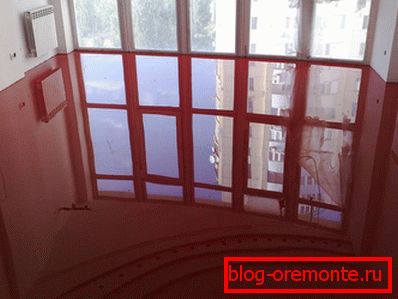
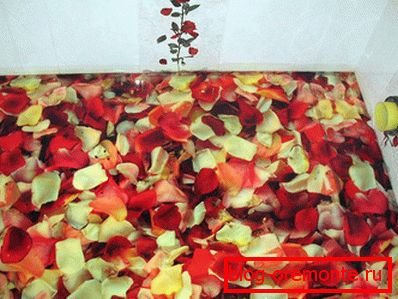
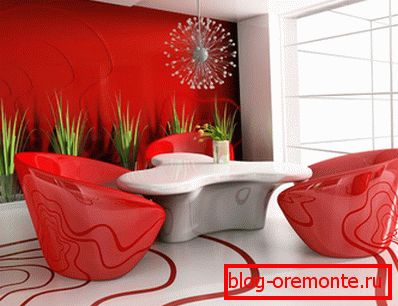
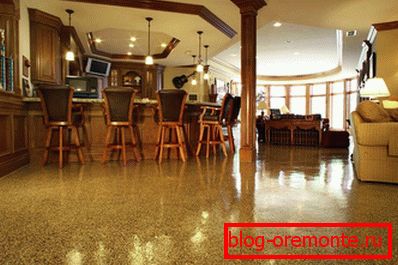
Epoxy floor is a solid cast construction. It is easy to take care of it, and it is absolutely harmless to human health, provided that it is not used in combination with a warm floor. This coverage is very often found in luxury apartments, airports, restaurants and more. If you want to make such a floor in your modest home, then this article is for you. From it you will learn how to make an epoxy floor with your own hands. But first, consider its positive and negative sides.
Epoxy floors - to be or not to be!

Hard to find better floors than epoxy. They contain ideal proportions of hardeners and epoxy resins, which when combined form a durable and monolithic coating. This floor has a large number of positive technical characteristics. Is he:
- wear resistant
- lasting,
- easily tolerates temperature fluctuations
- without seams
- easy to clean,
- resistant to aggressive chemicals
In addition, it can be very different designs.
In view of all of the above, this floor is very popular in a variety of rooms, including residential apartments. To be objective, we should not forget about some of its shortcomings:
- The casting process involves a large amount of work, and the material used must be of high quality.
- At non-observance of technology the covering can be stratified.
- Removing a part of an outdated and damaged epoxy floor is very difficult.
Considering all these nuances, you must decide whether to have epoxy floors in your home or not.
How to achieve high-quality coverage?

To achieve the highest quality results, it is extremely important to perform a number of preparatory work:
- Prepare the base.
- Pour the base coat.
- Lay the decorative layer.
- Make the finish layer.
At observance of technology at each of the listed stages, it is possible to make a quality epoxy floor. The preparation of tools plays an important role.
Necessary tool for work
INSTRUMENTS
To work you need to prepare the following set of tools:
- rollers
- several spatulas
- roller covered with padding polyester
- needle aeration roller,
- mixer for mixing
- for organic materials, a special mixer is needed, which is equipped with the function of adjusting the speed and reverse
- rakla,
- spray shoes,
- special vacuum cleaner
- remedy.
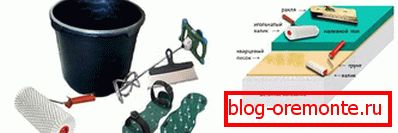
Each metal element should be soaked in a solvent before starting work. This will remove all possible contamination. This also applies to newly purchased instruments.
Careful preparation is the key to success!
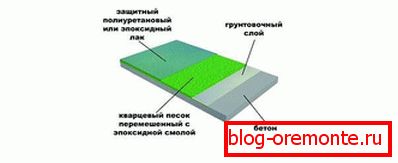
Concrete screed is the best and most reliable basis for an epoxy floor. Theoretically, the composition can be poured on a wooden floor or covered with ceramic tiles, but this will require an extremely complex preparation. Moreover, the lifetime of such a coating will be much less. For this reason, it is best to use a concrete floor as a base. Only in this case the epoxy floor will stand the test of time!
Note! The floor should be flat and dry. For every two meters only horizontal deviations of up to two millimeters are allowed.
This can be achieved using self-leveling mixture.
Room humidity should be no more than four percent. Neglect of this advice is unacceptable, since the epoxy floor has no vapor permeability property. If moisture gets on the main floor, then the filled epoxy floor will gradually collapse.
Note! Check the humidity level is simple. To do this, cover the plastic wrap on the floor and leave for two days. If during this period there is no condensation on the film, it means that the room is dry and you can start working.
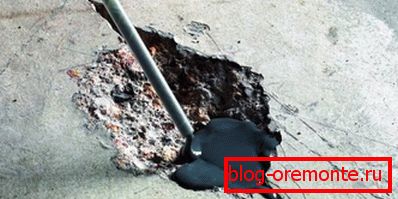
If the screed is fresh, then it acquires absolute strength after one month. If you have to work on the old screed, then a number of preparatory work will be required. For example, remove dirt, grease, paint stains and other possible contamination. After level cracks, chips and as much as possible level a surface.

To fix the old base, buy an epoxy paint and apply a uniform layer on the floor surface. Glue a waterproofing layer along each wall. Using a vacuum cleaner, remove all dust from the surface. Only then can a layer of primer be applied.
Production of self-leveling floors - the process has begun
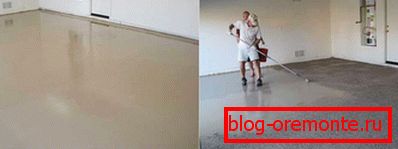
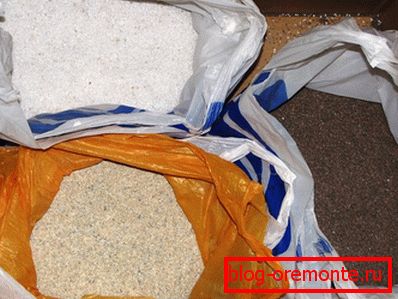
Primingовка наносится в два слоя. Второй слой можно наносить только после полного высыхания первого. На поверхности грунтовки не должны появляться островки глянца, иначе это приведет к загрязнениям. Если же такое место появилось, то его следует зачистить и прогрунтовать снова. В некоторых местах грунтовка может впитываться сильнее, поэтому потребуется загрунтовать поверхность еще раз. После нанесения второго слоя поверхность засыпается кварцевым песком.
Note! After applying each layer, the rollers should be thoroughly washed.
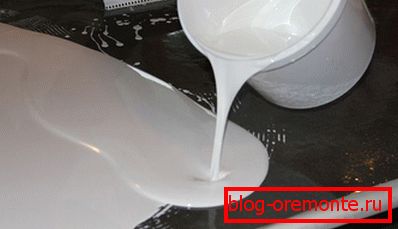
The primed surface dries out after 24 hours. Now it's time to apply a base coat. To do this, use a squeegee or spatula, which the composition is evenly stretched stripes. For movement on the filled surface it is necessary to use only krasknosty. In this case, shuffling movements should not be allowed. Using an aeration roller, remove air from the composition. On the floor, you can attack after two days. Under this coating you can place a decorative layer.
Note! Although epoxy floors do not shrink, heat-shrinkable joints along the walls can be filled with sealant.
Choosing a possible design
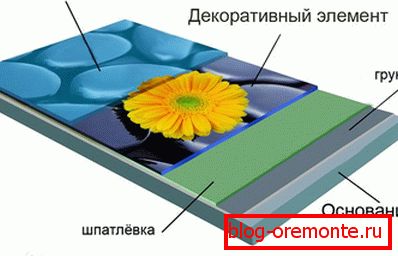
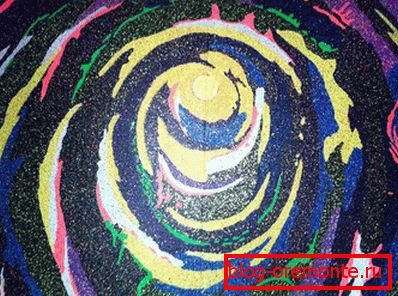
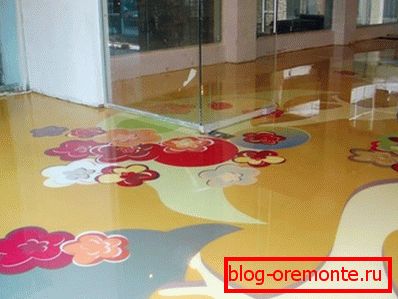
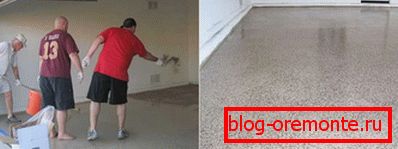
Epoxy flooring can be done in different ways. For example, decorating chips are poured on the floor that is not yet frozen. After the floor has dried, the surface can be painted with acrylics. For the apartment the ideal option would be hand painting.
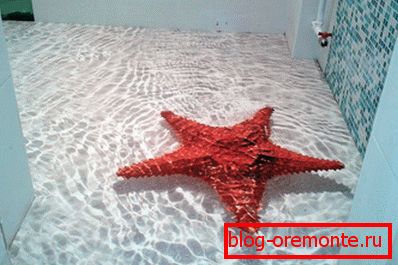
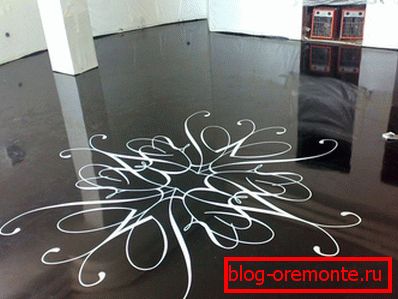
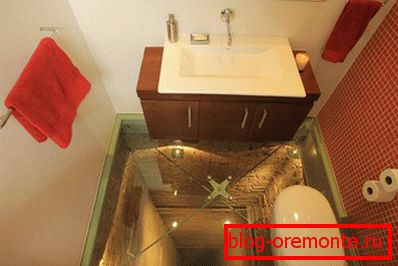
In the printing house you can order a banner network. Any digital coverage with the required resolution will be applied to it. A cheaper option would be to apply a graphic image, which is done with the help of vinyl stencils. Well, if you want to create floors with chic, then you can do three-dimensional printing of a 3D image. For this purpose, special microlenses are used. You can order them at an advertising agency or at a printing company. When the decorative layer is fixed, a finishing coat is applied. Often finishing glossy layer distorts the image. Therefore, you can use a polyurethane matte varnish.
Your guests will appreciate the effort you put into it. Share your impressions of this technology in the comments to this article.
Video
See the detailed instructions for pouring epoxy floor:
A photo
