How to make an inexpensive fence
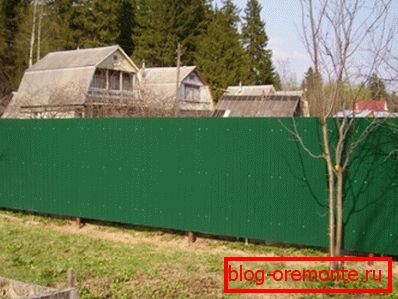
The option of an inexpensive fence
A beautiful and expensive fence near the house is pleasing to the eye and is the envy of its neighbors. But not every owner can afford it. Therefore, if you need a less costly option, you will have to build an inexpensive fence with your own hands.
There are various options for such designs. We will consider them and help you determine the most appropriate option.
Types of inexpensive fences
The cost of the fence depends primarily on the material used. In this regard, we immediately dismiss the construction of stone and brick.
In addition to the fact that these materials themselves are expensive, they carry with them a lot of additional costs. This is the filling of the strip foundation and other expensive and at the same time necessary things for such fences.
But there are more options available. These are the protections made of wood or a professional leaf.
Wooden fence
She can be pretty pretty. Currently used its following types:
- Picket fence - the most common type. Differs in a wide variety of designs. Between themselves, they may differ in configuration, step of the stack and the shape of the outer edge of the fence. Thanks to all of the above, such a hedge can satisfy the taste of almost any owner;
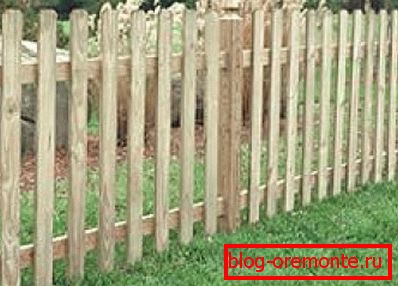
Normal picket fence
- Ranch - this type is not widespread in our country. It is parallel bars or unedged boards, horizontally nailed to sturdy pillars;
- Wicker fence - its price is less than that of other types of wooden fence. Provided for a neat performance, it looks quite beautiful;
- The grate fence - it can be executed both from laths, and just from uncooked poles.
Metal fence
This type of fence is most often made of the following materials:
- Decking - is a ribbed sheet metal. Its surface can be galvanized or painted special paint. Due to which it is very durable. Therefore inexpensive fences from a professional flooring gain the increasing popularity;
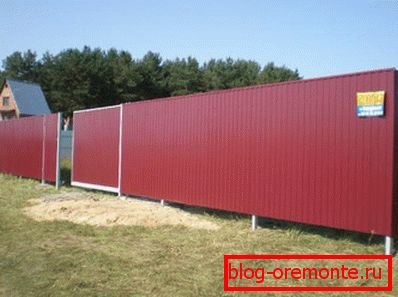
Fence of corrugated
- Rabbit fence - consists of twisted wire. It can be galvanized or coated.
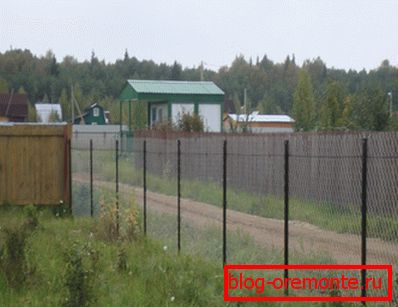
Simple fence from a chain-link grid
In the process of installing it is attached to a metal frame or just pull on the pillars. It is possible to make separate sections from metal corners. Then they are attached to the posts.
Such a fence is not only inexpensive, but also quite transparent. Because of this, it is most often used in the border areas. It allows you to not shade the land of a neighbor;
- Welded mesh - consists of welded fittings. Such a fence is more expensive than the previous one, but at the same time it is more reliable than it.
Metal mesh fencing can be perfectly decorated. This is done with the help of climbers that are planted near the fence.
Which fence is better
To answer this question, you need to decide what criteria we will evaluate. Let's start with the fact that we need an inexpensive beautiful fence.
Also, it should be reliable, durable and does not require regular maintenance. Under this description most suitable fence of corrugated.
His closest competitor is a wooden fence that requires regular maintenance. It needs periodic staining. It should also be noted that the average life of a stack is 15 years, sheeting - 30 years.
Challenger number two - mesh netting. It is cheaper than corrugated board, but is too transparent. And this is not always acceptable.
Moreover, such a fence looks beautiful only if it is made in the form of sections. And this greatly increases its value.
Installation of fencing of corrugated
So, we stopped at the option of metal fencing and decided to make an inexpensive fence of corrugated flooring. Consider this process in stages.
Planning
First you need to determine where the fence will be held. On the ground, you need to outline the places where the supporting pillars will be installed. The distance between them should be 2.5-3m.
The installation site of the fence must be cleaned of debris, branches and weeds. It is also necessary to measure the exact length of the future structure. This will allow you to accurately calculate how much professional sheets will be required.
Clearing and marking the territory
Tip! When buying material worth buying sheets of thickness 0.5 mmas they are more durable.
Pillar installation
Metal pipes with a diameter of 76 mm are usually used as support pillars. Also can be used metal square profile with a size of 60x60 mm.
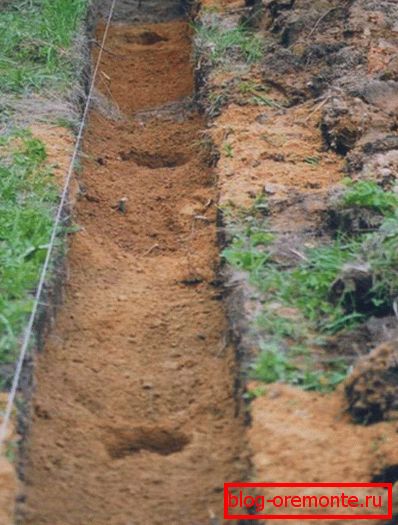
Must dig holes deep 80-100 cm. The most convenient way to do this is with a hand drill.
Having prepared the grooves, we fall asleep on their bottom a layer of gravel not more than 20 cm thick. Then we install the pillar. Using the construction level, we achieve a strictly vertical position of the support.

We put the pillars
For reliability, we fix it in this position with stops. Then we fill the deepening with concrete. We also do with the main pillars.
Tip! In order to ensure that all the pillars are strictly at the same level, you must first install the extreme pillars. Then stretch the rope between them. It will act as a guideline for the smooth installation of all supports.
Having completed the installation of the pillars, you need to take a break of three days, as required by the instructions. This is necessary in order for the concrete poured by us to harden.
Fastening lag
After this period, go to installation lag. This is a transverse metal profile. It is necessary for the subsequent fastening of professional sheets.
As the lag is usually used metal profile size 40x25 mm. The number of profiles depends on the height of the fence.
If the fence is up to 170 cm high, then two lags installed in parallel will suffice. Put them at the top and bottom at a distance of 30-40 cm from the top and bottom edges of the fence.
With a height of 170 to 200 cm, three parallel lags will be required. The third of them is fastened exactly midway between the first and second (see photo):

Lags can be in three rows
Fastening is done by welding. After installation, the entire structure to protect against corrosion should be painted on the metal.
Fastening sheets
Now there is only the final stage - the fastening of a professional sheet. Usually, metal screws with a length of 35 mm are used for this.
But you can use rivets. In this case, you first have to drill a hole, and then insert a rivet into it. It is harder and longer than in the first case. But then no one can steal such sheets.

Sheet fastening scheme
If you decide to still use the screws, then you need to tighten them every 50 cm. And, of course, you need to fix them in each lag. Sheets are installed overlap. You need to work in gloves so as not to cut your hands on the sharp edges of the metal.
Tip! Since it is possible to accidentally scratch a sheet, you should purchase a can of paint in accordance with the color of the fence before installation. Then you can just paint over the scratches.
Now you know how to make an inexpensive fence. But, it is quite possible that after reading you have any questions. You can clarify them by watching the corresponding video on our website.