How to install wicket loops by yourself
Gates in their own device are different, but of all the possible options are two categories. The first is light (wooden, wicker, from plastic panels, from a professional sheet), the second is heavy (forged, from steel sheet, from heavy wood species, in particular, oak). Based on the foregoing, it is necessary to select loops or canopies for the gate.

Wicket mount
In case of an error, they will not be able to perform their main function - to hold and unlock (turn). In addition, you should not forget that it is a console. Therefore, there are certain rules that indicate what a loop for a gate should be, how to install and operate it.
In addition to the usual fencing, this element carries an aesthetic load. This condition, and not only the price of the product, is, at times, the main driving force in choosing it for the suburban area or a country house (See also the article Country gates: a variety of design and functions).
Today they can be not only an independent object, but also act as part of another. For example, a garage sectional door with a wicket, where it makes it possible to reduce the load on the gate and increase the duration of their use.

Sectional garage doors with a wicket
Forms and requirements for wickets
The most common square or rectangular variants, as described in more detail in this article video, located below. Less often - in the form of an arch, since their implementation requires special skill. Therefore, those who decide to install it themselves prefer simpler forms (Learn also how to make a gate).
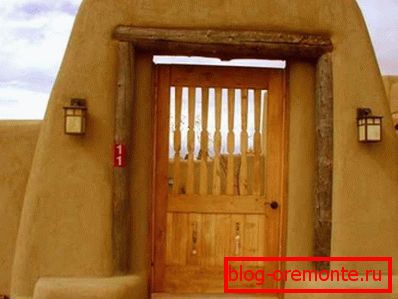
Wicket form
The main requirement is that the width of the canvas should not exceed one meter, and the height - 2 m. Otherwise, it will be inconvenient to open it, stop valves will often fail, standard loops will have to be replaced with reinforced ones, as they will not withstand the load. If it is necessary to align the gate with the height of the fence, an additional crossbar should be put on top, which will strengthen its frame, as indicated in the photo below.
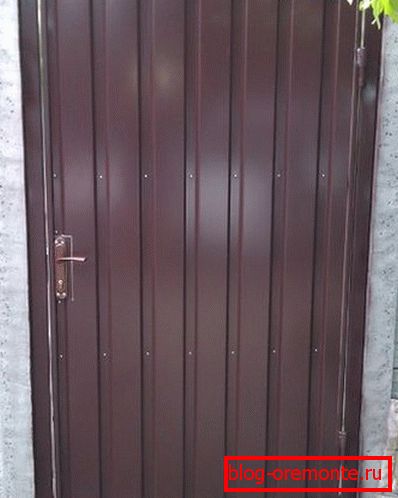
Gate with the top crossbar
Attach the hinges for gates and gates to the main pillars in two ways - to weld with electric welding and fasten with screws. The first option is used for heavy, the second - for light.
Installation of external loops in the welded way
The most suitable way is to weld the hinges to the main frame and to the gate. The process is simple, but will require diligence.
You will need
- electric welding machine, preferably inverter;
- dry electrodes d = 3 mm;
- brush on metal;
- protective mask;
- welder suit and boots;
- hinges (with or without bearing).
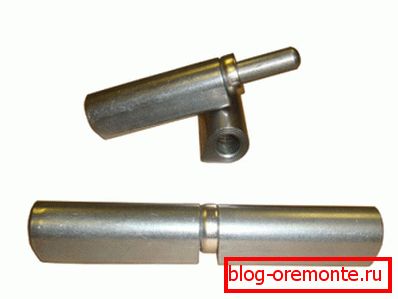
Hinges for gates and gates
The latter will keep your eyesight and body from burns by an electric arc and a hot metal, departing from the welding site during operation. If the mask, after all, is used, the costume is often neglected.
In order to connect the hinges for gates and gates with supports, no special skills are required. But, if you don’t have them at all, it’s better to practice beforehand
There are two ways to weld the hinges on the wicket and the supports prepared for installation or already installed.
First option
- Attach one part of the canopy by welding to the wicket, while not forgetting that it should be put on the second element.
- Lay the structure on a flat surface and mark the welding spot for the second part of the hinges.
- Observe the level between the edge of the wicket and the column, for which you should place the mounting plate under the lower canopy.
- Grab the hinges on both sides of the support.
Tip: when welding canopies to a round post, push them out 5 mm on it and on the wicket. So you remove the gap between them when closing.
When the supports are installed, it is necessary to mark the place for future sheds.
Second option
- Install the sash, with the previously welded upper parts of the hinges, in the opening, and placing wooden blocks under its lower part, put it vertically. You can check the building level, do not forget about the plane between the pole and the canvas wicket.
- Chalk the bottom and top size.
- Attach the hinges and tack electric welding.
- Hang the gate and check its opening-closing.
- If everything is in order, weld the sheds with a vertical seam and then grind it with a grinder. Otherwise, repeat the whole process until the result satisfies you.
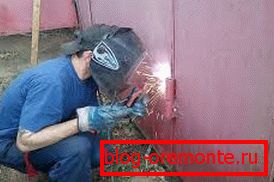
Welding loops
Tip: before you put the gate, grease the hinges with grease or technical grease.
Installation of loops on the screws
The method can be compared with the installation of an interior door, but using wicket hinges. Their main difference is fastening to the gate.
The loop joins not to its butt, but to the facade, which allows not only to strengthen the structure, but also to make it aesthetically attractive. This method is used mainly for wooden structures, but can be used for metal and stone (concrete) structures.
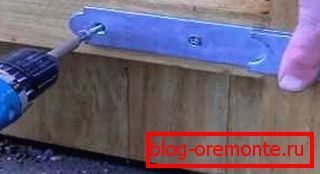
Attaching the hinge with screws
In the latter cases, a wooden bar is attached to the supports on bolts or anchors (respectively).
The instruction below will give a complete picture of the process:
- Attach the loop to the facade of the gate with screws on the wood. Usually use two to three;
- Put the gate and support columns on a flat surface and mark the place of fastening of the second part of the loop. For best results, use wood pads;
- Usually, the place on the main support is not prepared for the gable loops, but, if necessary, take a chisel and a hammer and make it;
- Place the pillars in the prepared pits, wrapping the bottom ends of the ruberoid, and secure them vertically. If the weight of the gate is small, you can do without concreting;
- Secure the gate with screws on the support post.
Tip: when installing support pillars, the depth of the foundation in the ground should be at least 50-100 cm for wood and about 1.5 m for metal. In this case, they will not shrink, and it will not be necessary to transfer the loops annually for the normal functioning of the gate.
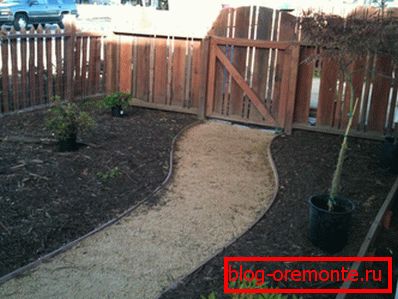
Gate do it yourself
Using the above instructions, you can install the gate with your own hands almost anywhere - separately or embedded in the door leaf. The two main ways are the most popular and can differ only in the shape of the loops. For example, to improve the appearance of the gate, you can use decorative canopies or lining them.