Gate and gates from a professional flooring or how to save
Suburban area will not have a complete view, if it is not fenced. Wooden, brick, reinforced concrete or fence, the gate and the gate of corrugated flooring make it possible to reliably protect their property and give it an aesthetic look.
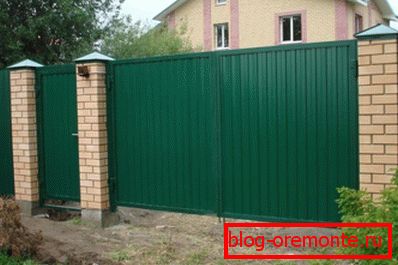
Gate and gate from a professional flooring
Swing gates
The least cost option for the fence of corrugated board, which is used in the vast majority of households. To implement the project, it is enough to have reliable support columns and hinges. Also do not forget that before the swing gates or behind them should be enough free space. Watch the video below in this article.
Typically, the material is wood or metal, in particular profiled. The latter has long gained popularity among summer residents and owners of country cottages. It is reliable, has an aesthetic appearance, is easily mounted, durable, does not require special care.
If the swing gates are suitable for you, you need to prepare materials and tools. If they are installed away from the mains, care should be taken to provide an autonomous power source.
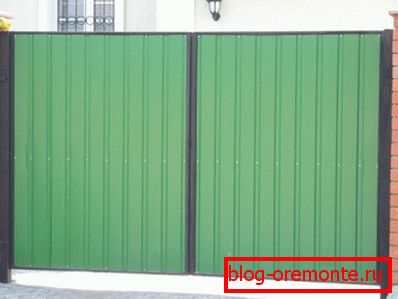
Swing gates
Thought over how to make a gate and a gate from a professional flooring? Below will be given the full instructions of various options.
The basis of the gate will be two supporting columns of a metal pipe with a section of 80x100 mm or 100x100 x 5-7 mm. For the framework of the valves, you should use a profile tube with a section of 60x30x2 mm, and for the place of fastening of the professional sheet 40x20x2 mm, which is quite common and its cost is quite acceptable.
If you need an entrance gate and a wicket door made of corrugated flooring, you should know that the width of the truck does not exceed 2 m, the car is even smaller. Therefore, it is enough to make each flap 1.5 m long.
Before installing the main supports, fasten the hinges on them with welding. Below is a guide.
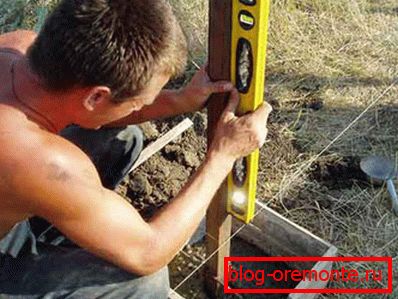
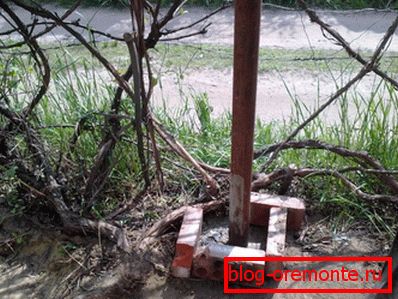
Pillar installation

Schematic representation of the installation of the post
- Mark a place for the gate;
- Dig along the edges of the pit for support pillars, h = 1.2-1.5 m;
- Install the pillars, fasten them vertically with a boot (fragments of bricks or stones) and a building level;
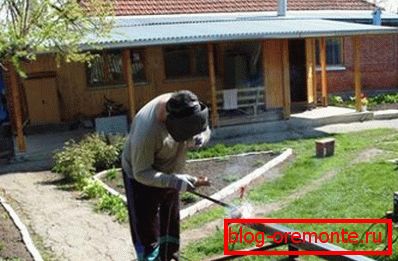
- Prepare a not very thick solution of concrete - 1: 3: 5 (cement, crushed stone and sand);
- Pour it into the pits and pill and fill it in all the cavities;
Fill and align pillars by level
- Wait 3 days for the concrete to “set.” Immediately install the gate can not, so as not to disturb the verticality of the supports.
Mount the flaps:
- Angle grinder (angle grinder) ("grinder) with a circle on the metal cut the required length of the outer frame (4 for one and 4 for the other);
- Put them on a flat surface and fasten to make a square (measure angles of 90 ° with a building square);
Preparation of the main gate supports
- Fasten them with welding, but do not weld the seam completely. Check the corners again;
- Secure the connections permanently;
- Set and fasten by welding on the corners of the "kerchief" for rigidity;
- Weld the inner part of the flaps;
- Fix welding canopies;

Welding canopies
- Set for stiffness one or two internal partitions;
- Weld the brackets for fixing the gate to the ground (you can use an ordinary 1/2 ″ steel tube into which you need to insert an iron pin);
- At the center of the back of the sashes, weld the bolt, so you will give the gate greater rigidity.
Tip: use canopies with bearings. So you will ensure easy, long and uninterrupted operation of the site.
- Only after the concrete has set, can the sash be hung on the main supports. To them with the help of special screws attach professional sheet. In full force, you can use the gate on the fence of corrugated flooring after 30 days, and before that try to be careful.
Wicket manufacture
It can be embedded directly into the gate or installed separately. The material for the gate will serve as a pipe section 40 x 20 mm.
When you need a gate in the gate of corrugated board, in the sash you need to prepare a place by installing an additional vertical strut. On it canopies are fixed, it is desirable bearing.
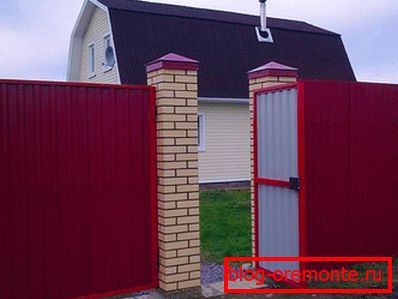
Wicket from corrugated
At the gate provides a place under the castle, as seen in the photo. To do this, it is necessary to fix the cross strut at the desired height, onto which it should be fixed.
On the second pillar, you must cut out the space for the exit of the tongue of the lock. From the outside, cut through the space for the key. The gate can also be installed separately from the gate.
- Prepare 2 steel supports section 60 x 60 mm or d = 60 mm;
Installation of pillars
- Weld canopies to one of them. Note that they can be “left” “right” or “universal”;
- Install supports in prepared pits with a depth of 1 m. The width between the pillars is no more than 1 m;
- Place them vertically with a building level and secure with fragments of bricks and stones;
- Fill the main supports with concrete. The initial setting of the solution will occur after 3 days if the ambient temperature is within 20? С. During this time, you can prepare the gate;
- Hang the gate and adjust the lock.
It is also possible to fix the gate and the wicket to the mounted supports, which can be directly mounted in brick or stone pillars. In this case, they are fixed with anchor bolts, not less than three to the support. This design can be used immediately after installation.
The above methods of protection of the courtyard are not difficult to perform even for an inexperienced person. It is possible to make various constructions from the profiled sheet, even a garage sectional door with a wicket. If you do not own welding, you can bolt the elements, which will also be reliable, and maybe even better.
Could not get the necessary metal or the price did not work? It does not matter, use a wooden bar, for example, from a pine.
This material is affordable and inexpensive. After treatment with special trains, he can stand for decades, so that the gate and the gate of corrugated
will serve you for a long time. Just remember that before installing in concrete, it must be wrapped in roofing felt to protect the wood from moisture.
For the framework of the gate and the gate perfectly suitable bars 100 x 50 mm. To fix a professional flooring on it it will be possible usual screws on a tree.
Sliding gates
In contrast to the swing gates, they began to install sliding ones. They do not need free space in front of or behind them, but require space on the side.
In conditions of dense development, they are the only option. However, there are often options for private courtyards, where there is not enough space for them to roll back.
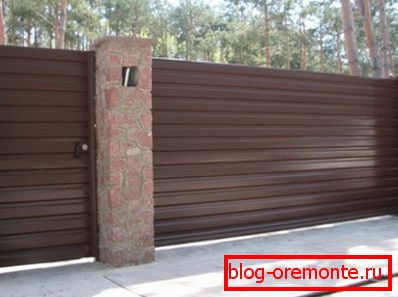
Sliding gates
They received the greatest popularity at industrial facilities. They can be equipped with automatic or roll back manually. At the moment, most often they are made of corrugated flooring, which saves significant funds.
Before installing the sliding gate, you must purchase all the components in advance. Their cost is quite acceptable and affordable.

Sliding gate installation scheme
Device
- Dig a trench 40-50 cm wide and H = 1.5 m from the sliding side of the fence;
- Take a channel 16-20 cm wide and L = 2 m, if the opening between the entrance columns is 4 m. Weld 5 reinforcing bars d = 12-14 mm and L = 1 m to its shelves on each side;
- Install the channel into the trench so that it is level with the road on the site;
- Fill the channel with concrete and let it stand for 7 days;
- Mount the gate from the profiled sheet (the procedure is the same as when creating the swing doors);
- Weld the guide below the gate;
- Install on the foundation two roller supports for sliding gates;
- Install the upper support roller;
- Install the support roller;
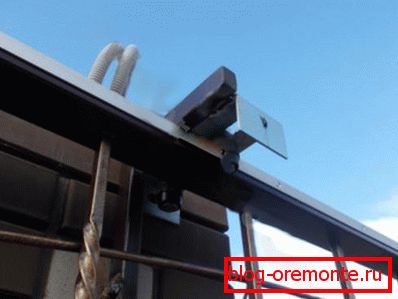
Upper support roller
- Install the upper and lower trap.
Tip: all metal elements must be primed and coated with enamel in two layers. This will keep them from corrosion.
Conclusion
It is quite possible to install wickets and gates of corrugated flooring with your own hands without specialists on a country site. It is only necessary to prepare in advance the necessary materials and tools (read also about how the sheeting is carried out on the fence).