Installation of front thermopanels most
Many people think that if you have the necessary tool at hand and have the skills to work with it, then you can easily assemble the facade thermal panels with your own hands. But each work has its own rules, ignorance of which can negate all efforts.
Thermopanels считаются облицовочным материалом. Перед началом их монтажа следует ознакомиться с инструкцией по работе.
Two styling options

Experts practice two ways of mounting panels, it depends on the selected material.
- Seamless. This is the most profitable way in a financial and time-consuming way. Choosing this option, you can save on material.
- With joint filling. This method differs from the first variant in that after laying the panels, the seams between them must be filled with mortar in order to give the surface a finished look.
Evaluation of upcoming work and surface for laying
This procedure is simply necessary before installation. At its core, the laying of thermopanels is similar to the surface cladding tiles. The difference here is that in the second case, by putting more glue on the ceramics, you can hide any unevenness. In the case of thermopanels, this option will not work. Only a smooth surface is needed.
What you need to do before laying

- To level a surface (the maximum deviation is no more than 10 mm).
- Plaster all the pits and potholes, and cut out the protruding places and grind.
- If there are deeper irregularities on the surface, they should be compensated with gaskets of any moisture-resistant material.
Material selection

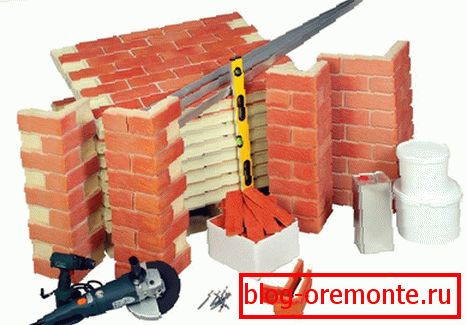
To carry out all the work without a hitch, you must, before proceeding to the finish, stock up on all the elements that will be needed for this.
- Thermopanels. Their number is calculated by multiplying the entire length by the height. After that, the area of window and door openings is subtracted from the amount received.
- Corner elements. The amount of this material is calculated by measuring the length of all external and internal corners of the facade.
Surface requirements
Regardless of the surface on which the installation of facade thermopanels will be installed, the base must meet the following requirements:
- Firstly, it should be dry, no more than 5% humidity is allowed (depth up to 3 cm is considered here) for cement surfaces, and 1% for wood and plaster.
- Secondly, - strength. This property is taken into account for plastered and plaster surfaces. They should not be cracked and detached.
- Thirdly - clean. Immediately before installation (if the work will be carried out not on the sheathing), the base must be cleaned of all extraneous traces of dirt, paint, oil, etc.
Surface Finishing Features
How to properly prepare the surface for laying thermopanels?
Wooden house

Wooden walls are prepared as follows:
- First, waterproofing or waterproof paper is attached. Make it better with horizontal stripes, starting at the top. So that each top sheet covers the bottom one by 5–7 cm.
- After that with the help of special staples or galvanized nails the plaster grid (anti-corrosion) is fixed. At the inner and outer corners such a grid should be put in two layers.
- A layer of plaster is applied to the mesh to create a flat surface for laying the panels. Recommended thickness is 1–1.5 cm.
Concrete wall
In principle, when facing such a surface there should be no particular problems. The only thing you need to check before work is porosity. At high density, it will be minimal, and in this case it must be treated with a water repellent.
Brick
New masonry, if it is sufficiently flat, without voids and gaps, is not subject to additional processing, and installation of thermopanels can be carried out directly on it. The old laying is cleaned from efflorescence, treated with water repellent and plastered.
Note! If you need to veneer an old building, and it does not make sense to plaster it, or for this you need a lot of material, you can think about building a crate, on which you can mount the thermal panels.
Getting Started - Low Point Layout
After the preparatory work you need to mark the bottom line, from which the installation will begin. If the building between the facade and the basement has a clearly defined border, then it can also be used as a “zero” line. In other cases, for marking throughout the area, you need to draw a horizontal line, from which the work will begin.
Note! If a building has height differences, and, for example, a wall is higher on one side than on the other, then such a line for each wall should be marked from a new level.
The entire length of the "zero" mark is mounted guide, which will serve as a reflux. When installing it, great attention should be paid to horizontal installation, because the outcome of the work will depend on it. Use to check the level.
Preparatory work проведены, переходим к основной задаче.
How to install thermopanels

- In order to understand a little what the principle of laying is, and to have a little idea about the choice of the subsequent element, it is recommended to pre-lay the panels on a horizontal surface.
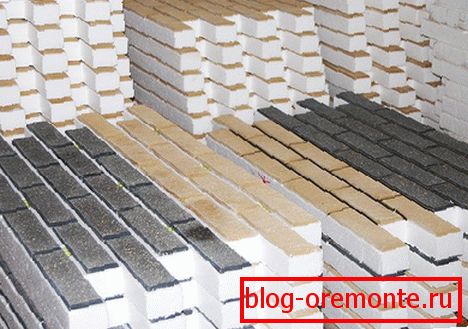
- The result of the work will look more natural if in the process of laying you will alternate all the elements in size and color.
- If you have purchased panels for seamless installation, then they need to be laid from bottom to top, maximally pressing the top row to the bottom.
Laying technology

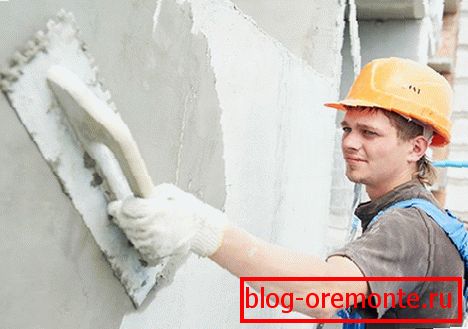
The trowel must be applied to the back side of the panel with a layer of mortar (approximately 1.5 cm), and press the panel against the wall. Then move the panel a little before finally fixing it, the adhesive mixture should squeeze out from under the panel.
After removing the excess solution, do the same procedure with the following elements until you have laid the first row.
Note! When using panels for seamless styling, pay attention to the fact that its end sides are filled with a small layer of glue.
When working in dry weather just before laying the element, it should be moistened with a brush dipped in water. The same should be done with the place of laying.
How to perform jointing?
This is an important point in the work, the integrity of the coating depends on the correctness of its implementation. It is performed by filling the joints with cement mortar. Qualitatively done jointing will not allow moisture to penetrate under the panel, otherwise it may be the result of destruction during frost.
For jointing, you can use a thick plastic bag with a cut corner, only its size should be slightly smaller than the seam between the panels.
Punching instructions
- Completely fill the bag with the solution, and gently squeezing it out, fill it with all the seams. Make sure that the solution does not remain on the panels.
- After setting the seams need to tamp. This is done with a small wooden spatula. You do not need to try to tamp immediately after the jointing, the liquid solution only smears the thermopanels, and you will later have to clean them.
- To finally level the seams after tamping, you need to place them with a whisk of plant material or plastic.
- The final step will be to treat the surface with a water-repellent compound, but this can only be done after the adhesive has completely dried.
Proper installation of facade thermopanels will create a perfect resemblance to brickwork or other type of finishing material and will give the building an individual look.
Video
This video shows the process of laying thermopanels:
And this video is about filling the seams: