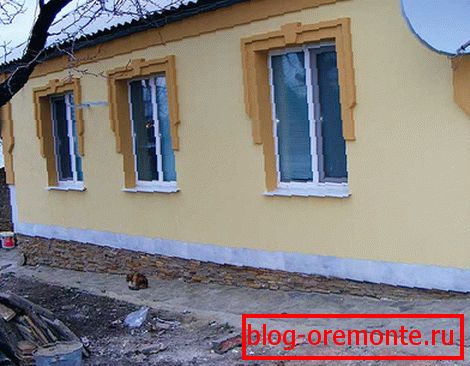
Facade plaster on foam plastic
In recent years, an increasing number of owners of private houses and apartments are thinking about outdoor insulation of walls. After spending once the money and their time, they will be able to significantly save on heating their homes in the future. In addition, if you choose an inexpensive insulating material, such work can do with small means. For example, the popular foam has excellent insulating properties and is inexpensive. But so that its effectiveness does not decrease with time, the material must be protected. For these purposes, you can apply different options, one of them - this is a facade plaster on the foam. It is about this method that will be discussed in this article, or rather, how it is done.
Sequence of work
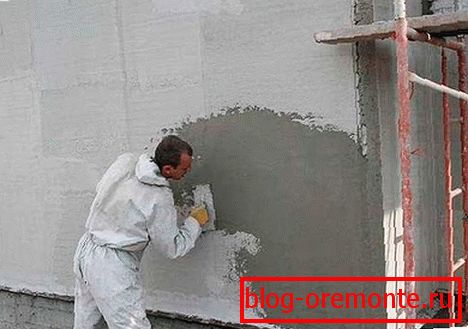
After insulation of the external walls with foam plastic, there is a question about plastering the facade. Such a process is quite long and requires several steps. Namely:
- preparation of mortar for plaster;
- installation of plaster mesh;
- basic plastering;
- surface leveling;
- primer and final work.
Each of the stages may take a long time, especially if the area of the walls is large. But as a result (if everything is done correctly) the heat-insulating layer will be reliably protected and will be able to work effectively for many decades.
Making a solution

Since the foam is a polystyrene material, special mixtures are used to plaster it. They are produced by different companies and in different composition. Accordingly, the cost and method of mixing will differ.
Note! When buying a mixture should not choose the cheapest option. From this will depend on the quality of the work done.
Choosing a ready-made mixture, you should carefully read the instructions for it. Some manufacturers produce funds separately for gluing foam and for plastering. If you want to save, you can purchase a universal mix. With its help, it is possible to fasten the insulating material to the facade and then apply a protective layer on it.
Mesh installation and plastering
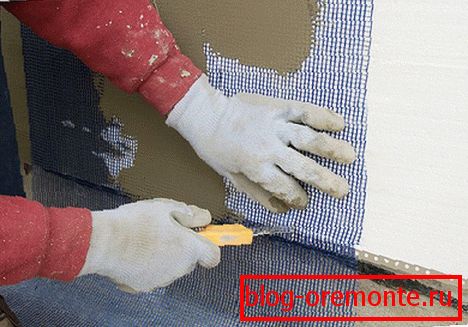
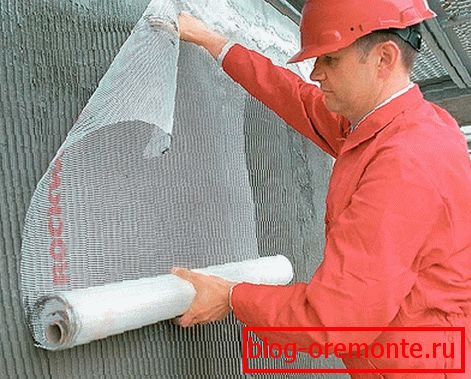
Before plastering the foam of the facade, it is necessary to mount a special mesh. This procedure is necessary to improve the coupling of insulation and plaster. The foam itself has poor adhesion. If you do not use the grid, then the plaster or just cracked, or may even crumble.
When buying a mesh, it is worth paying attention to its alkali resistance and density. The first indicator is necessary, since cement predominates in the mixture. If the grid does not tolerate alkali, then it can quickly crumble. From the density will depend on the ease of laying plaster. The higher the number, the better. But still it is necessary to take into account one nuance. Too dense mesh bad to lie on the corners. The best option is 140–160 grams per square meter.
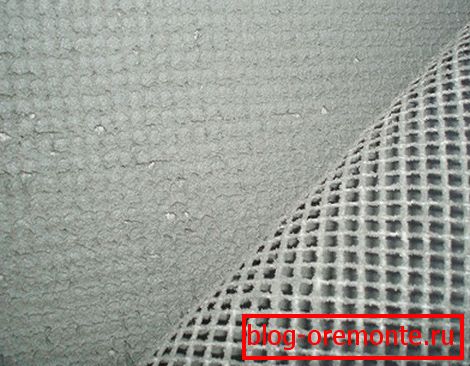
The mesh is laid on a small layer of a universal plastering mix. Need to start from the corners. A grid of 30 cm wide and up to a meter long is cut. Then bend in the middle to stiffen. After that, a thin layer of the mixture is applied to the wall and a grid is applied. Using a spatula, it is pressed against the surface and smoothed against the corner.
In the same way installation of a grid on equal surfaces is made. The material is cut into pieces in one square meter. This size is due to the fact that the mixture dries quickly. Therefore, it is quite difficult to work immediately with large surfaces.
Note! Depending on weather conditions, speed of work and the time of drying of the acquired plaster, the grid can be laid in a single strip from the roof to the basement of the building.
After cutting, a layer of the mixture is applied to the foam and a mesh is applied. In this case, the solution is not applied to the whole "square", leaving 10 cm at the edges. This is necessary to make the joints.
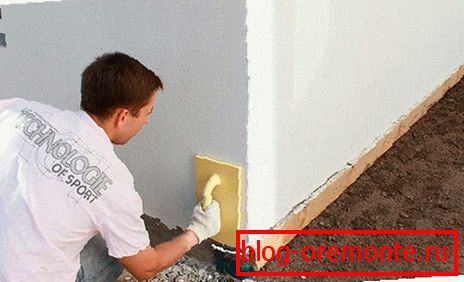
After laying the grid on the entire surface of its rubbed. To do this, use a plastic or wooden brush. Then it is necessary to allow time for the solution to dry. Waiting time will depend on the weather. If it's a hot day outside, a few hours will be enough. In wet weather, waiting time can be 24 hours.
After drying the layer with the grid, carry out leveling work. To do this, use all the same universal means for plastering. Apply the mixture on a large spatula to a large one (it is better that it be at least 35 cm). Then with confident and smooth movements the layer is applied to the surface. If the previous steps were done correctly, then one pass will suffice.
Note! The dock of the leveling layer must not coincide with the junction point of the grid pieces. In this case, the seams will not be visible.
The final stage
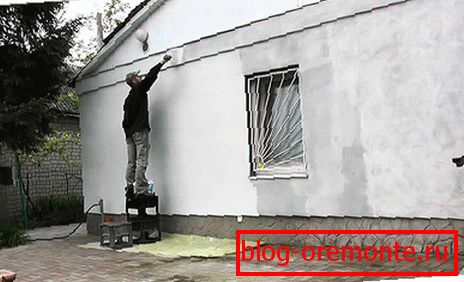
After applying the leveling layer, you must wipe the surface. This work should be done after drying all the applied material. The grout is made with the same brush that was used when processing the layer with the mesh. Once the surface is visually smooth, you can finish the job.
Very many on this and stop. But it is better to apply a coat of primer. Such a little costly work will facilitate further, finishing the facade. In addition, you can use a primer with a special antifungal composition. What will help to avoid problems with further operation.
Work on the primer is carried out using a roller. At the same time it is necessary to try so that no drips form. After drying this layer, you can proceed to the decorative finish of the facade.
Video
This video shows how plastering is done on foam plastic:
A photo
