Replacing the wiring in the apartment with their own hands
Wiring can last a maximum of about 20 to 25 years. Then it comes into disrepair, and it needs to be changed. In modern conditions, replacement is required much earlier, because the wiring is charged with a very high load. In the Khrushchev houses and panel houses, these works are performed approximately equally. In this article we will talk about how to replace the wiring in the apartment, give step by step instructions, as well as accompany all the photo and video materials.
Signs of destruction
 Wiring begins to break down over time. However, it can burn out much earlier. The reason for this today are various electrical appliances that require a lot of energy. Especially "voracious" unit - heater. Such devices can consume 7 times more energy than a TV.
If a computer, a refrigerator, a heater, and household appliances such as a microwave oven are simultaneously turned on in the network, then soon electricity will be cut off or irreversible wiring processes will begin.
There are several signs that signal that it is time to start a capital replacement:
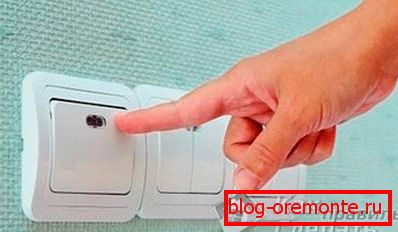
- when turning on the devices, the sockets spark;
- there is a distinct smell of burning;
- wiring breaks off easily, like a withered rod;
- some outlets no longer have power;
- through the walls there is a leakage current.
Already the first three signs indicate that it is no longer necessary to delay.
Training

- The first stage of the replacement of the wiring is a statement of the fact that it will have to be performed throughout the apartment, and not partially. Because partial replacement of the problem can only be exacerbated.
- The master must prepare a detailed drawing, which will be located all the details of the electrical system at home.
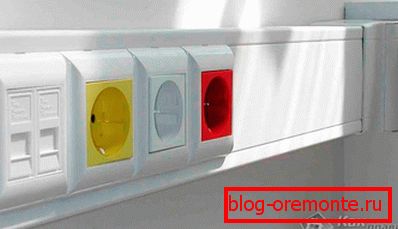
- When the plan is ready, you must purchase the necessary materials. You will need boxes, switches and sockets. All elements of the system must be new.
 From the tools you will need:
- Bulgarian;
- perforator;
- screwdrivers;
- soldering iron;
- pliers;
- terminal blocks;
- knife;
- putty knife;
- level;
- phase indicator.
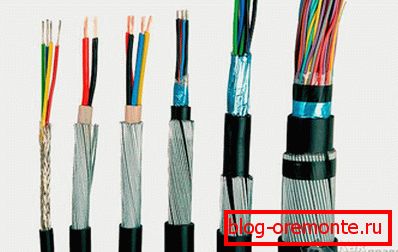
Wiring is bought after the length of the route through which the cable will be laid is measured. It is necessary to make allowances for this length, so that the wires are exactly enough.
It is necessary, in addition, to take some consumables. For example, you need a rag tape.
Power consumption
Replacing the wiring must be carried out so that failures and overvoltages do not occur. For this it is necessary that there is enough power for each device.
Power depends on the cable section. To make the right choice, you need to make a small count.
- It is necessary to add the power of all devices that will be included in the network.
- An additional 100 watts should be added to each device.
- Now the resulting number must be divided by 220.
If the number that came out as a result is between 12 and 15, then there is enough wiring with a cross section of 1.5 mm2. This is the most common indicator. However, sometimes the result is higher.

If, as a result, the sum is higher than the specified interval, then the master has two ways out of the situation.
- You can set the wiring to a larger section.
- It is necessary to make from the shield two - three cable lines.
The second option is preferable because a thicker cable makes the system unreliable. The probability of failures is great.
Tips

Now that everything is ready, it remains to understand how to replace the wiring.
 The very first stage - de-energizing the apartment. It should be carried out with all precautions. After de-energizing, you should make sure that there is really no more current.
- The second stage is the connection of wires to the panel. As a rule, self-replacement of electrical wiring is performed in the same way as a professional team does - from the corridor. Cables are laid from the main panel to other rooms. It is connected to sockets and switches. However, this may cause some inconvenience.
 There is a slightly different option for laying the cable - from rooms to the panel. To do this, you must first replace the wiring in one of the rooms by connecting it temporarily through the terminal blocks to the junction box. Gradually it is necessary to completely update all the cables in the house. This option is best suited when the family has to live in an apartment during the renovation.
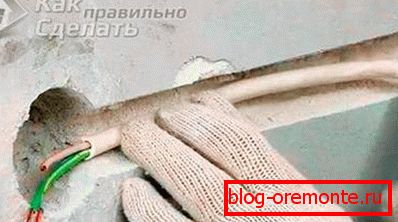
- After connecting the wires must be hidden. They are placed in old shafts or form new channels for this purpose. Furrows are closed with plaster and putty.
- Switches and sockets are mounted at one of the last stages. By this time the putty should be already dry.
This is where the work itself essentially ends. Only decorative surface finish remains. If we are talking about a wooden house, the internal cable installation is almost impossible here. That is, theoretically it can be done with the help of professionals. But on their own for such a work is better not to take. In wooden structures, cables are carried out externally using various hoses.
Video
The process of wiring installation is presented in the following video:
You can also find additional materials in our video section:
- Video on the installation of the switchboard
- Video: how to install and connect the outlet