Diy solar panels
Many people are interested in how to convert solar energy into electricity. Alternative energy sources have always occupied the minds of people, and today everyone can get the energy of the sun. In the article we will describe how to independently make panels of transducers from available tools (at home), we will give step-by-step instructions for assembling the structure.
How it works
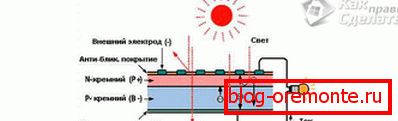
An alternative energy source is a generator operating on the basis of the photoelectric effect. It allows you to convert solar energy into electricity. Getting on the silicon wafers, which are components of the solar battery, light quanta displace electrons from the last orbits of each silicon atom. Thus, you can get a large number of free electrons, which form an electric current.
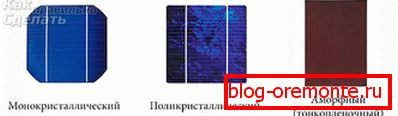
Before proceeding to the manufacture of a solar panel, you need to select the converter modules that will be used: single-crystal, polycrystalline or amorphous. The most accessible are the first and second options. In order to select suitable elements, it is necessary to know their exact characteristics:
- Polycrystalline plates with silicon give a rather low efficiency - no more than 8-9%. However, they compare favorably with the fact that they can work even during cloudy weather or cloudiness.
- Single-crystal plates produce about 13-14% efficiency, but any cloudiness, not to mention cloudy weather, significantly reduces the power of the battery assembled from such plates.

Both types of plates differ in long service life - from 20 to 40 years.
By purchasing silicon wafers for self-assembly, you can take elements with small defects - the so-called B-type modules. Some components of the plates can be replaced, thus collecting the battery for much less money.
Solar Panel Design
When planning the placement of the transducers, you need to choose the place of its installation so that it is inclined, taking the rays of the sun more or less perpendicularly. The ideal way would be to place the batteries so that you can adjust their angle of inclination. They should be located on the lighted side of the plot, and the higher, the better - for example, on the roof of a house. However, not all roofs can withstand the weight of a full-fledged solar battery, so in some cases it is recommended to install special support stands for converters.
The required angle at which the battery should be located can be calculated on the basis of the geographical location of the site, as well as the level of the solstice in the area.
Materials for production
You will need:
- B-type converter modules
- aluminum corners or ready-made frames for a future battery,
- sheeting for modules.
Support frames can be made independently using aluminum frames, or you can buy ready-made, different in size.
Protective coating for solar cells may be absent, and may be:
- glass,
- polycarbonate,
- оргglass,
- Plexiglas.
In principle, all protective coatings can be used without large losses of the converted energy, however, Plexiglas transmits rays worse than all the listed materials.
Installation
The size of the frame of the solar battery depends on how many modules will be used. When planning the location of elements, it is necessary to leave a distance of 3-5 mm between the modules to compensate for possible size changes due to temperature differences.
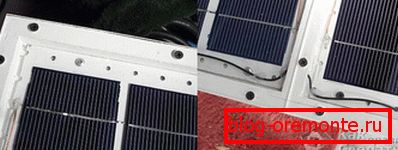
- Having calculated the data and obtained the necessary dimensions, you can proceed to the installation of the frame. If ready-made frames are used, you just need to select modules that completely fill them. Aluminum corners allow you to create a battery of any size.
- The frame of the aluminum corners is assembled with fasteners. Silicone sealant is applied to the inside of the frame. It should be applied carefully, without missing a single millimeter - battery life depends on this.
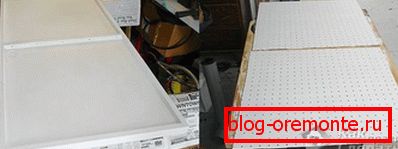
- Next in the frame is placed a panel of the selected protective material. It is recommended to fix the material on the frame with the help of hardware. For this you will need screws and a screwdriver. At the end of the work, the glass or its equivalent must be cleaned from dust and debris.
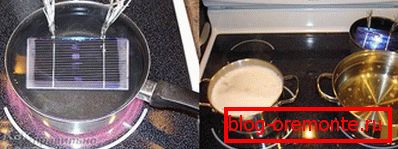
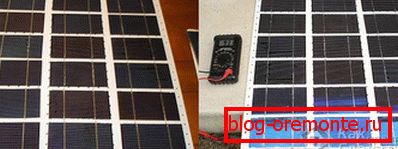
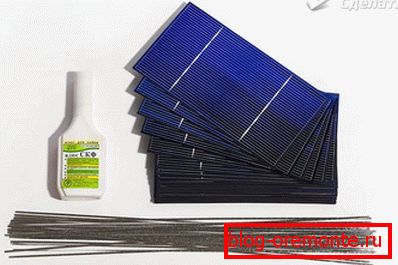
- Purchased modules can either contain already soldered contacts or not. In any case, it is recommended either to make a soldering from scratch, that is, three times - for greater reliability - using solder and acid for soldering, or to walk with a soldering iron on the soldering already done.
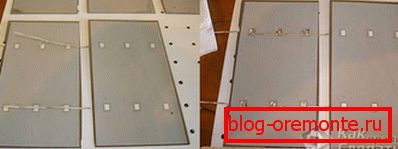
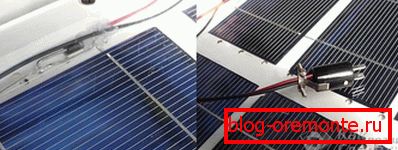
- The solar panel can be assembled either directly on the prepared frame, or first on the marked cardboard. Having laid out the elements on the glass in the necessary way, you need to connect them by soldering: on one side of the track, leading the current, with a "plus" sign; on the other hand, with a minus sign. The contacts of the last elements should be placed on a wide silver conductor, the so-called bus.
Experts recommend to install the terminal with the provided "middle" point. Placing a shunt diode on it will prevent the battery from discharging at night or overcast weather.
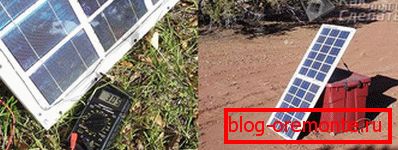
- After the end of the soldering, it is necessary to check the work and carefully eliminate all problems, make sure that the panel is working.
The final stage of work will be the sealing of the manufactured panels using a special elastic sealant. All connected modules are fully covered by this mixture. After its complete drying, you need to put a second panel of protective material, as well as place the resulting source of alternative energy at the right angle in the planned place.
Video
Complete video instructions for making a solar battery for your home:
A photo