Diy led tape installation
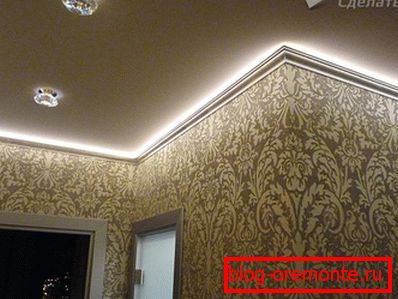
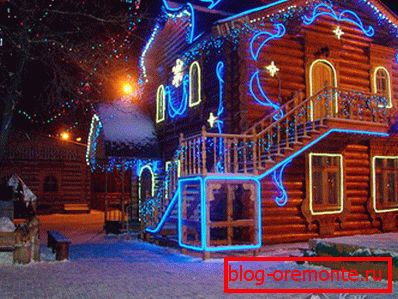
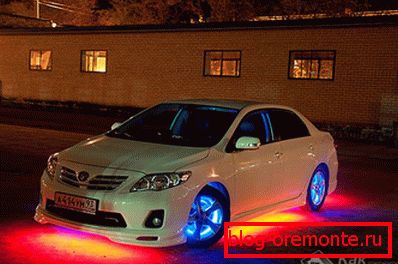
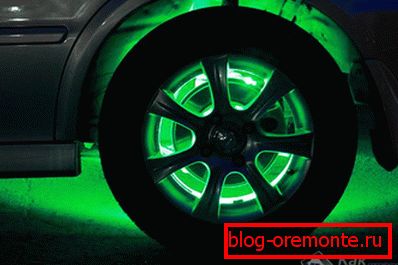
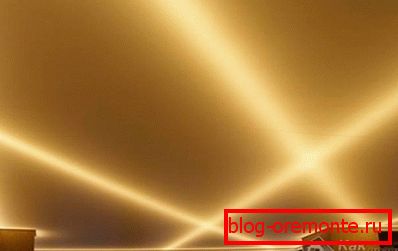
The LED strip is a modern, universal source of lighting which can be used in the decorative purposes in and outside of rooms. Multi-tiered ceiling structures, interior arches and niches, furniture, cars, billboards - this is a small list of places that transforms this kind of lighting. Compact and flexible lighting fixture can be placed in hard-to-reach places, long term use allows you to not worry about frequent replacement. In this article we will look at how to do the installation of LED tape do it yourself.
LED Strip Types
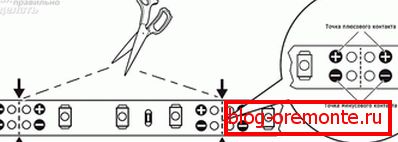
Lighting ribbons are made of a strip of dielectric material, on which diodes emitting light are fixed at equal intervals. On the basis of a tape special paths along which electric current passes are put. To limit the strength of the current in the circuit include resistors. The width of the illuminant varies from 8 to 20 mm, the thickness is only 3 mm. The degree of illumination depends on the number of LEDs on 1 meter of the tape, it can differ tenfold - 30–240 pieces. The size of each diode is indicated in the ribbon marking, the larger it is, the more intense its luminous flux. In powerful devices, the light sources are arranged in several rows. The length of a standard strip is 5 meters; it goes on sale on reels. The cutting places are marked on the substrate, the tape can be divided only along these lines.
The main classification of LED strips is based on the color emitted by the glow:
- SMD - monochrome color rendering (white, blue, green, red). The white version of the glow is divided into warm, moderate and cold.
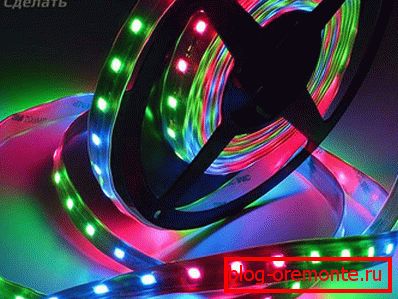
- RGB - the LED tape giving lighting of any color. Inside its case three diodes are placed, indicated in the names of colors - red, green and blue. Their combination, created by the operation of the controller, gives any glow. The cost of this design is three times higher than the SMD tape.
Lighting devices are issued open, intended for internal installation, and moisture-proof, calculated for use on the street and in water, a protection class - IP. For ease of mounting, some LED strips are equipped with self-adhesive film.
Advantages and disadvantages
- Compact size and plastic structure that allows the tape to take the desired shape.
- The exception is overheating, which is important when illuminating stretch ceilings and other temperature-sensitive surfaces.
- The ability to get the selected color by adjusting the combination of color combinations.
- Ease of installation, the presence of double-sided tape does not require any effort to install.
- High duration of operation, significantly greater than the duration of use of traditional incandescent lamps.
- Numerous uses.
- Economical use of electricity, which is not consumed for heating.
- Safety - this light source does not contain harmful gases and impurities, does not have a pulsation.
The main disadvantage of LED lighting is its high cost, to create a full-fledged main lighting will require high costs. This has caused the use of tapes as an additional or decorative ceiling lighting.
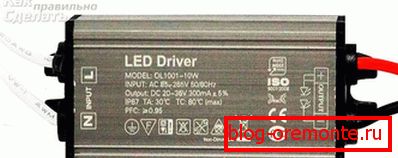
Power supply selection

To operate the LED tape, a DC power source is required, so connection to the common network is excluded. You must install a device that converts alternating current into direct current, with a voltage of 12 or 24 volts. To choose the right power supply, you need to calculate its power. For the calculation, the power value of 1 meter of the tape, the total footage of the light fixture used and the safety factor are taken. For example, SMD 3014 with a length of 6 meters - 24? 6? 1.15 = 165.6 W - the power value for the power supply. The operating voltage of the tape is indicated by the manufacturer.
When using multiple tapes, it is possible to make a common power supply, but due to high power, such a device will have considerable dimensions and there will be difficulty with its hidden placement. It is more convenient for each lighting strip to pick up a separate power source. Thinking how to connect the LED strip to the power supply, choose a parallel circuit. If you connect the tape in series, then the remote diodes will receive the lowest voltage and will be dull.
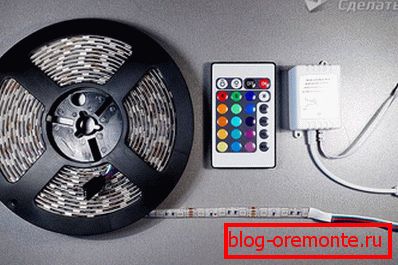
Connecting an RGB tape requires the inclusion of a controller in the circuit. If you connect directly to the power supply, the tape will glow, but the color will not change. There are four wires for connection, and there are terminals with colors on the controller:
- B is blue.
- G - green.
- R is red.
For the fourth wire, the terminal is indicated by the voltage number - 12 or 24 V. After connecting with the LED strip, the controller is connected to the power supply.
LED strip can only consist of LEDs of the same color. In this case, the controller is not required to connect it.
Installation steps

The work begins with the cutting of strips of the desired length, it is necessary to ensure that the incision passes through special marks. The connection sections of the tape can be carried out in two ways: using special LED connectors or soldering. Assembling the circuit using connectors can be quite quickly and simply enough to put the tape on the contact pad and close the lid. This mechanical method does not require any skills, but the cost of the part is quite high, if several connections are required, this will significantly increase the cost of lighting.
The simplest power supply has two terminals; one plus the second is a minus; it is important not to confuse them when connecting to the controller, otherwise the device will fail. After collecting the entire circuit, it is connected to the network through the input of the power supply. If the LED strip is functioning properly, it can be fixed in the chosen place.
If it is necessary to splice the ends of the tape without a connector, a low power soldering iron is used. A layer of solder is applied to the contact pads of the joining tracks, and a protective film must be removed from the tape base. Further, the two parts overlap one another and are heated by a soldering iron until the solder is melted.
You should not do the length of the LED strip more than five meters, because the LEDs on the end of the strip will not shine at full power.
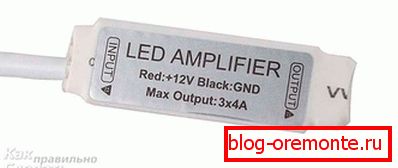
If you need to connect multiple color tapes, the amplifier is installed. This device is placed behind the first LED strip, and the second is connected to it. This scheme uses one controller and two power supplies. Single-color LED strip has only two wires to connect to the power supply: red means plus and blue means minus.

The connection is carried out mechanically or by soldering. To do this, the ends of the wires are stripped of insulation and tinned. A layer of solder is also applied to the contact parts of the tape. Attaching the wires to the pins, they are alternately touched with a soldering iron. Despite the low voltage, bare ends should be wrapped with insulating tape. A dimmer can be installed in the circuit between the ribbon and the power supply to regulate the luminous flux.
Installation of LED ceiling lighting is made on a clean and degreased surface. Only by observing this condition, ensure reliable fixing of the illuminant.
The latest models of LED strips are offered with a complete set of everything needed for connection - a power supply unit that has protection against incorrect polarity connection, and a controller.
Video
In this video, you will see how the installation of the LED RGB LED strip on the object:
In this video you will see how to connect the LED strip to the power supply, as well as how to adjust the brightness of the remote control and change the backlight color:
A photo