Technique and basic rules - how to weld the gate
You build a house. Large-scale work on the construction of the foundation, walls and roofs have been completed. Engineering communications are carried out to the house and inside it. It's time to think about the plot.
Any house has a fenced plot, and if there is a fence, there must be a possibility of passing through it. Today we will talk about how you can weld the gate with your own hands.
Choose the type of wicket - keep the harmony
When choosing the type of wicket, first of all it is necessary to pay attention to the material from which the fence is made.
Rule number 1 - what kind of fence and such a gate. Agree, it will be completely ridiculous to look like a gate made of a massive profile and a professional sheet (see. Gate and wicket from corrugated boarding) against the background of a fence from a chain-link grid.
The wrought iron gate, here, too, will not look quite appropriate, moreover, as a rule, mesh fences are installed on metal poles of round or square cross-section of a small size, and the wrought iron gate has an impressive weight, therefore, to install it, more powerful poles will be needed the result will be a dissonance in the whole construction of the fence.
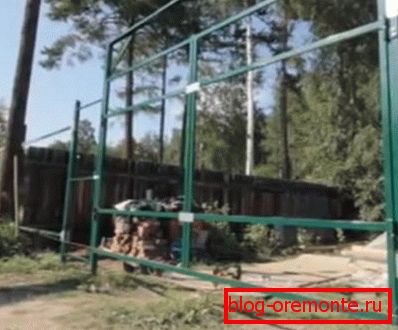
Поэтому лучшим вариантом здесь будет welded wicket, изготовленная из стального профиля, с внутренним забором из той же сетки. Такая калитка имеет небольшой вес, и надобность в мощных столбах отпадет сама собой.
Material - we follow the rule
Any welded gates and wickets begin with preparation. If you have already decided on the type of your wicket you need to prepare the material. Usually, when a fence is made, ultimately enough material is left from which you can successfully make a wicket.
If your fence is made to order and there is no material, then it should be purchased, guided by the first rule.
Half the success - welding table
Any welded wickets involve the use of welding. Therefore, after you have a material you need to prepare a place for welding. Every professional welder knows that a good welding table is half the success in welding.
So:
- It is important to understand that when welding, metal tends to expand and contract. During such work, it is important to keep track of changes that occur to the structure during welding.
- Therefore, as welded the gate and the gate on a rough surface, not fixing the design, and get the result of a screw or with a deep deformation of the perimeter.
- The result, without using an even welding table, welded wicket однозначно будет иметь перекосы и доставлять неприятности во время эксплуатации, не говоря уже о внешнем виде.
No table - improvise
Many may ask a reasonable question, do you really need to purchase a special welding table for making simple wickets?
Of course not, the table is easy to make yourself.
- To do this, you can take a sheet DSP of the appropriate size and install it directly on the ground using linings.
- Lining installed with the use of construction level. Thus, a fairly smooth surface is obtained on which welding can be performed.
Of course, such a “table” is not intended for intensive use, but it is quite possible to weld a flat wicket.
Our advice - In the absence of DSP, you can use chipboard, but this material has a tendency to ignite, so you need to use it very carefully, having previously watered with enough water.
No drawing - no gate
The material is ready, the welding table, too, now we need to make a drawing of the gate. The drawing of the welded gate can be successfully found in another article of our resource (see How to make a gate) and with the help of scaling it can be adjusted to the required size.
Safety and work rules
The next stage is the preparation of the tool, but first we will take care of the safety of welding. Before you start welding, it must be borne in mind that electric arc welding is accompanied by a number of phenomena that adversely affect the health of welders and people around them.
These phenomena include:
- Electric arc radiation causes skin and eye burns
- Electricity used in welding adds electrical shock hazard
- Air pollution by harmful gases, can cause serious poisoning of the body of all direct participants in welding
- Electrode heating and hot metal sprayingmay cause burns in open areas of the body
All of this can be successfully avoided by following simple safety guidelines when conducting welding.
Note the following:
- When performing welding, the welder must be wearing a special protective mask in which properly selected light filters are installed
- Overalls, apron, jacket, mittens, trousers, must be made of natural fabric and be completely dry.
- Footwear with rubber soles
- If possible, welding should be carried out in the open air, or in a special, ventilated room.
- It is necessary to strictly observe the fire safety technique during welding operations.
Mode and skill - success is inevitable
Starting welding, consider the following points:
- The quality of the entire welding will largely depend on the correctly selected current mode. The welding current must be selected according to the diameter of the electrode used, as well as the type of coating and the thickness of the metal used.
- Of great importance is the shape of the seam and its position in space.
- It is necessary to achieve such a magnitude of current and speed of movement of the electrode, at which no defects in the form of burn-throughs or undercuts of edges are obtained.
- Do not overheat the electrode. Its redness during welding indicates too high a welding current.
- Clean all edges of the parts to be welded from dirt and rust.
- If necessary, the edges should be cut with a grinding machine.
In addition to all of the above, in order to get a strong and beautiful seam, you need to have a trained hand and to be proficient in all oscillatory movements of the electrode.
Metal also needs stitches
The technique of manual - arc welding has in its arsenal various types of seams and joints.
By location, the seams are divided into:
- Horizontal
- Vertical
- Ceiling
- Welded seams in the lower position
Tool и приспособления — продолжаем подготовку
If you feel that you can cope with all the above provisions and requirements, feel free to proceed with the preparation of the tool.
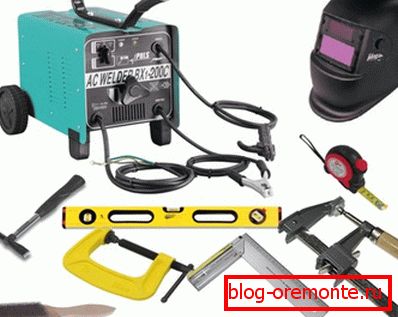
You will need:
- A welding machine with electrodes suitable for welding your material. Keep in mind that your welding machine must be designed to work with this type of electrodes.
- Grinding and cutting machine with a set of grinding wheels
- Metal brush
- Slag hammer
Our advice is to get a slag hammer, use a BK15 or BK20 alloy chisel.
- Roulette and level
- Angle measuring square
- Clamps
Marking and cutting material - basic preparation
We will not focus on the materials from which you will make the gate; you must decide for yourself based on your preferences and possibilities. The simplest option would be to weld the frame from a metal profile or a corner, with the subsequent fastening on it of a material corresponding to the style of your fence.
Мы только остановимся на основных моментах how to cook the gate yourself правильно и надежно.
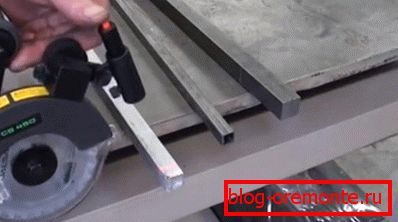
- Welding of the gate begins with the marking of the available material on the relevant drawing parts. After you have done the markup, the material must be cut using a grinder.
- On the makeshift welding table mark the overall silhouette of the future frame. You can do this with ordinary chalk.
- With the cut parts you have, you can evaluate the correctness of all sizes.
- If necessary, trim the individual parts. The main thing is that they fit as closely as possible to each other.
- Once again, carefully inspect the frame thus obtained, and if everything is correct, prepare all the edges that you will weld.
Welding - no rush
Once the edges are ready, you can assemble the entire frame on the table and secure it with clamps. If you had a real metal welding table, you could just grab them by welding at different points. The mount will provide resistance to the frame to the deformation during welding.
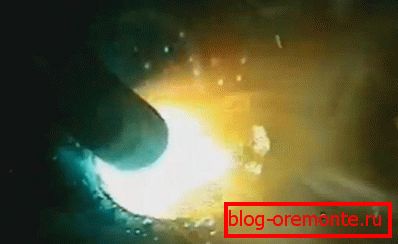
Our advice is that since an improvised table made of DSP or particleboard does not have adequate strength, the welded gate on it is performed in several stages. The seams are cooked with certain stops for cooling. Otherwise, the frame can lead.
After the frame is welded, repulse the slag and carefully check the welds, you do not want your gate to collapse after a short time.
Welding - finishing and fastening
Once the frame is ready, you can remove it from the table and carry on it fastening all the necessary materials and accessories.
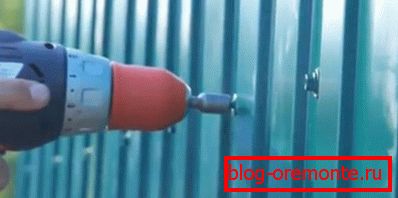
Our advice is: if your gate consists of a frame on which a professional sheet is mounted, carry out mounting the sheet directly on the table without removing the clamps. The professional sheet can be fixed with rivets or self-tapping screws.
Welded gates, with hinges mounted on them (see. Hinges for doors: their types and rules of choice), are attached to the aperture and are fastened with clamps to the carrier pole. If everything is done correctly, you can safely weld the hinges.
Loops are welded with care, without overheating the metal. Otherwise, a bias may occur, and the gate will be difficult to open.
Using these recommendations, you will not have problems and questions how to weld the gate and the gate with his own hands and safely.