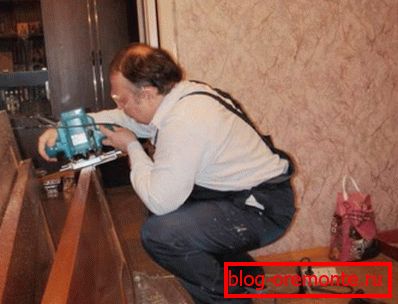
Restoration of wooden doors with their own hands
Restoration of the old door is sometimes just more profitable from buying a new one. After all, quality and expensive. But here even the price is not so important.
It is more profitable to simply update the door, because if it is not broken, then it is enough just to apply a new coating. Today we will tell how to restore the old doors. Also, you can see photos and videos on this topic and do everything correctly.
We restore by ourselves
Restoration of the door with his own hands the process is not as complicated as painstaking. All the truth is done completely with your own hands and you do not need to bear the high costs.
Do-it-yourself door restoration is done in several stages. The instruction is below.
We prepare tools and materials
Doors do-it-yourself restoration begins with the preparation of the necessary tools. After all, running and buying while doing work will simply not be advisable.
So:
- Prepare a drill and a set of drills for it;
- You will also need a hacksaw, you just need to take it with a small tooth. Otherwise, you can ruin the whole face;
- You will need a hairdryer to remove the paint. (see How to remove the old paint from the door and cover with new material). Only he must be powerful enough;
- Prepare the sandpaper. You will need different grain sizes;
- To prepare the plane, you need putty on wood.. You can prepare it yourself. To do this, simply mix the PVA glue with small sawdust;
- Prepare and primer, it will have to be done necessarily;
Attention: If you do painting without preliminary priming, then you may have a non-uniform coating. After all, the tree can absorb the dye is not uniform, and you just ruin the surface.
- It will be great if you have a spray, but if it is not there, then it is necessary to take different tassels.
Remove the old coating
Now let's go directly and figure out how to restore the old doors (see Decor of the old door: choose and do). To do this, you first need to remove the door from the hinges and place it conveniently so that it is possible to work.
So:
- The first step is to remove all the accessories. Also, if there is glass, it is necessary to remove the beadings. Nothing should interfere with work;
- Take a hair dryer and begin to warm the surface. We need to heat the old coating. In the course of time, it begins to swell and flake off;
- Take a spatula and begin to remove the detachment. We do this carefully. Cannot damage the plane;
- We remove the paint. But not all. At one time it will not work. So we warm in a new way and remove the dye;

Attention: In deep sinks in this way you will not be able to remove. Therefore, here we take a spatula and remove the paint from its corner.
Surface preparation
Now we need to prepare the surface for the coating. To do this, you must first bring it into a divine form, make it perfectly flat.
So:
- We take sandpaper, to start a larger grain. We process the surface;
Attention: You can not do the processing just by hand, you need to put the paper on an even bar and then do the processing. So we fully sustain the plane.
- Walked and processed surface. Now we do the same, only with this we use paper with a smaller grain;
- We had a flat surface, but there are shells on it. Now they need to be eliminated. To do this, use putty wood. We carry out processing using a rubber spatula;
- We are waiting for complete drying. And we do again the processing bar with sandpaper;
Note: the perfect surface will not work after the first time. You will need to do the processing 2-3 times.
- After that we need to go over the entire surface already with sandpaper with the smallest grain;
- We erase dust and apply a primer to the surface. To do this, use a spray or brush. We are waiting for the complete drying of the surface.
We select the paint and paint
Here you have to decide what you want to see.
There are several types of this material:
- Glossy paint. Here you should know that this paint will show many defects. Therefore, if your plane is not properly prepared, then it is not recommended to use it. But she looks quite good and always decorates the door in the room.
- Acrylic paint. It is semi gloss. It will look great in enclosed spaces. Good protection against moisture.
- Enamel latex. It is quite similar to oil paint. It is more scratch resistant and will last long enough.
- Selecting the desired paint should be applied to the prepared surface (see Painting the old door: how to do it). This is best done with a spray gun. But you can use the brush. Only in hard-to-reach places apply more subtle.
Restoration of a door of a chipboard becomes exactly according to the same principles. Here the main thing is not in a hurry and do everything quite carefully. After the surface is completely dry, just put on the fittings and hang the door on the hinges.