How to make a gate from a professional flooring and a
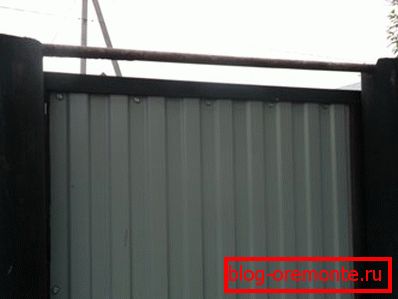
If you own a welding machine and know how to work with your hands and head, you can literally equip the entrance to your site in just a few hours. So how to make the gate and the gate of corrugated flooring - the task is not very difficult and does not even require auxiliary force in the form of auxiliary worker or lifting equipment.
Preparatory work
Device supports

Speaking of the fact that it would not take long for you to manufacture the wicket, we, of course, did not take into account the time for laying brick columns or installing wooden or metal pillars that would serve as supports.
The easiest and most reliable way to install metal thick-walled pipes or channels as supports:
- After marking the location, dig pits with a diameter of 60–70 cm and a depthequal to a third of the length of the above-ground part of the support.
- Put fine gravel on the bottom of the pit or gravel and tamp it.
- Weld a thick steel sheet to the bottom of the support for stability. and lower it into the pit.
- Prepare a concrete solution filled with crushed stone or gravel and fill the pitholding the support in a vertical position.
In the same way set the second pillar, and if you make the gate, then the third. The installation of the gate on the supports (see the Gate and the gate from the metal profile) can be started no sooner than 2–3 weeks after the solution finally grabs.
Council To keep the supports upright, their upper ends can be rigidly connected to each other by welding a metal rod or a thin pipe.

Preparation of materials
The calculation of the necessary materials is based on the size of the gate.
You will need:
- Profile pipe 40? 20. Required footage is calculated by determining the perimeter of the gate, to which you want to add its width.
- Steel corner 25? 25 - around the perimeter of the gate.
- Galvanized professional flooring C8 or C10 - it must be ordered immediately according to the height of the future gate.
- Hex screws with profiled sheeting - 20–25 pieces are enough for the gate.
- Gate hinges, lock (see Mortise lock in the gate - select and install), handle.
Wicket manufacture
Welding work
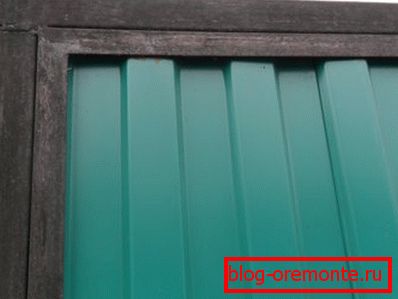
In most instructions on how to make a gate from a professional sheet (see Technique and basic rules - how to weld a gate), it is proposed to make a frame and sheathe it with corrugated sheets from the front. However, the gate will be much stronger and it will look better if it is placed inside the frame. That is why we need the corners.

To make it work out, follow our step-by-step instructions.
- Cut out of the profile pipe two blanks, which should be 5–6 mm longer than the height of the professional sheet prepared for the wicket.
- The length of the other two segments should be equal to the width of the sheet plus 80 mm (two widths of the pipe), plus 5–6 mm.
- Assemble the frame on a flat surface, placing the horizontal segments on the vertical posts and grab its corners by welding. Before this, make sure that all the angles are right and the diagonals are equal.
- According to the internal dimensions of the frame, cut the blanks from steel corners and cut their ends at 45 degrees.
- Put the corners in the frame and cook them in the cut corners, and also grab them to the frame itself.
- Finally make sure of the correctness of the geometric shape of the created structure, scalp all the joints of pipes and corners.
- After grinding the welding points, prime the finished wicket frame and paint it with metal paint in two layers. Do not forget to cut off the pipework and paint another blank, equal to the width of the gate.
The most difficult part of the work is behind, you have a frame for the wicket door made of corrugated (see How to make a wicket for the fence) - how to make the rest?
Sheathing with a profile sheet
Insert the profiled sheet into the frame from the corners, if necessary, cutting it along the length and width of the grinder. Secure the sheet around the perimeter with self-tapping screws, screwing them into the front side of the gate. If the color of the heads of the screws is different from the color of the corrugated board, then they can be screwed on the reverse side, the ends cut off with a grinder and painted over.
Attention! If a lock is installed on the gate, it is advisable to carry out all work related to cutting and drilling holes for its installation before facing the frame.
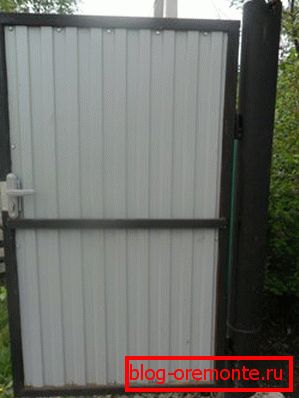
It remains to weld in the middle of the height of the wicket a cross bar that you cut and painted with the frame, and fasten the profiled sheet also to it.

The wicket cloth is ready, now you need to put it on the support with your own hands.
Installation of the gate
So:
- Between the bottom edge of the gate and the ground level, you must leave a gap of 20–30 cm. Between the supports, place a couple of bars of such thickness or bricks, and put a gate on them and align it with the pillars.
- On the support and adjacent vertical rack mark the attachment points of the loops.
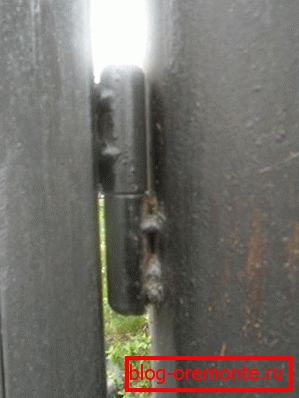
- Weld one part of the detachable hinge (upper) first to the frame of the wicket, and then connect it with the counterpart.
- Weld the loops of the hinges to the pole, setting the gate in place and holding it in the desired position. It will be difficult enough to do this, and here you will need an assistant. But the hinges will fall exactly into place, and the gate will close well.

Gate Tips
Now you know how to make a gate with corrugated board, which means you can make a gate. The technology of their manufacture is similar to that described, with the only difference that the width of the door leaf is greater than the width of the gate, and at least two sheets of corrugated sheet will be required for its lining.
But still some of the nuances in the manufacture of the gate must be considered. The most important thing is to make the valves absolutely identical in height and hang them on supports on the same level.

Look at the drawing.
It shows that both doors are made at the same time, one piece design. To do this, the upper and lower parts of the frame are first made solid, and are cut between the doors only after the gate is fully prepared and set on the hinges.