Arched openings: how to do it right
Today we will give practical advice on how to make arched openings with your own hands, as well as what frame to use for them.
Regardless of the material of manufacture, the construction technology of the arched doorway is as follows:- We make measurements of the existing opening.
- We determine what the arch will be made of, and acquire the necessary amount of finishing materials and fasteners (hardware).
- Mounted frame construction.
- We sheathe the frame.
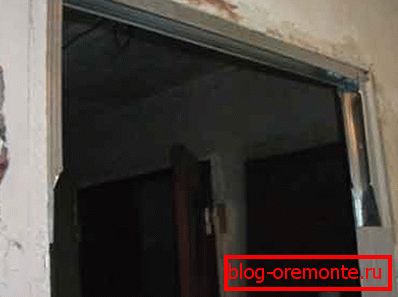
We measure the doorway
In our example, we will analyze the manufacture of a classic arched opening in an interior partition, which has a small thickness. That is, the arch will be in the form of an even semicircle. For correct installation and determination of the bend radius you need to measure the width of the doorway.
You should know! If you plan to align the ends of the opening, you should do this before removing the dimensions.
In order for the arched opening in the arch of the wall to be not only an ornament of your home, but also practical, it should be noted that its minimum height should be 2–2.1 meters. Since the finished arch (see Arch in the doorway: do it yourself) will reduce the height by at least 10 centimeters.
With the measurement of width, everything is simple: what are the dimensions, this is what the radius of the semicircle will be. If the height is less than two meters, then you should take care of its increase. To do this you need a hammer drill with a nozzle-baffle. When wooden walls useful circular or gasoline saw.
Select the material of manufacture and determine its quantity
There are several types of materials that are applicable for the construction of an arched structure in the doorway. Each of them has its own characteristics, disadvantages and advantages.
Arch manufacturing materials
To accomplish the task, you can use the following finishing and construction materials:
- Plasterboard. Very convenient material for any kind of structures: arches, partitions, elegant multi-level ceilings, etc. Its main dimensions are 1.25? 2.5 m. The most common thickness is 9.5 and 12mm. Also found "arched" drywall, with a thickness of 6.5 or 8mm.
- Chipboard. The advantage of this material is quite high strength. Its various sizes. Standard thickness - 16mm.
- Plywood. It is more resistant to various kinds of effects than chipboard. But it has a higher price. For the front parts of the arch is better to use plywood with a thickness of 8mm.
- Fiberboard (MDF). The optimal use of this material is the manufacture of a curved end of the arch.
What material to use is up to you. But the most practical and convenient in work - this is drywall.
Determine the amount of materials for installation
With the question of how to decorate an arched doorway (see How you can trim an arch - decorate it with your own hands), we decided that now we need to calculate the amount of material and fasteners needed. Take, for example, the most common finishing material - sheet GCR. Its dimensions are 1200? 2500mm. For the arch in a standard interior doorway, whose width does not exceed 1 meter, one sheet will suffice.
When the wall thickness of the opening is 75mm, it is possible to use the PN50? 40 profile (it will need 2 pieces) and a PP50? 50–1 piece for making the frame.
Of fasteners useful:
- Dowels with a screw (6? 60mm) for fastening the profile to the wall - 20–25 pieces;
- Screws for metal (3.5? 25mm) - 100–120 pieces;
- Screws for metal "bugs" (3.5 × 11 mm with a sharp end) - 20 pieces;
- Staples for a construction stapler (4 or 6mm) - usually sold in packs of 1000 pcs.
Consumables:
- Primer deep penetrating - 1 liter.
- Putty latex finish (with a thickness of application up to 3mm) - one bucket 3 kg.
- Arched angle perforated - 1 piece.
Making a frame for the arched opening

We turn to the practical part of our task: how to make an arched opening (see Making an arch out of drywall). The first step is to make the frame.
Since in our example we will use drywall, the frame part is best made from metal profiles. We decided to use guide and rack profiles with a width of 50 millimeters.
You should know! If the thickness of your opening is more than 75mm, then use a different profile. For example, 75 or 100 mm wide. If you make an arch in the bearing wall, then the frame is made using a different technology: from profiles 28? 27 and 60? 27. In this case, the guide profile is attached not in the middle of the opening, but along the edges on both sides.
Making the main frame
The main part of the frame for the classic semicircular opening will have the shape of the letter "P". For installation we take 1 profile 50? 40mm.
Next, perform the following operations sequentially:
- Cut off with scissors for metal or with the help of angle grinders a part of the profile across the width of the opening and fasten it to the horizontal upper part.
- Now we need to cut and attach two sections of the profile for the vertical part of the frame. It should be noted that the arched doorways at the height of the arch itself are always larger than the radius of the circle. For a better appearance, the distance from the top of the opening should not be less than 10 centimeters.

- We calculate the length of the vertical profile according to the following formula:
Dbp = Pa + O, where Dbp is the length of the side profile; Ra is the radius of the arch; O - indent from the extreme upper point of the semicircle to the top of the opening.
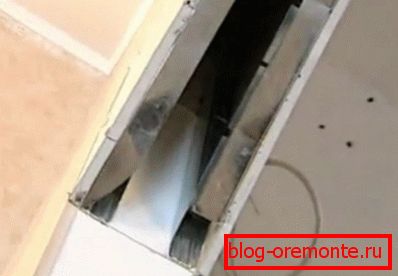
Making a "snake" from the profile
Now we need to turn a rigid metal profile into a flexible semicircle. It is this part of the frame that will give the arch its shape.
To do this, we will do the following:

- Take the profile PN50? 40 and scissors for metal (Bulgarian).
- We make with scissors (grinder) cuts of two parallel parts of the profile with a frequency of 4–8 cm. It turned out "snake" from the profile.
You should know! The larger the radius of the arched opening, the less often you can make cuts.
- Next, we need to determine the indent (in the formula above - O) and cut off a 50–50 piece of the same length from a rack profile.
- Fasten this segment exactly in the middle of the opening to the horizontal part of the main frame. For fasteners use bugs.
- Now we define the middle of our "snake" and fix it to the bottom of the segment PP50? 50.
- Further, with the help of rack profiles, we complete the framework. The result should be a flat arched design.
You should know! The rack profile, in addition to giving the arch a regular shape, is also an reinforcing element of the whole frame structure. There should be at least 3 such segments.
We sheathe the frame with gypsum plasterboard
На данном этапе нам необходимо обшить arched doorway гипсокартоном (см. Арка из гипсокартона). Для этого понадобится сделать из листа ГКЛ две основных части арки с полукруглым вырезом и одну нижнюю арочную часть, которую нужно будет изогнуть.
Cut a semicircle for the facade of the arch
First, make a rectangular billet.
To mark the sides of the rectangle we use the following parameters:
- One side will be equal to the width of the doorway.
- The second side is the dbp value from the formula above.
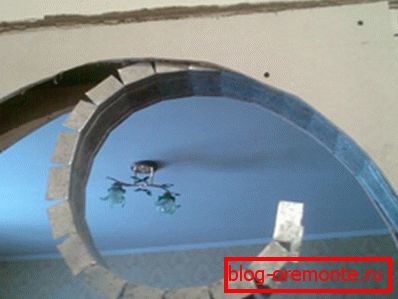
Make marks and cut off two identical pieces. Then we need to cut a flat semicircle. To simplify the task, you can attach one of the blanks to the finished frame and draw a semi-circle around the “snake” with a pencil. An assistant will be needed to complete this task.
Cut curvilinear figures in drywall is best electric jigsaw with a metal file. The second blank can be cut by leaning against the first one.

We attach the finished parts of the arch with 3,5 x 25 mm self-tapping screws to the frame using a screwdriver.
Making the end of an arched opening
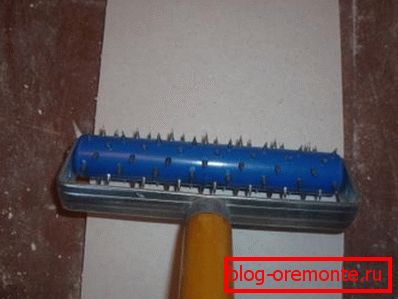
For the next stage, we need a strip of drywall, which we will bend and attach to the end of the opening. You should also prepare water and a needle roller.

- We moisten with a sponge all area of a plasterboard piece.
- We are waiting for 1-2 minutes and pass it with a needle roller at half strength.
- We set the billet under the slope and wait for it to begin to bend over on its own.
- Carefully attach the strip to the frame and fasten it with screws.
Final opening clearance works
The final stage is the finishing of the arched opening (see How to trim the arch).

To do this, we consistently perform the following work:
- We target an arch angle with brackets on both sides of the arch along the entire bend.
- Ground the surface and wait for the complete drying of the primer.
- We produce a solid putty of the arch surface on both sides.
- After the putty dries, apply a decorative topcoat: wallpaper, paint, facing stone, textured plaster.
If the recommendations in this article seem difficult or impossible for you, then at any hardware store you can buy ready-made arched doorways made of MDF or wood.