Stucco ceiling itself
Today, there are many technologies for arranging ceilings in residential areas. These include suspended, stretch, glue ceilings and many others. Each of them has its advantages and disadvantages. Suspended ceilings are quite demanded, the main material of which are gypsum plasterboards.
Gypsum cardboard, due to its universal properties, is used both for leveling walls and for ceilings. From it, along with simple ceilings, it is possible to make complex suspended structures. Before we talk about plastering plasterboard ceilings, it is advisable to learn more about this material, then it will become clearer how to plaster the ceiling with your own hands.
Characteristics of drywall and work with him
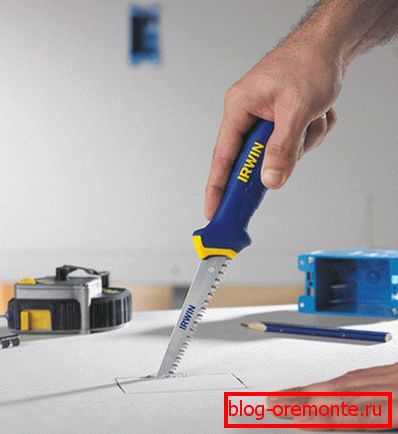
Sheets of gypsum cardboard are gypsum products, pressed on both sides with thick cardboard, it is quite fragile, so you need to install it with great care.
Drywall is characterized by the following qualities:
- it is very convenient in work as it is made in sheets;
- easy to cut with a regular construction knife;
- large selection of sheet sizes;
- it is fixed by screws on a framework from a metal (or wooden) profile.

Drywall fastened as follows:
- First, a metal profile frame is attached to the ceiling. Plasterboard plates are attached to the frame.
- Plasterboard should be ceiling. They differ from wall plates in their thickness, although there are practically no differences in technical parameters.
Note! Sheets of drywall can be fire resistant and moisture resistant. For the arrangement of the ceiling surface is better to choose a material that would have both those and other characteristics.
Preparatory work
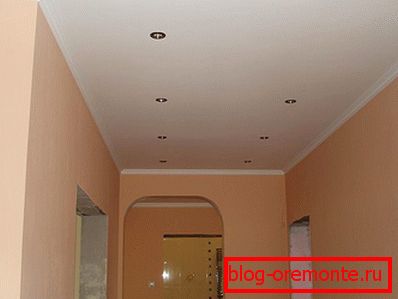
There is an opinion that if you do the plastering of the ceiling with your own hands on even and smooth plasterboard, then surface preparation is not required. With this approach, finishing materials on the ceiling will not last long. In fact, a lot of preparatory work must be done.
- It is necessary to determine whether enough sheets are fixed by screws. When pre-grabbing drywall with a certain number of screws, you should not forget to screw them up, otherwise, with time, the ceiling construction will begin to break down, sheets will start to move away, and plaster will fall down.
- All seams along the edges of the slabs need to be cleaned of dust, and then walk along them with a primer and putty with a special mixture (for example, “Fugenfüller”). Be sure to apply the reinforcement mesh for seams, which will prevent the appearance of cracks on the surface.
- After the suture glue dries, it is cut with a spatula or removed with a special metal mesh. Then the entire ceiling is thoroughly grounded.
Choice of plaster
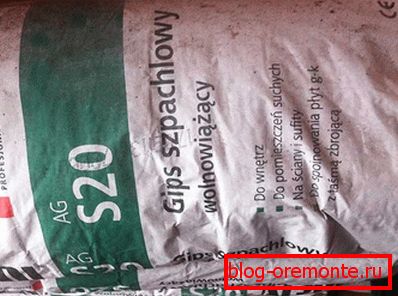
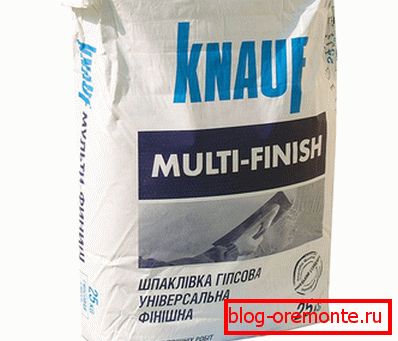
Choosing how to plaster the ceiling of plasterboard, you can immediately pay attention to the finishing putty, which is packaged in bags or sold in buckets as ready-mixed. According to the technology, you must first apply the starting putty, and then, after it has dried, repeat the procedure with the finishing mixture. If the surface is perfectly smooth, then you will need to apply only one layer of plaster of 2-3 mm, if the ceiling has flaws in the form of dimples and tubercles, then you will have to apply several layers.
Note! If you plaster an uneven ceiling with a finishing plaster with a thick layer, it may cause cracks, or the plaster will generally fall off from the plasterboard sheets. Better by the rules go first starting, and after a while finishing plaster.
If the starting plaster does not level all the irregularities on the ceiling, the flaws will cast a shadow on the surface. This will be especially noticeable when the lights are on. At observance of technological requirements that regulate the thickness of the layers, the ceiling will serve for a long time, and cracks will not form.
Tools and accessories for plastering

Before you choose the starting and finishing plaster, you need to consult with experts how to properly dilute the solution when plastering the ceiling with your own hands.
For plastering on drywall you will need:
- wide and narrow spatulas;
- plastic wide bucket;
- drill with nozzle in the form of a mixer;
- wide paint brush;
- large and small grout nets of metal;
- starting plaster;
- acrylic primer;
- finishing plaster;
- adhesive tape for drywall joints;
- coarse and fine meshes.
Starting plaster ceiling plaster
Before plastering gypsum ceilings, all the joining points of the sheets should be reinforced with specially prepared nets.
- If the gaps between the drywall sheets are quite noticeable, they are glued with large-mesh nets. If inconsistencies are barely noticeable, they are applied to the grid with small cells.
- Fixed mesh product on the layer of putty applied before this operation. If building glue is used for this purpose, the mesh will be held much worse.
- After that, a wide paint brush is coated on the ceiling surface with a primer and kept for a while for which the mixture should be absorbed into the ceiling. This procedure will allow you to get a better grip of the applied plaster with a drywall overlap.
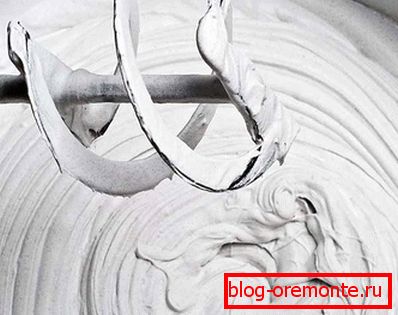
- Then, the starting putty is poured into a wide bucket, a certain amount of water is added and the mixture is kneaded using a mixer mixer. The better to mix the solution for plaster ceiling, the better will be the adhesion.
- Add ingredients to gradually. If you pour in too much water, the dry mixture will clump up and it will be difficult to achieve a homogeneous mass.
- It is necessary to mix the mixture to a consistency, in which the putty would not drip off the spatula, but rather thick enough to hold onto it. After preparation of the solution, you need to let it stand for 5 minutes, after which the finished plaster should be stirred again and in this state you can already use it.
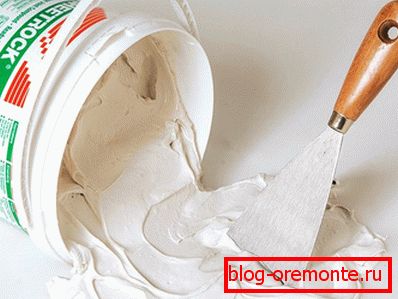
- With a narrow spatula, the solution is recruited several times and spread on a wide spatula; the filling of the tool must be up to the edges.
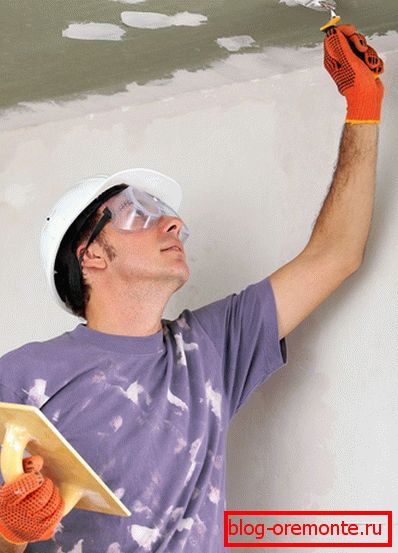
- Then we grease the ceiling with a wide trowel filled with movements resembling the spreading of butter on bread with a knife. If the plaster remains on the tool - do not worry.
- The remaining putty is removed with a narrow trowel. Apply plaster to be careful not to form bumps, to get rid of which later will be problematic.
- The solution is applied evenly and fills the entire area of the plasterboard ceiling.
- If, nevertheless, it was not possible to avoid irregularities, they should be eliminated, not allowing the layer time to dry and set. Otherwise, after complete drying of the first layer of plaster, it is necessary to apply the second.
- So that the starting putty dries quickly, it is applied to the ceiling in thin layers. The most high-quality starting plaster consists of 3 layers. After it is completely dry, the ceiling surface can be sanded.
- For this work you need to use a grid of tungsten. For the first layers, a grid with large cells is used, since the surface at this time has a rough texture. The ceiling must be completely covered with a grid until all irregularities disappear.
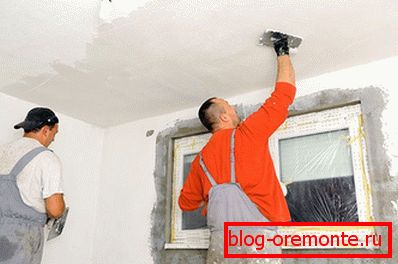
Note! After the troweling work, a lot of dust accumulates in the room. Before finishing the ceiling, it is desirable to clean it with a vacuum cleaner or a damp cloth from all places where it has settled.
Plasterboard ceiling finishing putty
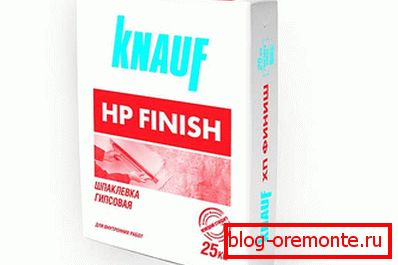
After the intermediate cleaning you can start the final work.
- Just as with the starting plaster, the finishing putty is diluted with water in a large bucket in certain proportions. On the packaging should indicate the ratio of ingredients that are mixed. We mix a solution with a nozzle for a drill.
- Putting finishing plaster is also made by the narrow and wide pallet. Work should be done more carefully, as the last layer is applied, on which there should not be any flaws. Do not forget that the layer of finishing putty should be thinner in comparison with the first layers.
- It must be remembered that before applying the next layer of finishing putty, the former must completely dry, otherwise the formation of cracks. After applying all the layers and drying them, the ceiling must be sanded with a fine-meshed mesh.
Note! In order to protect gypsum plaster from cracking and lagging behind gypsum plasterboards, it is necessary to monitor the humidity in the renovated room. It should not exceed the norm, and all work associated with vibration should be completed before applying the plaster on the ceiling.
Getting ready to plaster the concrete ceiling
Before you begin plastering a concrete ceiling surface, you need to prepare it for this. In order for the layer of plaster to be firmly attached to the ceiling, it is necessary to perform a number of specific operations.
- Using an ordinary trowel or another tool suitable for this job, the old finishing material, putty, paint and plaster fragments lagging behind the ceiling are removed from the ceiling. This should be done before getting a bare concrete surface.
Note! To remove whitewash and putty from the ceiling surface, it is better not to use a brush moistened with water, as this method does not provide a complete cleaning of the surface! As a result, the remaining elements of the finishing material will significantly reduce the possibility of a firm setting between the primer and the applied plaster.
- After successful cleaning of the ceiling surface from the elements of the old plaster comes the turn of the ceiling primer. The most acceptable option would be the primer “concrete contact Knauf". It compares favorably with other building materials in that it contains quartz crystals, which, after some time required for the primer to polymerize, give the surface a rough structure, resembling fine sandpaper. This type of primer is most in demand when plastering surfaces of concrete ceilings and walls.
- After completion of the primer work, the primer should polymerize when it dries in its natural microclimate for at least 12 hours.
Note! All windows and doors must be closed, no airing or exposure to heating devices is allowed.
After this time, the preparatory work by priming the concrete ceiling can be considered finished, after which you can proceed to plastering by installing beacons on the ceiling.
Mounting beacons on the ceiling surface
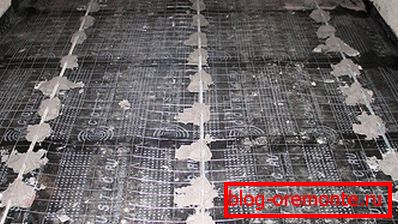
Installation of beacons происходит в определенной очередности.
- A perforator or electric drill with special drills creates 3-4 holes in the ceiling surface. They are arranged in the central and extreme parts of the ceiling. Subsequently, screws will be screwed into them, which will serve as a support and level for the installed beacons.
- First you need to drill with an indent from the wall equal to 0.3 m. The next hole should focus on the length of the rule and should recede from the first by a distance slightly less than the size of the tool. If we consider that the classic rule has a length of 2 meters, then in a small room you will need to make up to 3 holes for each beacon. One - in the middle of the ceiling area, two - close to the walls on opposite sides.
- Further, a plastic dowel of the required diameter is taken and with a hammer it is driven into each hole. Screws are screwed into the dowels with a screwdriver. The ceiling plastered along the beacons with the help of a level is checked in 3 directions: diagonally, parallel and perpendicular.
- The installed lighthouse is filled with plaster mix from different sides. Be sure to fill all the slots under the lighthouse.
- All installed beacons need to be checked to be convinced that the ceiling plastered on them will be even.
After completion of this phase of the plaster construction, time must be allowed for the mortar to harden. After this begins plaster ceiling with their own hands.
Plastering the concrete ceiling
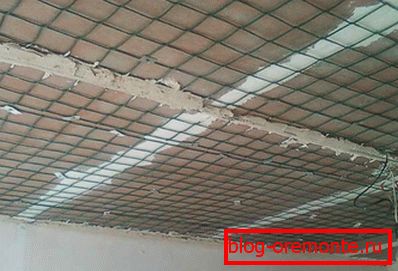
At the initial stage of plastering the concrete ceiling, you need to decide on the need to use the grid. Whether this product should be used depends on the thickness of the plaster layer, with which (thickness) it is necessary to decide in advance. If the layer of plaster is planned to be up to 1.5 cm thick, then the use of the grid is optional. Its stripes will be needed only in the area of the joints of the ceiling slabs called rusts. If the maximum layer of plaster can reach 3 cm, it is better not to try your luck. On the good side, the net product under the name “Strobe” with cells measuring 5 × 5 mm has shown itself in practice. It will significantly increase the strength of the ceiling.
A common mistake is to fix the mesh for plaster on a concrete surface. When used properly, it should be placed among the plaster layers. Only then will it fully fulfill its direct function, namely to reinforce the mixture. In the variant with plaster, the thickness of which exceeds 3 cm, a galvanized metal mesh, called welded, is best suited. Such a product is attached to the ceiling surface with screws with special design mounts. The metal grid favorably differs from plastering in that it not only binds the plaster, but also ensures its reliable adhesion to the concrete surface of the ceiling.
When the issues regarding the selection of the grid are resolved, you can begin to prepare the plaster. The best choice of the type of plaster will be a mixture based on gypsum components. In practice, the Knauf RONTBAND building material has demonstrated good results.
To prepare a solution using this material, you need to do the following:
- Pure water in the volume of 18 liters is poured into the plastic container.
- Then, with a wide spatula, 1 kg of dry plaster material is poured into the same pot, and thoroughly mixed.
- Then from the 30-pound bag the rest of the dry mix is poured there. In the presence of a drill should be with a special long nozzle, working on the principle of a mixer. This tool is used to knead the plaster solution for as much time as is needed to form a homogeneous mass in the container without lumps and watery layers. The better the working material for the plaster of the concrete ceiling is mixed up, the more reliable it will be to hold onto the ceiling.
- Ready plaster solution is settled for 5 minutes, after which the mixing process is resumed.
Note! During the work on plastering the concrete ceiling with the prepared solution, you can neither add a dry mixture nor add water to it.
So, the solution is prepared - you can proceed to the final stage of plastering the concrete ceiling. Apply plaster to a certain order.
- Plaster mortar is applied directly with a float or spatula. In order for the solution not to adhere so strongly to the surface of the tools, it is necessary to moisten them with water before starting the work. The first layer of plaster is applied with a layer, the thickness of which allows the beacons to be visible. When applying plaster grater must be pressed to the ceiling with an effort that will avoid the formation of voids and cracks.
Note! If the acquired mixture can be applied with a thick layer, then apply the method of throwing. If the layer is more than acceptable, then it can be stretched across the ceiling with a wide trowel.
- After applying the first layer on the ceiling, it comes to the plaster net, which is unwound from the roll and rises up. Then the grid used with the float or spatula is pressed against the layer of plaster, while unwinding the roll with the grid continues along the beacons. There is no need to apply force when pressing the mesh product. To achieve the goal enough of its easy grabbing to the plaster.
Note! If the bonding work is performed using a welded mesh, then the plaster in its first layer is spread on its surface immediately, thus pressing the galvanized metal product directly to the ceiling. In this case, the grater should be pressed against the ceiling surface with the use of considerable physical force, so that the solution seeps through the cells of the metal product and clings to the maximum area of the ceiling.
- After fixing the mesh on the still wet layer of plaster, the next layer is applied so that the beacons are slightly covered.
- Thus, on the ceiling is formed an extra plaster, from which you want to get rid of. This operation is carried out with the help of the rule - a wedge, which removes excess solution when conducting it along the beacons. Work as a rule should be done carefully so that the lighthouses remain in the same place. If there are depressions, then you need to add a solution to them and repeat the operation.
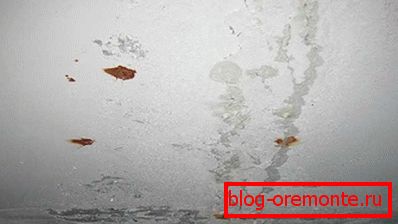
- If not aluminum, but metal beacons were used, they should be removed. Otherwise, after some time brown spots may appear on the ceiling, which are formed due to metal corrosion. To remove such beacons, the moment is chosen when the plaster has not yet dried out. The furrows left after the beacons removed are plastered to a level with a new surface of the ceiling.
Before embarking on further facing ceiling work, you need to wait for the plaster to pick up strength. Depending on the climatic conditions, the plaster surface can dry from 2 to 10 days. As you can see, the work of plastering the concrete ceiling is not as difficult as it may seem at first glance.
Video
See how to plaster the ceiling at the beacons:
Video about the plaster ceiling: